


24
GB
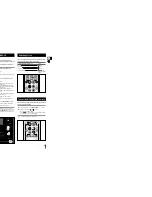
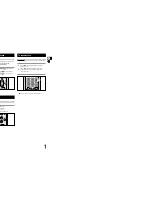
Your micro component system is equipped with a preset equalizer
that allows you to choose the most appropriate
balance between treble and bass frequencies, according to the type of
music you are listening to.
Press
EQ
or
MULTI JOG(PUSH ENTER)
button until the required option is
selected.
Result: Press the button repeatedly to select “EQ
PASS
➞
POP
➞
ROCK
➞
CLASSIC
➞
JAZZ
➞
S.BASS
”.
S.BASS Function : S.Bass function emphasizes the bass sound to pro-
duce the effect of explosion or booms.
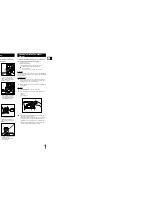
EQ/S.BASS Function
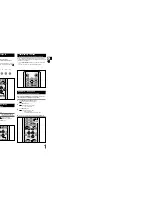
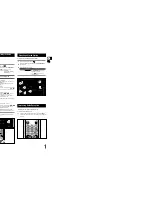
Treble Level Function
Treble Control function stresses high tones providing thudding sound
effects.
Press
MULTI JOG(PUSH ENTER)
button until
TREB 00
is displayed.
Turn
MULTI JOG(PUSH ENTER)
knob to select from
TREB -07
to
TREB 07,
total 15 steps
.
You can select the level of high tones you desire.
1
2
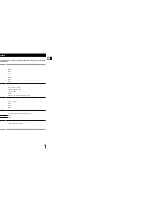
BASS function stresses low tones providing thudding sound effects.
Press
MULTI JOG(PUSH ENTER)
button until
BASS 00
is displayed.
Turn
MULTI JOG(PUSH ENTER)
knob to select from
BASS -07
to
BASS 07,
total 15 steps
.
You can select the level of low tones you desire.
1
2
BASS Level Function
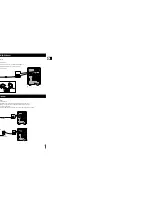
Selecting Sound Mode
Your compact system is equipped with the function of Power
Sound/Power Surround/Power Surround XT.
The Power Surround replaces conventional stereo sound with a
wider and more true-to-life sound. It creates the feeling of being
right at the centre of the music and being surrounded by total
music sound.
The function of Power Sound amplifies bass and improves high
key or bass twice as much for you to appreciate powerful real
sound.
Press
SURROUND XT
button until the required option is select-
ed. Each time the
SURROUND XT
button is pressed,
“P.SOUND
,
P.SURR ,P.SURR XT, OFF”
is selected or cancelled
in this order.
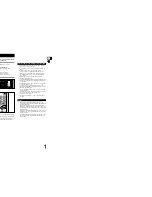
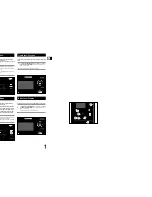
The timer enables you to switch the system on or off at
specific times.
Example:
You wish to wake up to music every morning.
If you no longer want the system to be switched on or off
automatically, you must cancel the timer.
Before setting the timer, check that the current time is correct.
For each step, you have a few seconds to set the required options.
If you exceed this time, you must start again.
Switch the system on by pressing
( )
.
Press
TIMER/CLOCK
until
TIMER
is displayed.
Press
PROGRAM/SET.
Result:
ON TIME
is displayed (instead of the equalizer symbols) for
a few seconds, followed by any switch-on time already set;
you can set the timer switch-on time.
Set the timer switch-on time.
a
Set the hour by pressing
or
button.
b
Press
PROGRAM/SET
.
Result: The minutes flash.
c
Set the minutes by pressing
or
button.
d
Press
PROGRAM/SET
.
Result:
OFF TIME
is displayed (instead of the equalizer symbols)
for a few seconds, followed by any switch-off time already
set; you can now set the timer switch-off time.
Set the timer switch-off time.
a
Set the hour by pressing
or
button.
b
Press
PROGRAM/SET
.
Result: The minutes flash.
c
Set the minutes by pressing
or
button.
d
Press
PROGRAM/SET
.
Result:
VOL 10
is displayed, where
10
corresponds to the
volume already set.
Press
or
button to adjust the volume level and press
PROGRAM/SET
.
Result: The source to be selected is displayed.
Press
or
button to select the source to be played when the
system switches on.
If you select...
You must also...
TAPE (cassette)
Insert a cassette tape.
TUNER (radio)
a
Press
PROGRAM/SET
.
b
Select a preset station by pressing
or
.
CD (compact disc)
Load a compact disc.
Press
PROGRAM/SET
to confirm the timer.
Timer Function
7
5
6
1
2
3
4
Press
( )
to set the system to standby mode.
Result:
is displayed to the bottom left of the time, indicating that
the timer has been set. The system will switch on and off
automatically at the required times.
If the timer switch on and off times are identical, the word
ERROR
is displayed.
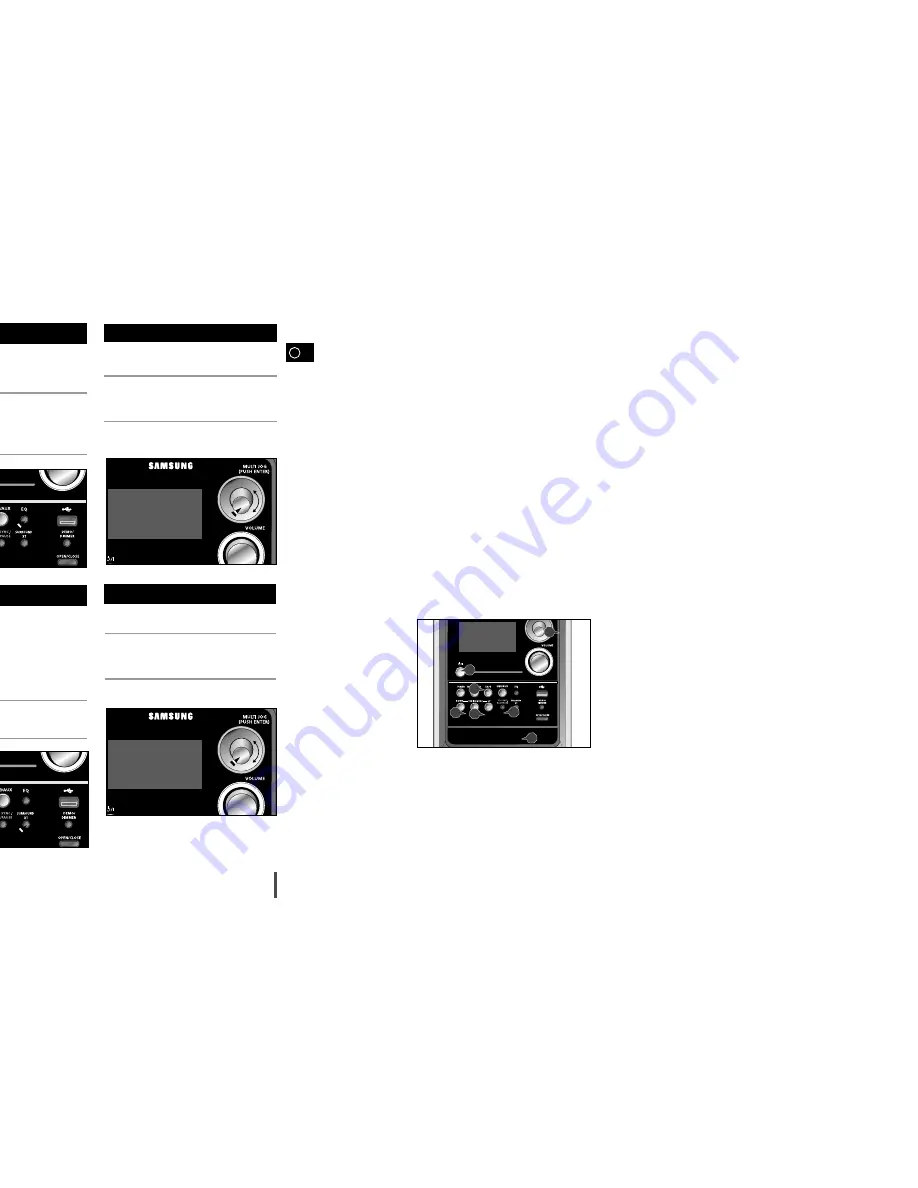
In standby,you can press
MULTI JOG(PUSH ENTER)
button
instead of
PROGRAM/SET
button and press
/
buttons or
turn
MULTI JOG(PUSH ENTER)
knob on the front panel
instead of
/
buttons on the remote control in step
4,5,6,7
..
8
9
After having set the timer, it will start automatically as shown by the
TIMER indication on the display. If you no longer wish to use the
timer, you must cancel it.
You can stop the timer at any time (system on or in standby mode).
To...
Press TIMER ON/OFF...
Cancel the timer
Once.
Result: is no longer displayed.
Restart the timer
Twice.
Result: is displayed again.
Canceling the Timer
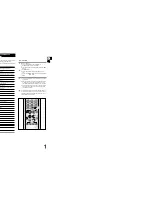
TA P E
TUNER
BAND
MO/ST
TIMER/CLOCK
TIMER ON/OFF
USB/AUX
PROGRAM/SET
SLEEP
REC./PAUSE
REPEAT
TUNING
MODE
VOLUME
MUTE
+10
REV.MODE
DISPLAY
PTY
RDS
TUNING/
ALBUM
CD/MP3-CD
SURROUND XT
COUNTER RESET
USB REC.
2
3,4,5,6,7,8
4,5,6,7
4,5,6,7
1,9
TUNER
BAND
MO/ST
TIMER/CLOCK
TIMER ON/OFF
USB/AUX
PROGRAM/SET
SLEEP
REC./PAUSE
MUTE
O
DISPLAY
PTY
RDS
SURROUND XT
COUNTER RESET
USB REC.
25
1
3
5
4
4
5
4
GB


