GB
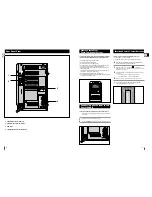
Connecting Headphones
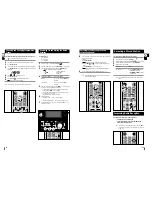
You can connect a set of headphones to your micro
component system so that you can listen to music or radio
programs without disturbing other people in the room.
The headphones must have a 3.5 mm connector or
appropriate adaptor.
Connect the headphones to the Phones connector on the rear panel
(or top right corner).
Result: The loudspeakers are no longer used for sound output.
Prolonged use of headphones at a high volume may damage your
hearing.
You can set the system to switch off automatically.
Example: You wish to fall a sleep to music.
Press SLEEP on the remote control.
Result: The following indications are displayed:
Press SLEEP one or more times to indicate how long the system should
continue playing before it switches off:
At any time, you can:
Check the remaining time by pressing SLEEP
Change the remaining time by repeating Steps 1 and 2
To cancel the sleep timer function, press SLEEP one or more times until
OFF is displayed and the word SLEEP disappears.
Sleep Timer
MO/ST
SLEEP
EQ/S.BASS
TAPE SPEED
POWER SOUND
DISPLAY
PTY
RDS
90 MIN
60 MIN
45 MIN
OFF
15 MIN
30 MIN
1
2
3
1,2,3
MUTE Function
You can turn the sound off temporarily.
Example:
You wish to answer a telephone call
.
Press MUTE.
To switch the sound back on (at the same volume as before), press
MUTE again, or turn VOLUME button.
1
2
GB
21
TUNER
TIMER/CLOCK
TIMER ON/OFF
MUTE
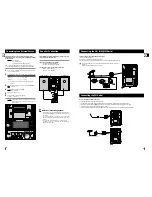
Power sound function
EQ /S.BASS
(Super Bass) Function
This machine is equipped with the function of POWER SOUND,
which amplifies bass treble output to twice as much for powerful
surround-sound.
Press the POWER SOUND button on the front panel.
Result:
P. SOUND is displayed for a few seconds.
A more powerful resonant sound is diffused.
To cancel this function, press POWER SOUND again.
Result:
OFF is displayed for a few seconds.
Your Micro Component system has a bass amplification function
and equipped with a preset equaliser that allows you to
choose the most appropriate balance between treble and bass
frequencies , according to the type of music you are listening
to.That is called EQ/S.BASS.
This function makes the sound more powerful and real.
Press EQ/S. BASS on the front panel or EQ/S. BASS on the remote
control until the required option is selected.
To obtain a...
Select...
Normal balance (linear)............................................PASS
Balance suitable for pop music............................POP
Balance suitable for rock music ..........................ROCK
Balance suitable for classic music.......................CLASSIC
Balance suitable for s-bass music.......................S-BASS
1
2
20
CD
BAND
MO/ST
AUX
PROGRAM/SET
REP. A B
SLEEP
EQ/S.BASS
TAPE SPEED
POWER SOUND
DISPLAY
PTY
RDS
.
To obtain the best possible results from your
micro-component system, you must clean the following
elements regularly:
The outer casing
The compact disc player
The cassette players (heads, rollers and drive capstans)
Always unplug the system from the wall outlet:
Before cleaning it
If you are not going to be using it for a long time
Outer Casing
Clean the outer casing regularly using a soft cloth and a light detergent. Do
not use abrasive powders, liquids or aerosol cleaners. Never let any liquids
get into the system.
Compact Disc Player
Before playing a compact disc, clean it with a special CD cleaning
agent. Do not use the same cleaning agents as for vinyl LP records.
Carefully wipe the disc from the centre outward.
Regularly clean the player with a special cleaning disc (available from
your local dealer).
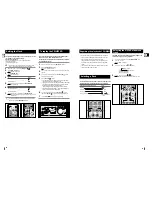
Tape Decks
Press PUSH EJECT(
) to open the cassette deck.
Use a cotton bud and a special cassette cleaning agent to clean the:
Head (1)
Rollers (2)
Drive capstans (3)
If you will not be using the remote control for a long time,
remove the batteries to prevent corrosion.
Although your system is very hard-wearing, it should not be
used in an excessively dusty environment or subjected to
shocks or extreme heat (close to heating appliances or in
direct sunlight, etc.).
If the unit emits an unpleasant odour when in use, unplug it
from the main supply and contact the after-sales service.
Cleaning Your
Micro-Component System
1
1
2
2
3
2
1
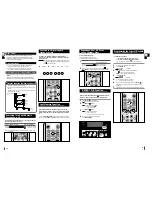
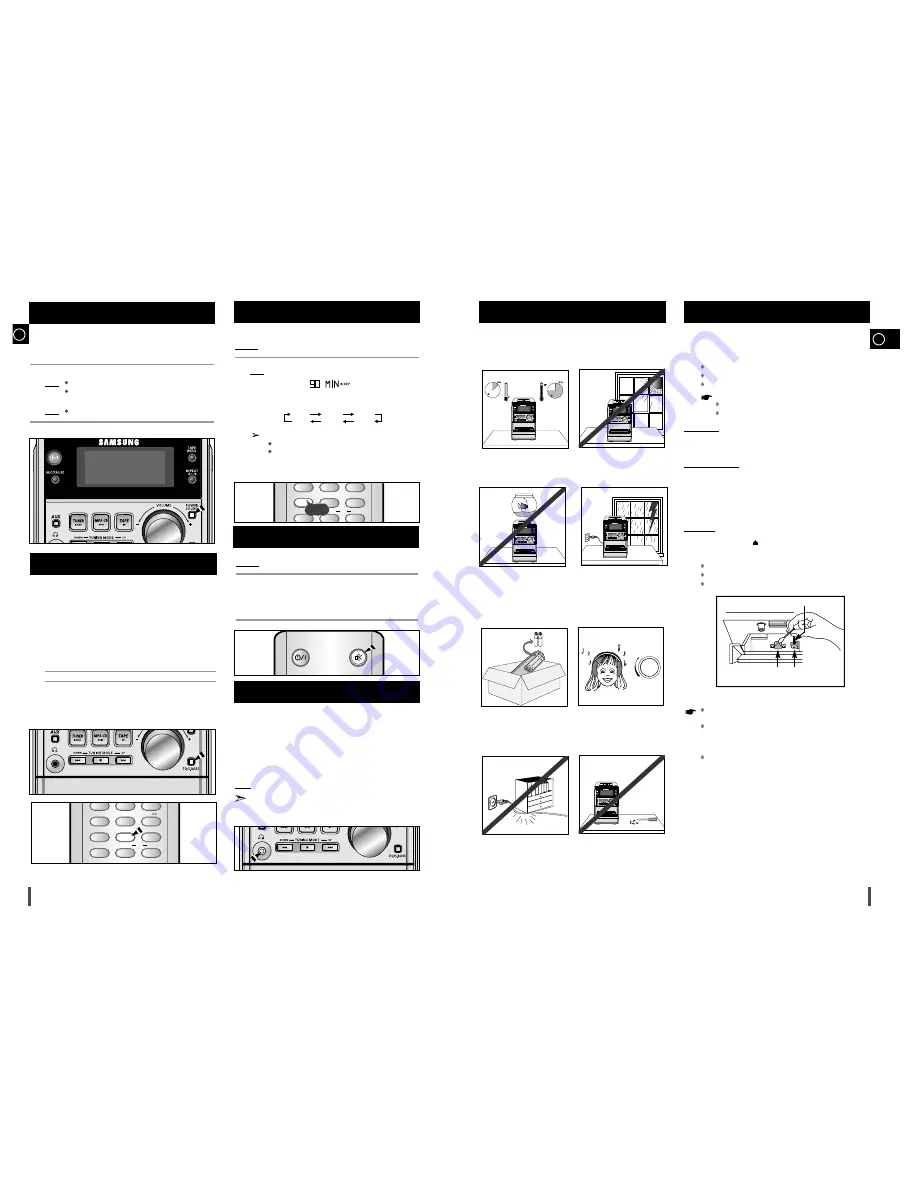
The following diagrams illustrate the precautions to be taken
when using or moving your micro-component system.
Safety Precautions
Ambient operating conditions:
Ambient temperature
5°C-35°C
Humidity
10-75%
Do not expose the unit to direct sun
radiation or other heat sources.
This could lead to overheating and
malfunction of the unit.
Do not place potted plants or vases
on top of the unit. Moisture entering
the unit could lead to dangerous
electric shock and can cause
equipment damage. In such events
immediately disconnect the main
plug from the socket.
Do not place heavy items on the
main lead. Main cable damage can
lead to damage of the equipment (fire
hazard) and can cause electric
shock.
Do not remove any equipment panels.
The inside of the unit
contains live components, which
cause electric shock.
During thunderstorms, disconnect
the main plug from the socket.
Main voltage peaks due to light-
ning could damage the unit.
VOLUME
UP
DOWN
Remove the batteries from the
remote control, if not used for any
extended period.
Leaking batteries can cause serious
damage to the remote control.
When using headphones, take care
not to listen at excessive volumes.
Extended use of headphones at
high volumes will lead to hearing
damage.


