


7
EN
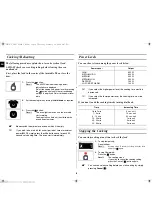
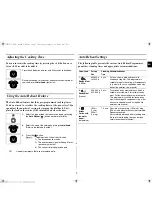
Adjusting the Cooking Time
You can increase the cooking time by pressing the +30s button once
for each 30 seconds to be added.
Using the Auto Reheat Feature
The Auto Reheat feature has three pre-programmed cooking times.
You do not need to set either the cooking times or the power level. You
can adjust the number of servings by turning the dial knob. First,
place the food in the centre of the turntable and close the door.
Use only recipients that are microwave-safe.
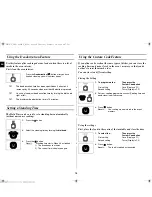
Auto Reheat Settings
The following table presents the various Auto Reheat Programmes,
quantities, standing times and appropriate recommendations.
Press the
+30s
button once for each 30 seconds to be added.
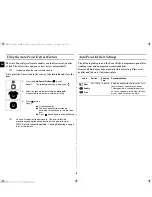
During the cooking, to increase or decrease the cooking time of
your food, turn the
dial knob
right or left.
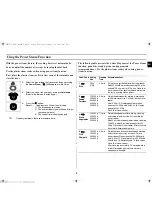
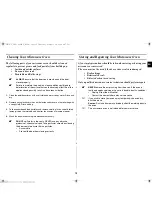
1.
Select the type of food that you are cooking by pressing
the
Auto Reheat
(
) button once or more times.
2.
Select the size of the serving by turning the
dial knob
.
(Refer to the table on the side.)
3.
Press the
button
Result :
Cooking starts. When it has finished:
1) The oven beeps four times.
2) The end reminder signal will beep 3 times
(once every minutes)
3) The current time is displayed again.
Code/ Food
Serving
Size
Standing
Time
Recommendations
1.
Ready Meal
(Chilled)
300-350 g
400-450 g
3 min.
Put on a ceramic plate and cover with
microwave cling film. This programme is
suitable for meals consisting of 3 components
(e.g. meat with sauce, vegetables and a side
dishes like potatoes, rice or pasta).
2.
Ready Meal
(Frozen )
300 - 350 g
400 - 450 g
4 min.
Take frozen ready meal and check if dish is
suitable for microwave. Pierce film of ready
meal. Put the frozen ready meal in the centre.
This programme is suitable for frozen ready
meals consisting of 3 components (e.g. meat
with sauce, vegetables and a side dish like
potatoes, rice or pasta).
3.
Drinks
Coffee, milk,
tea, water
(room-
temperature)
150 ml
(1 cup)
250 ml
(1 mug)
1-2 min. Pour into a ceramic cup (150 ml) or mug
(250 ml) and place in the centre of turntable.
Reheat uncovered.
Stir carefully before and after standing time.
Be careful while taking the cups out (see
safety instructions for liquids).
t~_^loTWZ[_`jluUGGwG^GG{ SGm GX[SGYWW_GG[aY^Gwt


