Using the LAN 61
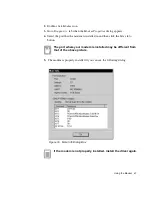
2. Click the Device Manager tab.
3. Double-click Other Devices or Network Adapters in the list area.
4. Double-click a PCI Ethernet Controller(or Intel(R) PRO/100+ PCI adapter).
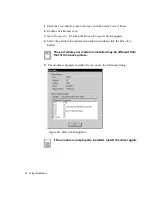
5. Click the Driver tab, then click Update Driver.
6. Click Next at the Update Device Driver Wizard .
7. Select "Display a list of all the drivers in a specific location..." and click Next.
8. Click Disk and select Have Disk.
9. Insert the Intel PRO/100+ adapter disk or System Software CD and select
Specify a location, then enter the appropriate drive for your disk media (A:, D:,
etc.), and Click OK.
10. The Update Wizard displays the message that it has found the driver and select
Intel(R) PRO/100+ PCI Adapter, then Click OK.
11. From the Update Device Driver Wizard, Click Next.
If a dialog box displays file not found message, enter the
driver directory, and clic OK.
12. From the Update Wizard, Click Finish.
13. Restart your computer when prompted.
Configuring Network Environment
1. If you complete installing Network Adapter driver, from the control panel,
double-click the Network icon.
2. Click Network Configuration tab, then ensure that Intel(R) PRO/100+ PCI
Adapter is installed.
3. Select TCP/IP->Intel(R) PRO/100+ PCI Adapter in the The following
network components are installed list, and click Properties.
4. From the TCP/IP Properties, click the IP Address tab. Select Specify an IP
address and then enter your IP address and the appropriate subnet mask. If you
use DHCP server, select Obtain an IP address automatically.
5. Click the Gateway tab, then enter gateway address in the New gateway and
Click Add. If you use DHCP server, this process is not needed.

