94
Chapter 4.
Settings and Upgrade
Battery
Using the Battery Calibration Function
When charging/discharging the battery repeatedly for a short time
only, the battery usage time may be reduced by the difference
between the actual battery charge and the remaining charge
display.
In this case, the actual battery charge and the remaining charge
display will be the same by discharging the battery completely
using the Battery Calibration function, and then recharging it
again.
The screen images and terms may differ from actual product
depending on the computer model and driver version.
1
Disconnect the AC power adapter after turning off the
computer.
2
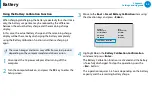
Turn the computer back on, and press the
F2
key to enter the
Setup screen.
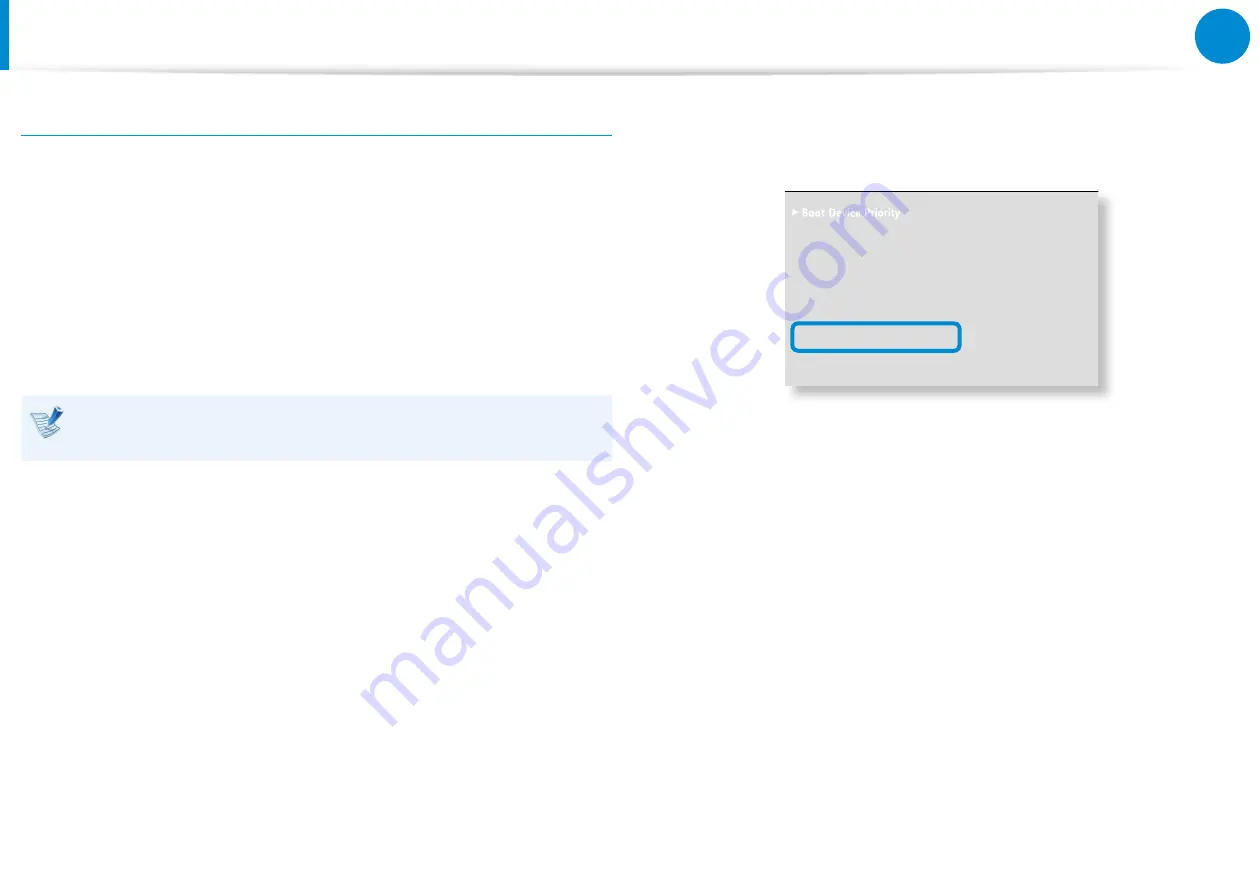
3
Move to the
Boot > Smart Battery Calibration
item using
the direction keys and press <
Enter
>.
XXXXXXXX
0WO.QEM
=1HH?
'PCDNG-G[RCF
=$[0WO.QEM?
6QWEJ2CF/QWUG
='PCDNGF?
+PVGTPCN.#0
='PCDNGF?
2:'1241/
=&KUCDNGF?
5OCTV$CVVGT[%CNKDTCVKQP
4
Highlight
Yes
in the
Battery Calibration Confirmation
window and press <
Enter
>.
The Battery Calibration function is activated and the battery
is forcefully discharged. To stop the operation, press the
<
Esc
> button.
This operation requires 3~5 hours depending on the battery
capacity and the remaining battery charge.
Summary of Contents for NP900X3D-A02US
Page 1: ...User Guide ...


