Using the Disk Drives 31
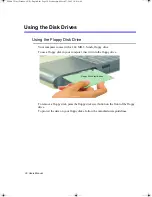
Using the CD/DVD-ROM Drive
Compact discs are designed so that you can easily insert one into the computer when
you need it, and then remove it. See ”Using the Flex-Bay” on page 27 for information
on installing the DVD-ROM drive into the computer.
DVD Notes:
A DVD player is a factory option and if you ordered this option you will have to
install the provided DVD software to view the DVD Title.
1.
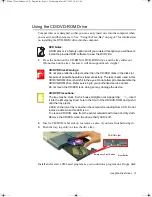
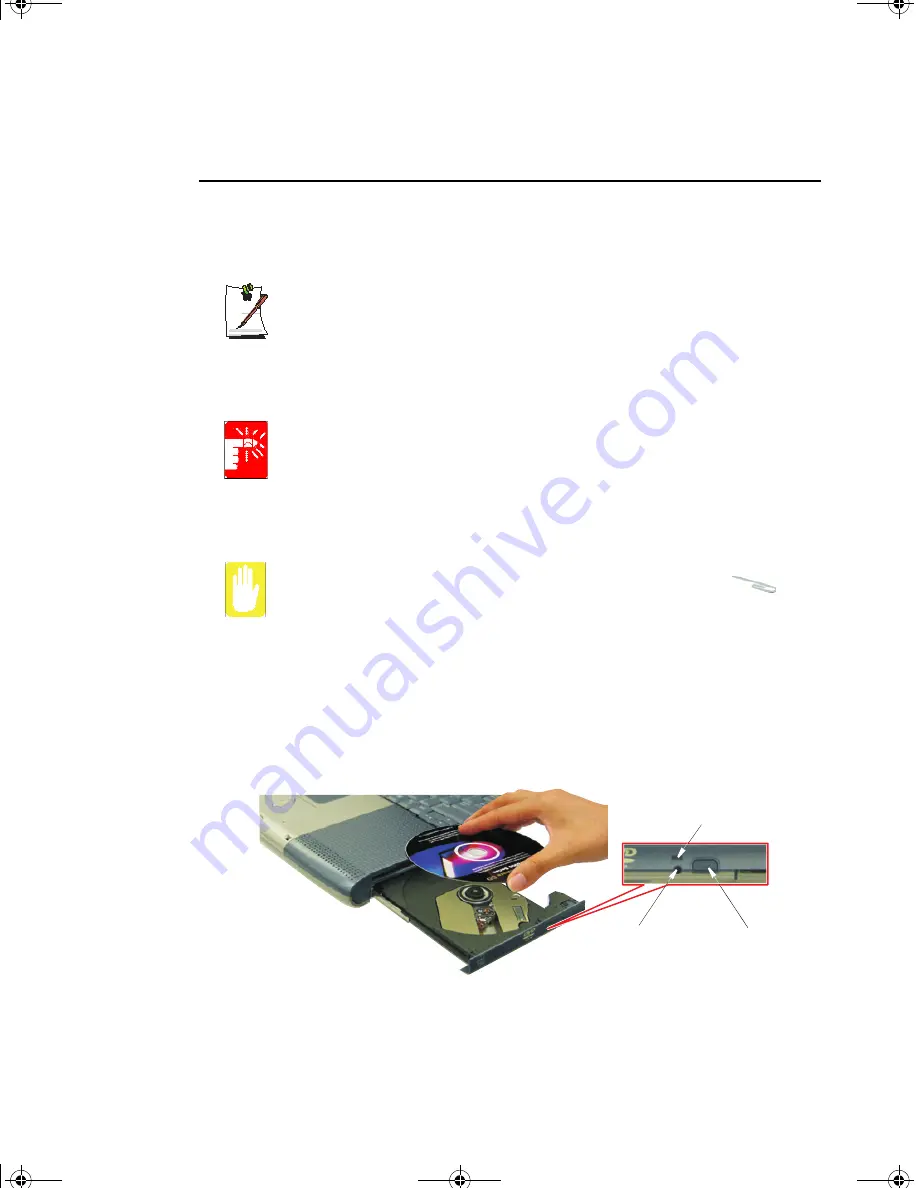
Press the button on the CD-ROM or DVD-ROM drive, and the tray slides out.
(Do not lean on the tray; because it will not support much weight.)
CD/DVD Drive Warnings:
Do not place reflective objects other than the CD/DVD disks in the disk slot
because of possible hazardous laser emissions. The laser beam used in this
CD/DVD-ROM drive is harmful to the eyes. Do not attempt to disassemble the
CD/DVD-ROM drive. Refer servicing to your authorized service center.
Do not touch the CD/DVD lens, doing so may damage the device.
CD/DVD Precautions:
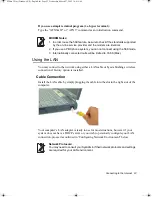
The tray may be stuck, in which case straighten out a paper clip,
insert
it into the Emergency Eject hole in the front of the CD/DVD-ROM and push it
until the tray ejects.
A LED on the drive tray is on when the computer is reading from a CD. Do not
remove a disc when this LED is on.
To clean a CD/DVD, wipe from the center outwards with clean and dry cloth.
Remove the CD/DVD when the drive activity LED is off.
2.
Insert a CD/DVD, label side up (or remove a disc, if you have finished using it).
3.
Push the tray in gently to close the drive tray.
Install and/or start a CD-based program as you would run a program on a floppy disk.
Eject Button
CD-ROM Light
Emergency Eject Button
Matrix 3 Plus (Windows XP) - English.fm Page 31 Wednesday, March 27, 2002 10:41 AM

