28
3. Disassembly and Reassembly
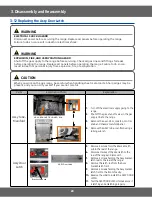
3-12 Replacing the Assy Door Latch
WARNING
ELECTRICAL SHOCK HAZARD
Disconnect power before servicing the range . Replace all panels before operating the range .
Failure to do so can result in death or electrical shock .
WARNING
EXPLOSION, FIRE, AND ASPHYXIATION HAZARD
Shut off the gas supply to the range before servicing. Check all gas lines and fittings for leaks
before operating the range . Replace all panels before operating the range . Failure to do so can
result in death or personal injury from explosion, fire, or asphyxiation.
CAUTION
When you work on the gas range, be careful when handling sheet metal parts . Sharp edges may be
present, and you can cut yourself if you are not careful .
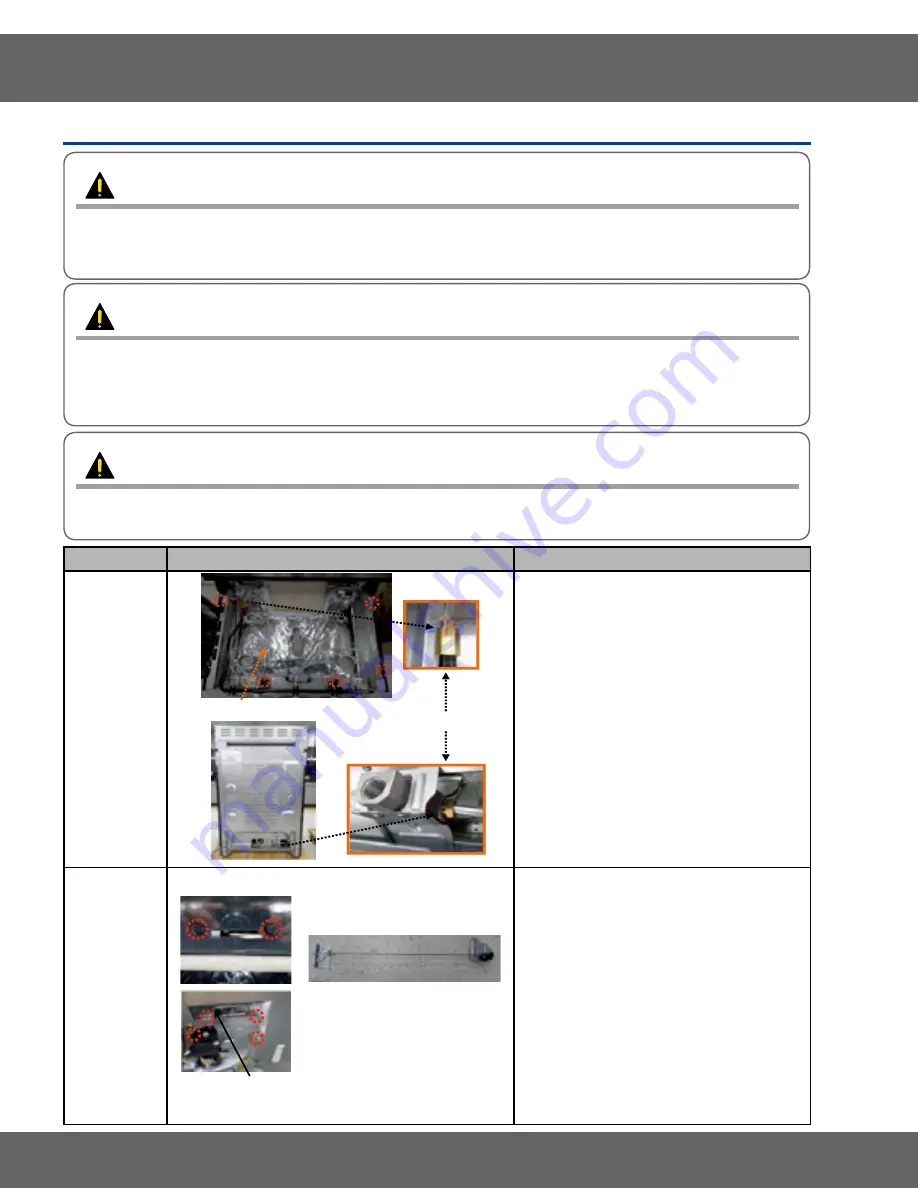
Parts
Explanation Photo
Explanation
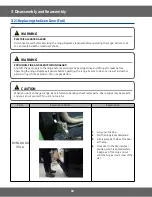
Assy Tube-
Manifold
1.
Turn off the electrical supply going to the
range .
2.
Shut off the gas shut-off valve in the gas
supply line to the range .
3.
Remove the oven door, cooktop, control
knob and chassis manifold panel .
4.
Remove the ASSY tube-manifold using a
tubing wrench .
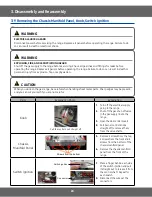
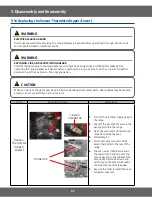
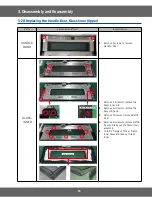
Assy Door
Latch
ASSY Door Latch
Bracket-Latch sub
5.
Remove 2 screws from the Bracket-Latch
sub to the rear of the range .
6.
Disconnect wires of the door latch to the
rear of the range and remove it .
7.
Remove 2 screws holding the Assy bracket-
latch rear to the rear of the range .
8.
Remove the latch-rod from the Assy
bracket-latch front .
9.
Remove 2 screws holding the Assy bracket-
latch front to the front of cavity .
10.
Reverse the order to install the ASSY DOOR
LATCH .
11.
Test the ASSY DOOR LATCH to make sure it
is latching and unlatching properly .
ASSY BRACKET-B URNER BOX


