English 17
C
ookt
op
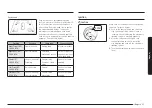
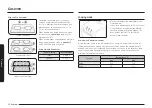
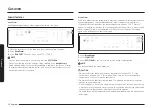
Gas burners
C
LR
LF
RF
RR
Each burner has a corresponding knob
that lets you to set the flame level from LO
to HI. In addition, each burner knob has a
Lite setting. Turning a knob to Lite ignites
the corresponding burner. The burner
indicators are located above each knob
and show which burner the knob controls.
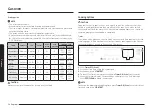
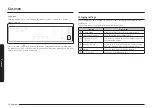
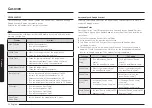
Each burner is designed for specific cooking
purposes. See the table below.
Position
Purpose
Food type
Characteristics
Right Front (RF)
18,000 BTU
Power heating
Boiling food
Maximum output
Right Rear (RR)
5,000 BTU
Low simmering
Chocolate,
casseroles, sauces
Delicate food that
requires low heat
for a long time
Center (C)
10,000 BTU
General heating/
Griddling
General food/
Pancakes, fried
eggs
General-purpose
cooking
Left Front (LF)
12,000 BTU
Quick heating
General
General-purpose
cooking
Left Rear (LR)
9,500 BTU
General heating/
Low simmering
General food,
casseroles
General-purpose
cooking
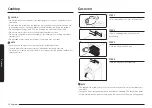
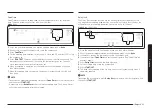
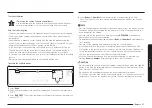
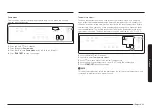
Ignition
CAUTION
2
1
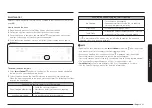
Make sure all surface burners are properly
installed. To light a burner:
1.
Push in the control knob, and then turn
it to the Lite position. You will hear a
“clicking” sound indicating the electronic
ignition system is working properly.
2.
After the surface burner lights, turn
the control knob to shift it out of the
Lite position and turn off the electronic
ignition system.
3.
Turn the control knob to adjust the flame
level.
Summary of Contents for NX60 63 S
Page 1: ...Gas Free Standing Range User manual NX60 63 S ...
Page 53: ...Estufa de pie de gas Manual del usuario NX60 63 S ...
Page 103: ...Notas ...
Page 105: ...Cuisinière à gaz non encastrable Manuel d utilisation NX60 63 S ...
Page 155: ...Notes ...


