English 45
Maint
enanc
e
5.
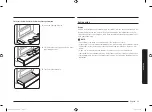
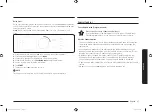
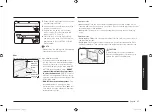
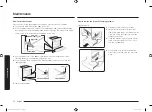
Repeat for the right (front and back) slide
mechanism of the rack.
6.
Open and close the rack several times to
distribute the lubricant.
7.
Replace the cap on the lubricant and
shake it again. Turn the rack over and
repeat steps 3, 4, 5, and 6.
8.
Close the rack, turn rack right-side-up
and place in the oven. See installing the
gliding rack in the USING THE GLIDING
RACK section.
NOTE
•
Do not spray the gliding rack with cooking
spray or other lubricant sprays.
Door
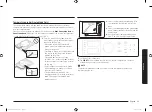
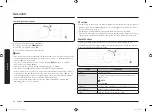
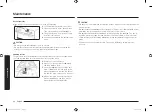
Do not remove the inner gasket of the oven door for cleaning.
Don’t hand
clean the
oven door
gasket.
You may
hand clean
the door.
•
Use soap and water to thoroughly clean
the top, sides, and front of the oven door.
Rinse well. You may use a glass cleaner
on the outside glass of the oven door. DO
NOT immerse the door in water.
DO NOT
spray or allow water or the glass cleaner
to enter the door vents.
DO NOT use oven
cleaners, cleaning powders, or any harsh
abrasive cleaning materials on the outside
of the oven door.
•
DO NOT clean the oven door gasket.
The
oven door gasket is made of a woven
material which is essential for a good seal.
Care should be taken not to rub, damage,
or remove this gasket.
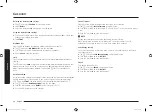
Door inner side
• Inner surface
: Clean the inner side of the door manually using a soapy plastic
scouring pad, and then wipe with a dry cloth. Take care not to get the gasket wet
or allow moisture into the door.
• Inner glass
: The inner glass is cleaned automatically during the self-cleaning
cycle.
Door outer side
• Outer surface
: Follow the cleaning instructions for the stainless steel surface in
the previous section.
• Outer glass
: Clean the outer glass using a glass cleanser or soapy water. Rinse
and dry thoroughly. Take care not to get the gasket wet or allow moisture into
the door.
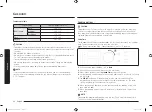
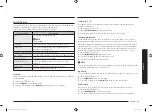
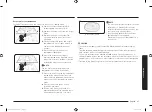
*
CAUTION
Do not let moisture enter the door or
contact the door gasket (*). Moisture may
reduce the gasket’s performance.
NX60T8751SS_AA_DG68-01219A-00_EN.indd 45
3/26/2020 8:39:41 PM

