
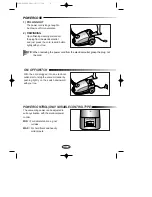
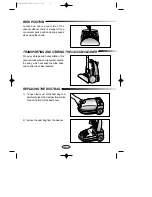
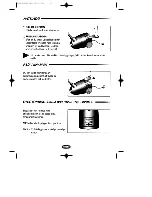
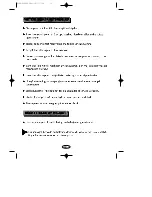

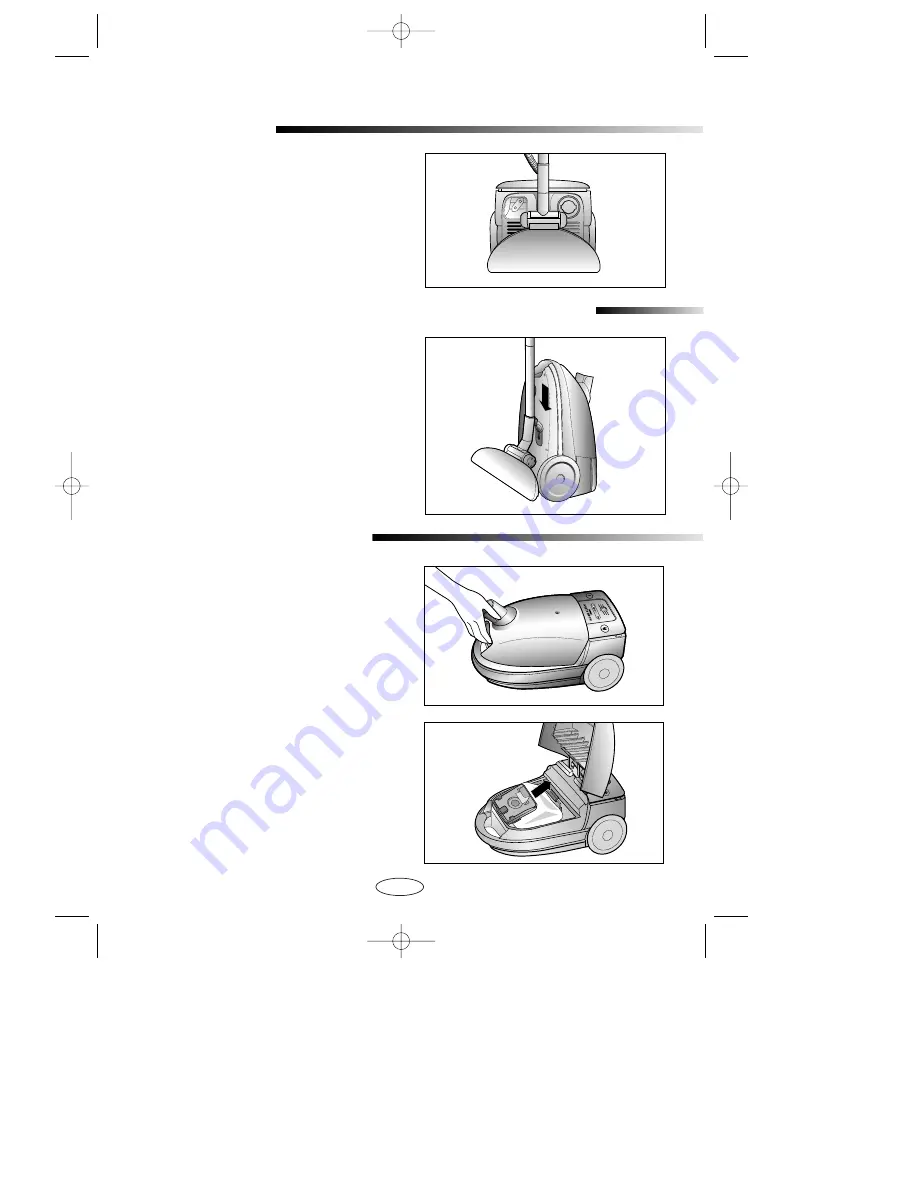
PARK POSITION
Located on the top rear side of the
vacuum cleaner, there is a support for a
convenient park position during pauses
when using the nozzle.
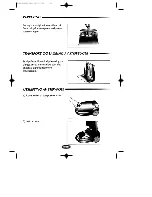
For easy storage and transportation, this
vacuum cleaner has a clip system built on
the body, which will keep the tube, hose
and nozzle in a vertical position.
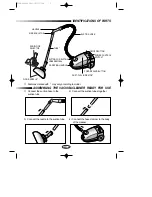
TRANSPORTING AND STORING THE VACUUM CLEANER
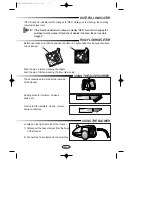
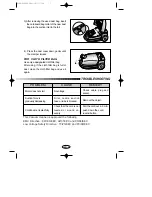
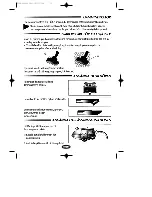
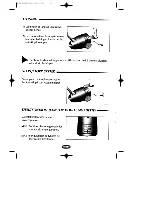
REPLACING THE DUST BAG
1) To open the cover of the dust bag com-
partment press the clamper forward loc-
ated at the front of the dust cover.
2) remove the dust bag from the cleaner.
EN-5
DJ68-00022B
2001.10.11
17:38
˘
`
6
Summary of Contents for RC-5521
Page 8: ...SV 1 DJ68 00022B2001 10 1117 38 8 ...
Page 9: ...SV 2 DJ68 00022B2001 10 1117 38 9 ...
Page 10: ...SV 3 DJ68 00022B2001 10 1117 38 10 ...
Page 11: ...SV 4 DJ68 00022B2001 10 1117 38 11 ...
Page 12: ...SV 5 DJ68 00022B2001 10 1117 38 12 ...
Page 14: ...NO 1 DJ68 00022B2001 10 1117 38 14 ...
Page 15: ...NO 2 DJ68 00022B2001 10 1117 38 15 ...
Page 16: ...NO 3 DJ68 00022B2001 10 1117 38 16 ...
Page 17: ...NO 4 DJ68 00022B2001 10 1117 38 17 ...
Page 18: ...NO 5 DJ68 00022B2001 10 1117 39 18 ...
Page 20: ...DA 1 DJ68 00022B2001 10 1117 39 20 ...
Page 21: ...DA 2 DJ68 00022B2001 10 1117 39 21 ...
Page 22: ...DA 3 DJ68 00022B2001 10 1117 39 22 ...
Page 23: ...DA 4 DJ68 00022B2001 10 1117 39 23 ...
Page 24: ...DA 5 DJ68 00022B2001 10 1117 39 24 ...
Page 32: ...DJ68 00022B REV 0 3 DJ68 00022B2001 10 1117 39 32 ...


