


OWNER’S INSTRUCTIONS
DA99-01220X REV(0.0)
ENGLISH
Register your product at www.samsung.com/register
CONTENTS
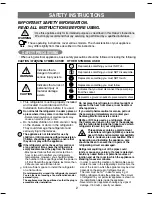
SAFETY INSTRUCTIONS ............................................................... 2
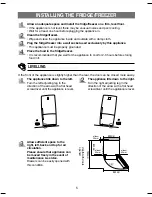
INSTALLING THE FRIDGE / FREEZER ......................................... 5
PREPARING THE FRIDGE / FREEZER ........................................ 6
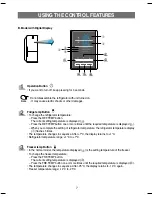
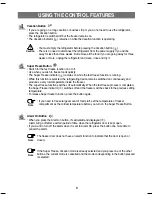
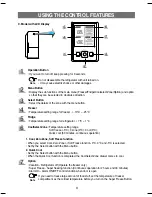
USING THE CONTROL FEATURES .............................................. 6
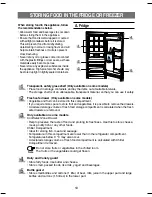
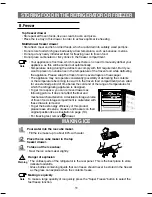
STORING FOOD IN THE REFRIGERATOR OR FREEZER ........ 10
MAKING ICE .................................................................................. 11
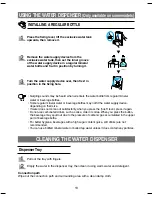
USING THE WATER DISPENSER (Only available on some models) .. 12
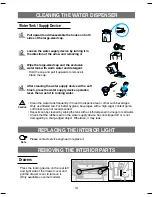
CLEANING THE WATER DISPENSER ....................................... 13
REPLACING THE INTERIOR LIGHT .................................................. 14
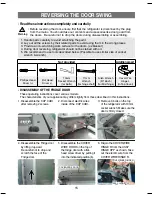
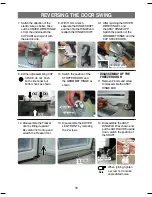
REVERSING THE DOOR SWING
............................................... 15
PROBLEMS AND SOLUTIONS ................................................... 18
VIEW OF YOUR FRIDGE / FREEZER ........................................ 19
Free Standing Appliance
DA99-01220X.indb 1
2010.8.6 9:47:18 AM


