
16_
operating
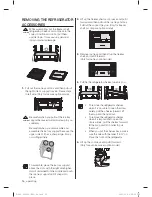
REMOVING THE REFRIGERATOR
ACCESSORIES
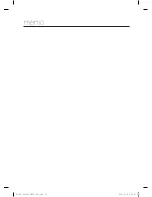
While assembling, put the freezer shelf,
refrigerator shelves and cool pack in the
correct position and do not put them
upside down. It may cause a personal
injury or material damage.
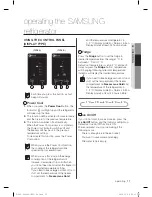
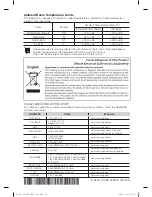
Pull out the ice tray and box and then pull out
1.
the right side of support tray ice. Same steps
to left side. (Only for ice max option model)
Be careful when you pull out the ice tray
support because it will protrude up to you
suddenly.
Be careful when you disassemble and
assemble the ice tray support because the
upper side of it has a sharp edge. It may
occur fi nger injury.
To assemble, place the ice tray support
above the slots with the right side higher.
Hold it underneath in the middle and push
the ice tray support until it snaps into
place.
CAUTION
CAUTION
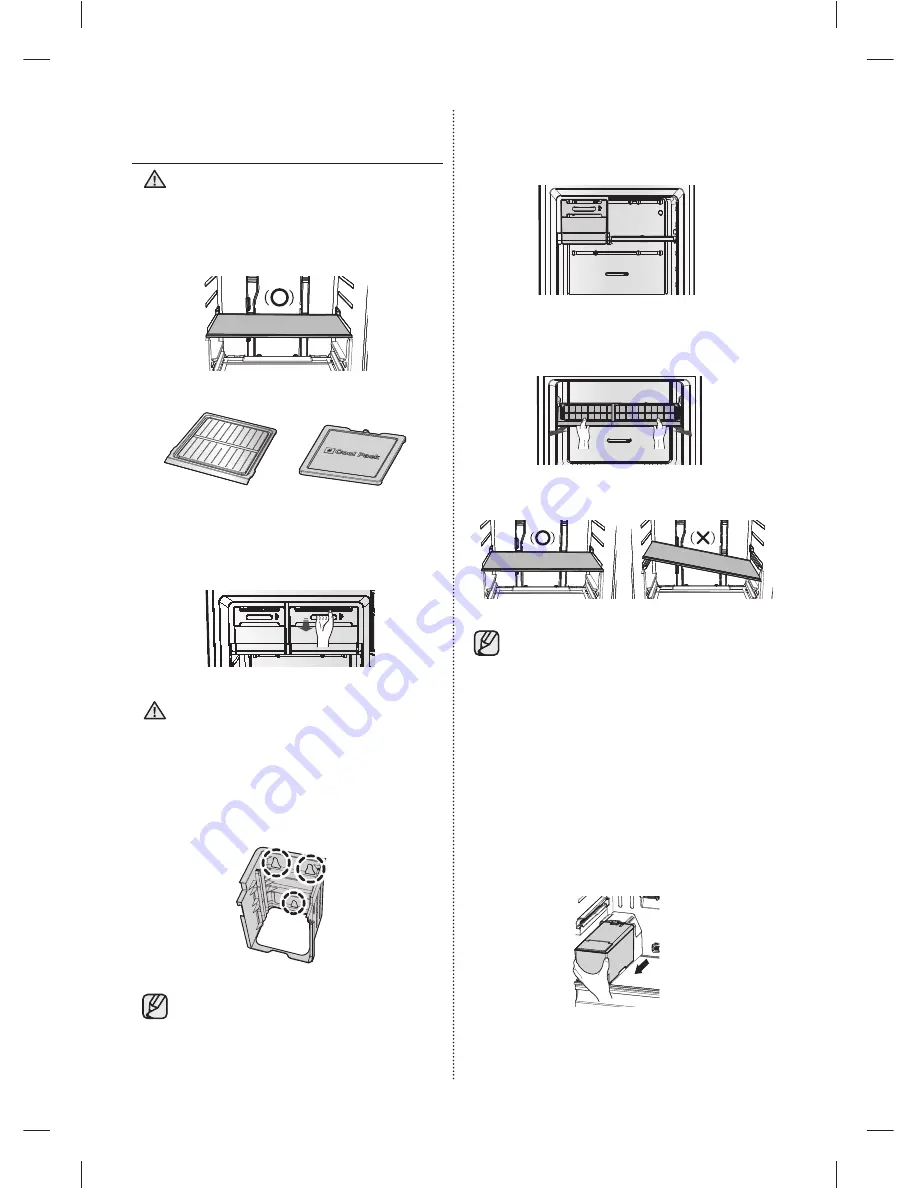
Lift up the freezer shelf or cool pack and pull it
2.
forward and then pull out the ice tray and box.
Pull out the support tray ice. (Only for freezer
shelf or cool pack option model)
Remove ice tray and then lift up the freezer
3.
shelf, and pull it forward.
(Only for ice tray option model)
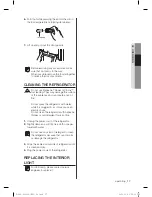
Pull the the refrigerator shelves towards you.
4.
• To remove the refrigerator shelves
when it is possible to open the doors
widely, pull the shelves forward, lift
them up and then pull out.
To remove the refrigerator shelves
•
when it is impossible to open the
doors widely, pull the shelves forward,
lift them up and tilt in order to pull
them out.
When you put the shelves back, make
•
sure the side with the label “Front” on
it face the front of the refrigerator.
Lift up the cool pack and pull it forward.
5.
(Only for auto ice maker option model)
DA68-02832A(EN)-0.4.indd 16
DA68-02832A(EN)-0.4.indd 16
2013.1.30 2:16:30 PM
2013.1.30 2:16:30 PM


