background image

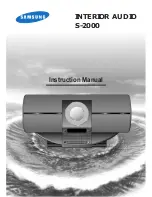
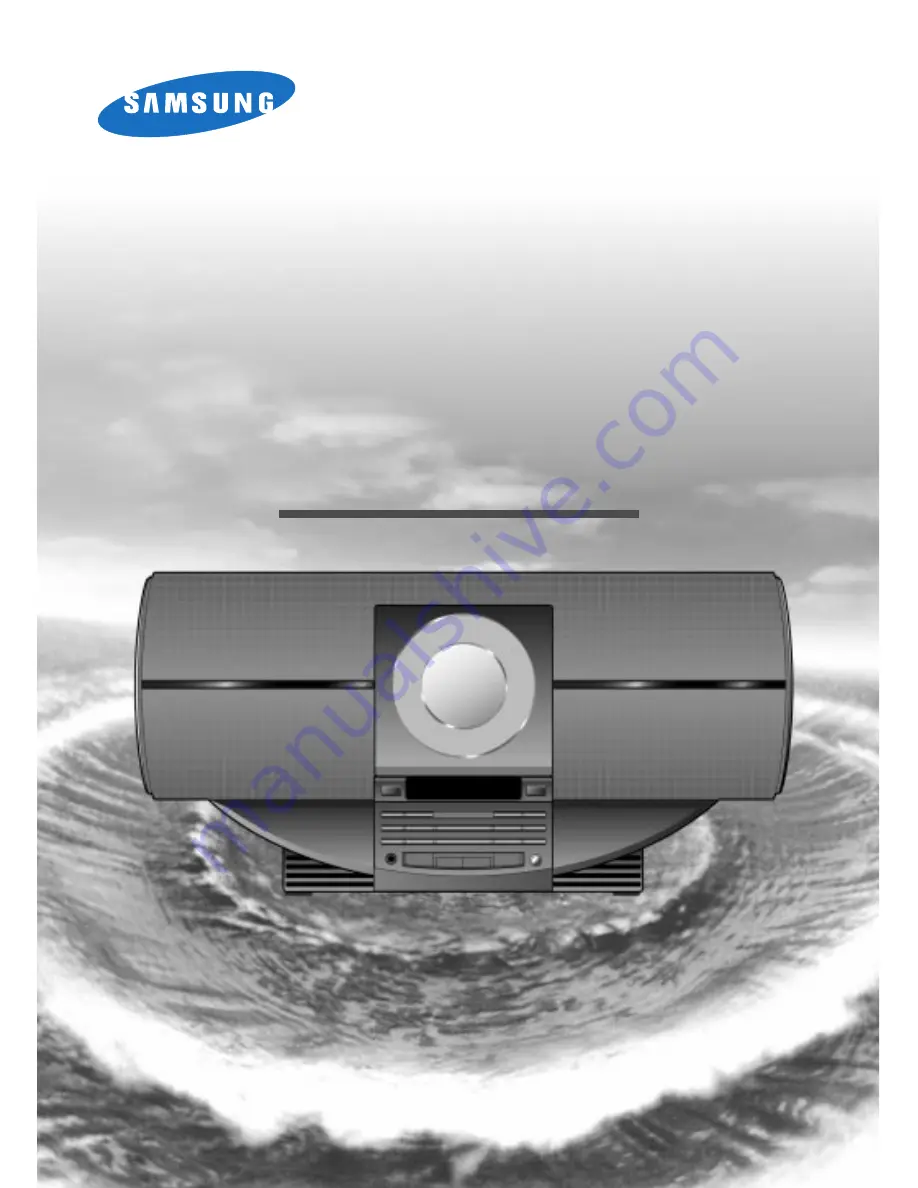
Instruction Manual

INTERIOR AUDIO
S-2000

ELECTR

Summary of Contents for S-2000

Page 1: ...Instruction Manual INTERIOR AUDIO S 2000 ELECTR ...

Page 2: ...ugh to reach a power point you should obtain a suitable safety approved extension lead or consult your dealer for assistance However if there is no alternative to cutting off the plug remove the fuse and then safely dispose of the plug Do not connect the plug to a main socket as there is a risk of shock hazard from the bared flexible cord Never attempt to insert bare wires directly into a main soc...

Page 3: ...d Station 14 Improving Radio Reception 14 OTHER FUNCTIONS About RDS broadcasting 15 Timer Function 18 Cancelling the Timer 19 Power Sound Function 19 Snooze Function 20 Setting the System to Switch Off Automatically 21 Selecting an Equalizer Preset 21 Connecting Headphones 22 RECOMMENDATIONS FOR USE Precautions When Using Compact Discs 22 Safety Precautions 23 Before Contacting the After Sales Ser...

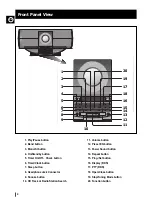
Page 4: ...Station Search 11 Volume button 12 Preset EQ button 13 Power Sound button 14 Repeat button 15 Prog Set button 16 Display RDS 17 PTY RDS 18 Open Close button 19 Stop Tuning Mode button 20 Function button GB On Standby Timer On Off Check Mono St Timer Clock Sleep Band Snooze Preset EQ P Sound Phones Tuning Mode PTY RDS Display Function Volume Prog Set Repeat Open Close 1 2 3 4 5 6 7 8 9 11 10 12 13 ...

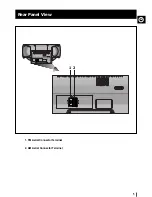
Page 5: ...5 Rear Panel View GB 1 FM Aerial Connector Terminal 2 AM Aerial Connector Terminal 1 2 ANTENNA FM 75Ω AM ANTENNA FM 75Ω AM ...

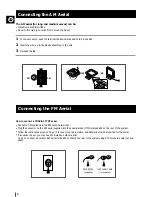
Page 6: ...y need to install an outdoor aerial To do so connect an outdoor FM aerial to the FM socket on the rear of the system using a 75Ω coaxial cable not sup plied FM FM FM FM AERIAL supplied 75Ω COAXIAL CABLE not supplied The AM aerial for long and medium waves can be Placed on a stable surface Fixed to the wall you must first remove the base To connect a wire push the terminal tab downwards and hold it...

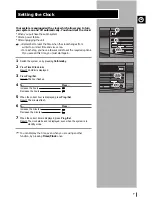
Page 7: ... Clock twice Result CLOCK is displayed Press Prog Set Result The hour flashes To Press Increase the hours Decrease the hours When the correct hour is displayed press Prog Set Result The minutes flash To Press Increase the minutes Decrease the minutes When the correct time is displayed press Prog Set Result The clock starts and is displayed even when the system is in standby mode You can display th...

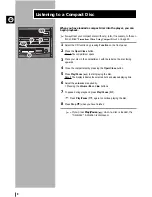
Page 8: ...e label on the disc facing upwards Close the compartment by pressing the Open Close button Press Play Pause to start playing the disc Result The display indicates the selected track and elapsed playing time Adjust the volume as required by Pressing the Volume and buttons To pause during playback press Play Pause Press Play Pause again to continue playing the disc Press Stop when you have finished ...

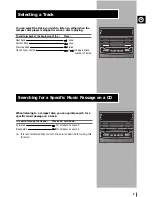
Page 9: ...pecific Music Passage on a CD dby er Check Mono St Clock p Band Snooze Preset EQ P es PTY RDS D Tuning Mode Function Volume Pro R Op dby er Check Mono St Clock p Band Snooze Preset EQ P es PTY RDS D Tuning Mode Function Volume Pro R Op When listening to a compact disc you can quickly search for a specific music passage on a track To search through the tracks Press and hold down Forwards for at lea...

Page 10: ...compact disc All tracks on the compact disc This function is not available when playing a disc in a random sequence Press the Repeat button To repeat the Press Repeat Current track indefinitely Once RPT 1 is displayed Disc Twice RPT ALL is displayed When you wish to stop the Repeat function press Repeat a third time Result RPT OFF is displayed 2 1 ...

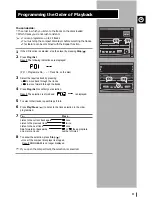
Page 11: ... Prog Set to confirm your selection Result The selection is stored and is displayed To select other tracks repeat Steps 3 to 4 Press Play Pause to listen to the track selection in the order programmed To Press Listen to the current track again once Listen to the previous track twice Listen to the next track once Skip forwards or backwards or the appropriate one or more tracks number of times To ca...

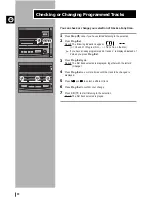
Page 12: ... selected is displayed together with the letter C Change Press Prog Set one or more times until the track to be changed is displayed Press and to select a different track Press Prog Set to confirm your change Press CD to start listening to the selection Result The first track selected is played Checking or Changing Programmed Tracks GB Preset EQ P Sound PTY RDS Display Tuning Mode Function Volume ...

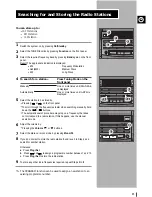
Page 13: ...at does not correspond to a radio station If this happens use the manual search mode Adjust the volume by Pressing the Volume or buttons Select the stereo or mono mode by pressing Mono St If you do not want to store the radio station found revert to Step 4 and search for another station Otherwise a Press Prog Set b Press and to assign a programme number between 1 and 15 c Press Prog Set to store t...

Page 14: ...ws Switch the system on by pressing On Standby Select the TUNER function by pressing Function on the front panel Select the required frequency band by pressing Band on the front panel Select the radio station as follows To listen to Press A stored station a Press Tuning Mode until PRESET is displayed b TUNING and to select the required programme Another station TUNING and until the required freque...

Page 15: ...1 PTY Program Type Displays the type of programme currently being broadcast 2 PS NAME Program Service Name Indicates the name of broadcast ing station and is decodes if any composed of 8 characters 3 RT Radio Text The text broadcast by a station and composed of maximum 64 characters 4 CT Clock Time Decodes the real time clock from the FM frequency Some stations may not transmit PTY RT or CT inform...

Page 16: ...station Press the RDS Display button to select the RT MODE RT appears on the display If the RT information is being received the received information is shown on the display If the RT information isn t received the NO RT is shown On the display About CT Clock Time Sets the time of the RDS clock To select the CT time set the RDS Display button to CT MODE The CT information will take up to 2 minutes...

Page 17: ...t r Clock eep Band Snooze Preset EQ nes PTY RDS Tuning Mode Function Volume P O 2 2 PTY RDS Display NEWS AFFARIS INFO SPORT EDUCATE DRAMA CULTURE SCIENCE VARIED POP M ROCK M M O R M LIGHT M CLASSIC OTHER M ALARM TRAFFIC Program Type News including an announced opinion and report Several matters including a current incident documentary discussion and analysis Information including weights and measu...

Page 18: ...mer switch off time a Set the hour by pressing and b Press Prog Set Result The minutes flash c Set the minutes by pressing and d Press Prog Set Result VOL XX is displayed where XX corresponds to the volume already set Press and to adjust the volume level and press Prog Set Result The source to be selected is displayed Press and to select the source to be played when the system switches on If you s...

Page 19: ...lling the Timer On Standby Timer On Off Check Mono St Timer Clock Sleep Band Snooze Pre Phones P Tun Function Volume This audio system is equipped with the function of Power Sound which amplifies bass and improves high key or bass twice as much for you to appreciate powerful real surround sound Press P Sound button on the front panel Result The P Sound button on the front panel lights up green P S...

Page 20: ...e a Set the hour by pressing and b Press Prog Set Result The minutes flash c Set the minutes by pressing and d Press Prog Set Press and to adjust the volume level and press Prog Set Result The source to be selected is displayed Press and to select the source to be played when the system switches on If you select You must also TUNER radio a Select the FM or AM frequency band by pressing and b Press...

Page 21: ...ncel Sleep function press SLEEP one or more times until OFF is displayed Setting the System to Switch Off Automatically Selecting an Equalizer Preset On Standby Timer On Off Check Mono St Timer Clock Sleep Band Snooze Phones Function Volume 1 2 3 4 90 MIN SLEEP Your audio system is equipped with a preset equalizer that allows you to choose the most appropriate balance between tre ble and bass freq...

Page 22: ...ge your hearing Handle your compact discs with care Always hold them by the edges to avoid leaving fingerprints on the shiny surface When you have finished playing a compact disc always put it back in its case Do not fix paper or adhesive tape to the discs and do not write on the label Clean them with a special purpose cloth Store your compact discs in a clean place out of direct sunlight where th...

Page 23: ...h events immediately disconnect the main plug from the socket Do not place heavy items on the main lead Main cable damage can lead to damage of the equip ment fire hazard and can cause electric shock Do not expose the unit to direct sun radiation or other heat sources This could lead to over heating and malfunction of the unit During thunderstorms disconnect the main plug from the socket Main volt...

Page 24: ...rphones Press the Preset EQ button for 5 seconds in power OFF standby then it is returned the original posi tion RESET The timer has been stopped by pressing Timer on off The CD function has not been selected The disc has been inserted face down or is either dirty or scratched The laser sensor is dirty or dusty The system has not been installed on a flat horizon tal surface Condensation has formed...

Page 25: ...Total harmonic distortion 2 FM Signal noise ratio 45 dB Usable sensitivity 10 dB Total harmonic distortion 0 3 COMPACT DISC PLAYER Frequency range 20 Hz 20 KHz 1 dB Signal noise ratio 90 dB at 1 KHz with filter Distortion 0 05 at 1 KHz Channel separation 80 dB Disc sizes Diameter 120 or 80 mm Thickness 1 2 mm AMPLIFIER Output power 3 2Ω 2 x 5 Watts RMS total harmonic distortion 10 Channel separati...

Page 26: ...ELECTRONICS ELECTRONICS THIS APPLIANCE IS MANUFACTURED BY AH68 00214X ...

Reviews: