92
Coordinating OSD
9
9 Coordinating OSD
9.2
Image Size
Change the picture size.
9.2.1
Changing the Image Size
1
Press any button on the front of the product to display the Function Key Guide.
Next, press [
] to display the corresponding menu screen.
2
Press [
] to move to
SIZE&POSITION
and press [
] on the product.
3
Press [
] to move to
Image Size
and press [
] on the product.
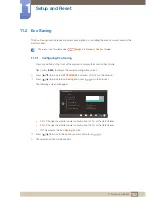
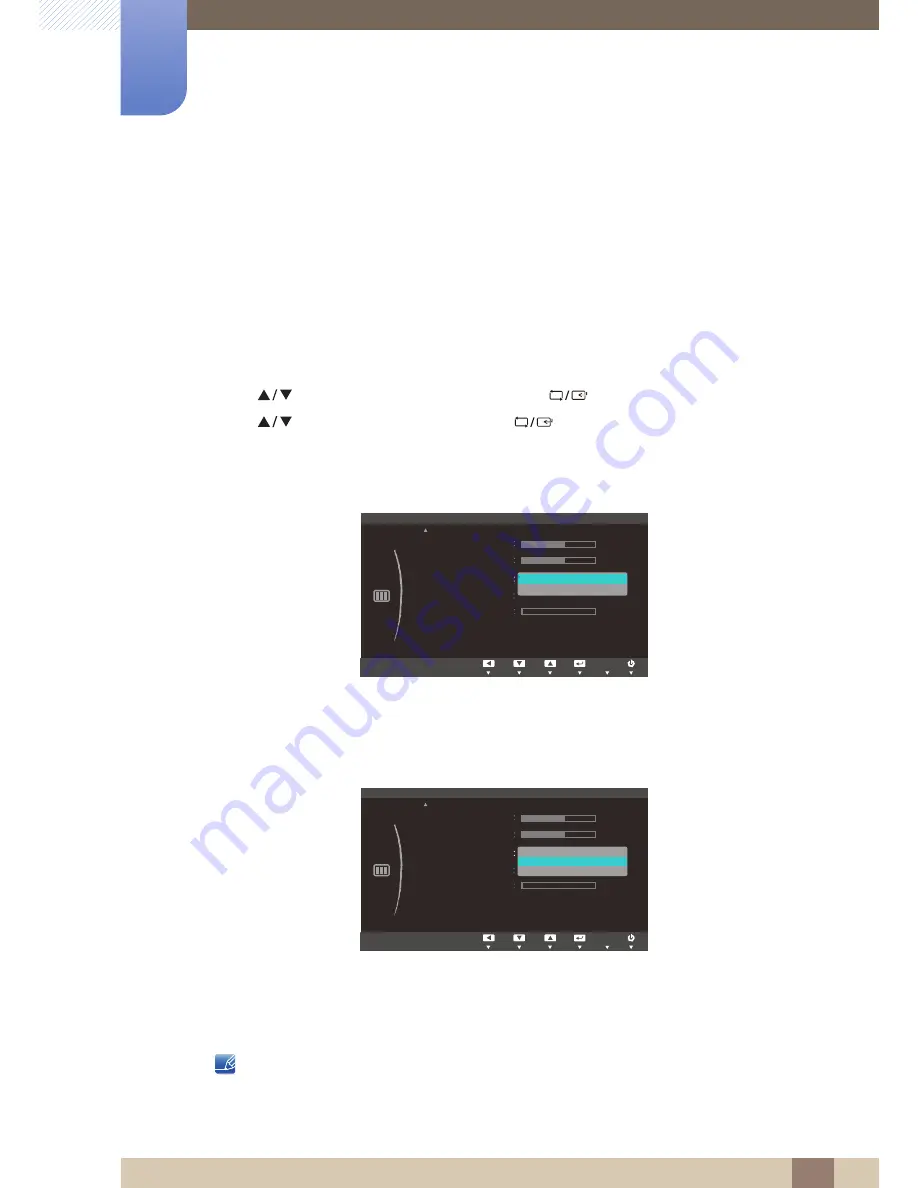
The following screen will appear.
Auto
: Display the picture according to the aspect ratio of the input source.
Wide
: Display the picture in full screen regardless of the aspect ratio of the input source.
4:3
: Display the picture with an aspect ratio of 4:3. Suitable for videos and standard broadcasts.
16:9
: Display the picture with an aspect ratio of 16:9.
Screen Fit
: Display the picture with the original aspect ratio without cutting off.
Changing the screen size is available when the following conditions are satisfied.
The function may not be supported depending on the ports provided with the product.
A digital output device is connected using the DVI cable.
In
PC
mode
In
AV
mode
MENU
SIZE&POSITION
H-Position
V-Position
Menu H-Position
Menu V-Position
50
50
3
Adjust
Enter
Return
Adjust
Enter
Return
AUTO
AUTO
AUTO
AUTO
AUTO
Adjust
Enter
Return
Adjust
Enter
Return
AUTO
AUTO
AUTO
AUTO
AUTO
AUTO
Adjust
Enter
Return
AUTO
AUTO
AUTO
AUTO
AUTO
AUTO
Image Size
Auto
Wide
AUTO
AUTO
SIZE&POSITION
H-Position
V-Position
Menu H-Position
Menu V-Position
50
50
3
Adjust
Enter
Return
Adjust
Enter
Return
AUTO
AUTO
AUTO
AUTO
AUTO
Adjust
Enter
Return
Adjust
Enter
Return
AUTO
AUTO
AUTO
AUTO
AUTO
AUTO
Adjust
Enter
Return
AUTO
AUTO
AUTO
AUTO
AUTO
AUTO
Image Size
AUTO
AUTO
4:3
16:9
Screen Fit


