31
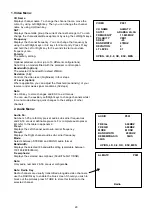
Other keys:
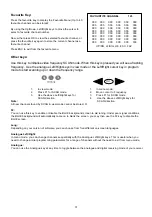
Use this key to initialise video frequency SCAN mode. When this key is pressed you will see a flashing
frequency. Use the analogue Left/Right keys in view mode or the Left/Right cursor key in program
mode to start scanning up or down the frequency range.
Note:
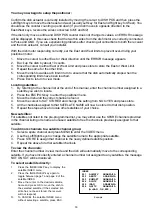
All new channels found by SCAN in view mode cannot be stored. You may only store them whilst in program menu.
F2:
You can use this key to enable or disable the BLUE background screen to aid tuning. Under poor signal conditions
the BLUE background will automatically come on to blank the screen, you may then use the F2 key to disable the
BLUE screen.
Lang:
Depending on your version of software, you can choose from f i v e different on-screen languages.
Analogue Left/Right:
In menu mode, you can change channels sequentially with the Analogue Left/Right keys. This is useful when you
need to change similar programming parameters for a range of channels without the need to exit from menu mode.
Analogue:
You can use the Analogue key at any time to toggle between the analogue and digital receiving mode of you receiver.
Favourite Key:
Press the favourite key to display the Favourite Menu (Up to 40
favourite channels can be stored):
By using the Up/Down, Left/Right keys to move the cursor to
select a favourite channel number.
Now, either press OK to view the selected favourite channel, or
press the favourite key again to store the current channel as a
favourite channel.
Press ESC to exit from the favourite menu.
FAVOURTITE CHANNEL 123
000 000 000 000 000 000
000 000 000 000 000 000
000 000 000 000 000 000
000 000 000 000 000 000
000 000 000 000 000 000
000 000 000 000 000 000
000 000 000 000 000 000
000 000 000 000 000 000
UP/DN, LF/RIG, OK, ESC, FAV
1.
In view mode:
2.
Press F1 for SCAN mode.
3.
Use the above Left/Right keys for
SCAN direction.
1.
In menu mode:
2.
Move cursor to Frequency.
3.
Press F1 for SCAN mode
4. Use the above Left/Right keys for
SCAN direction.
ok

