


21
Adjusting Your Monitor
Adjusting Your Monitor
20
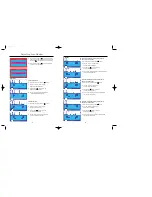
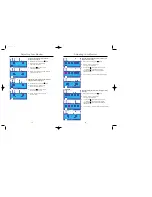
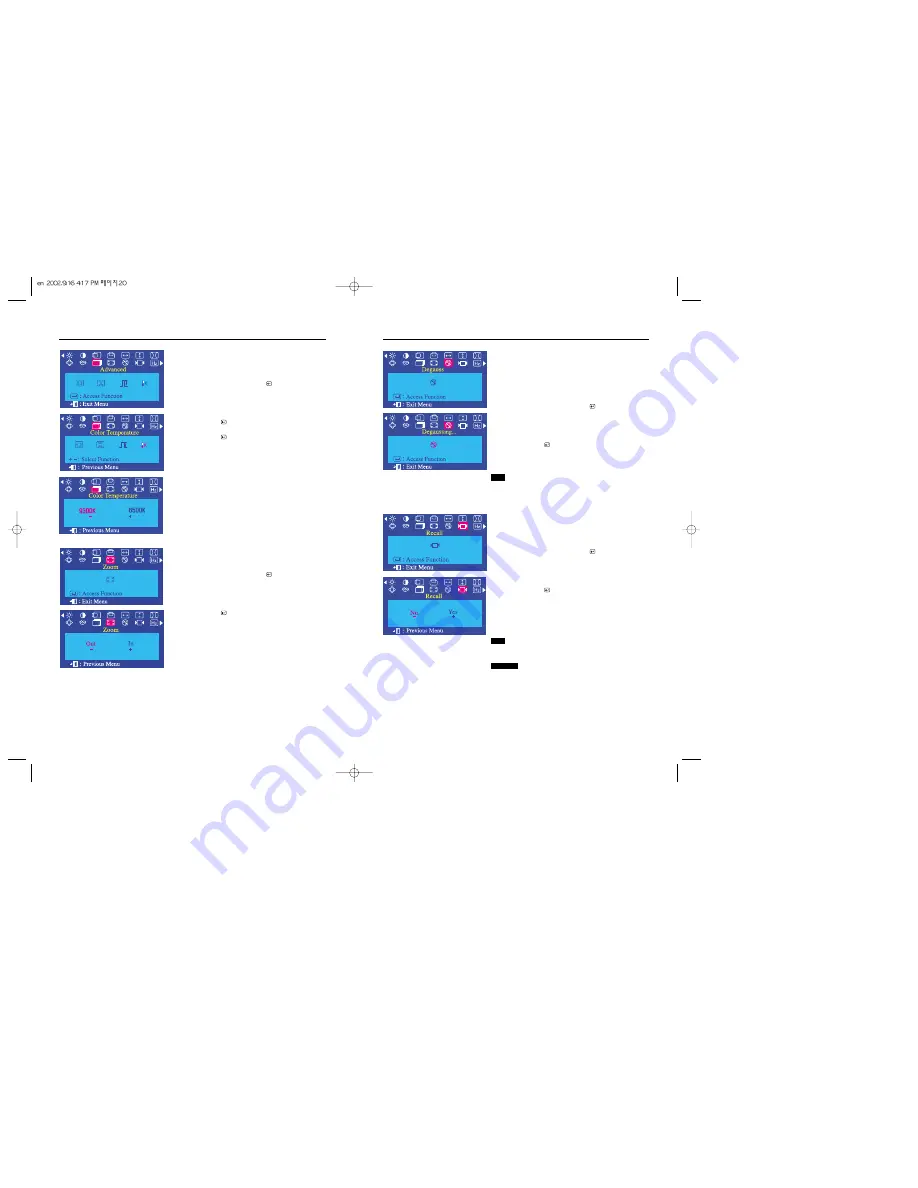
Color Temperature
Color temperature is a measure of the “warmth” of the image
colors. The available range is between 6500 to 9300K.
1
With the menu off, push the menu ( ) button.
2
Push the - button or + button until the
Advanced screen is displayed.
3
Push the menu ( ) button again and then press the
- or + button until the Color Temperature screen appears.
Push the menu ( ) button to open the Color Temperature
adjustment screen.
4
Press the - or + button to select 9300K(Bluish colors)
or 6500K(Reddish colors).
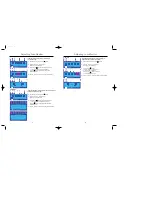
Zoom
Follow these instructions to get a close-up or a longshot view
of the monitor’s viewing area.
1
With the menu off, push the menu ( ) button.
2
Push the - button or + button until the
Zoom screen is displayed.
3
Push the menu ( ) button to open the
Zoom adjustment screen.
4
Use the - button to decrease the screen viewing area.
Use the + button to enlarge the screen viewing area.
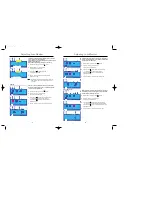
Degauss
The Degauss feature will remove color impurities caused by
magnetic fields.
You can use this function to turn on the power of the monitor
or change the power saving mode to the normal mode.
Do not use the Degauss feature more than once within a
30-minute period.
1
With the menu off, push the menu ( ) button.
2
Push the - button or + button until the
Degauss screen is displayed.
3
Push the menu ( ) button to execute the degauss function.
The degaussing screen will appear.
Note
The monitor may buzz momentarily, the image colors may
change and the image will jiggle for a few seconds.
These effects are normal.
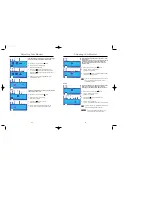
Recall
Use the recall feature to reset these monitor settings to their
original levels: Position, Size, Pincushion, Trapezoid,
Parallelogram, Pinbalance, Rotation, H-Moire and V-Moire.
1
With the menu off, push the menu ( ) button.
2
Push the - button or + button until the
Recall screen is displayed.
3
Push the menu ( ) button to open the Recall
adjustment screen.
4
Push the + button to select Yes.
If you don’t want to reset the monitor, use the - button to select No.
Note
If you have selected “Yes”, all settings listed above will be
reset. All other settings will remain the same.
CAUTION
This operation resets all of the data in the user
memory area for the current timing signal.


