


Specifications
27
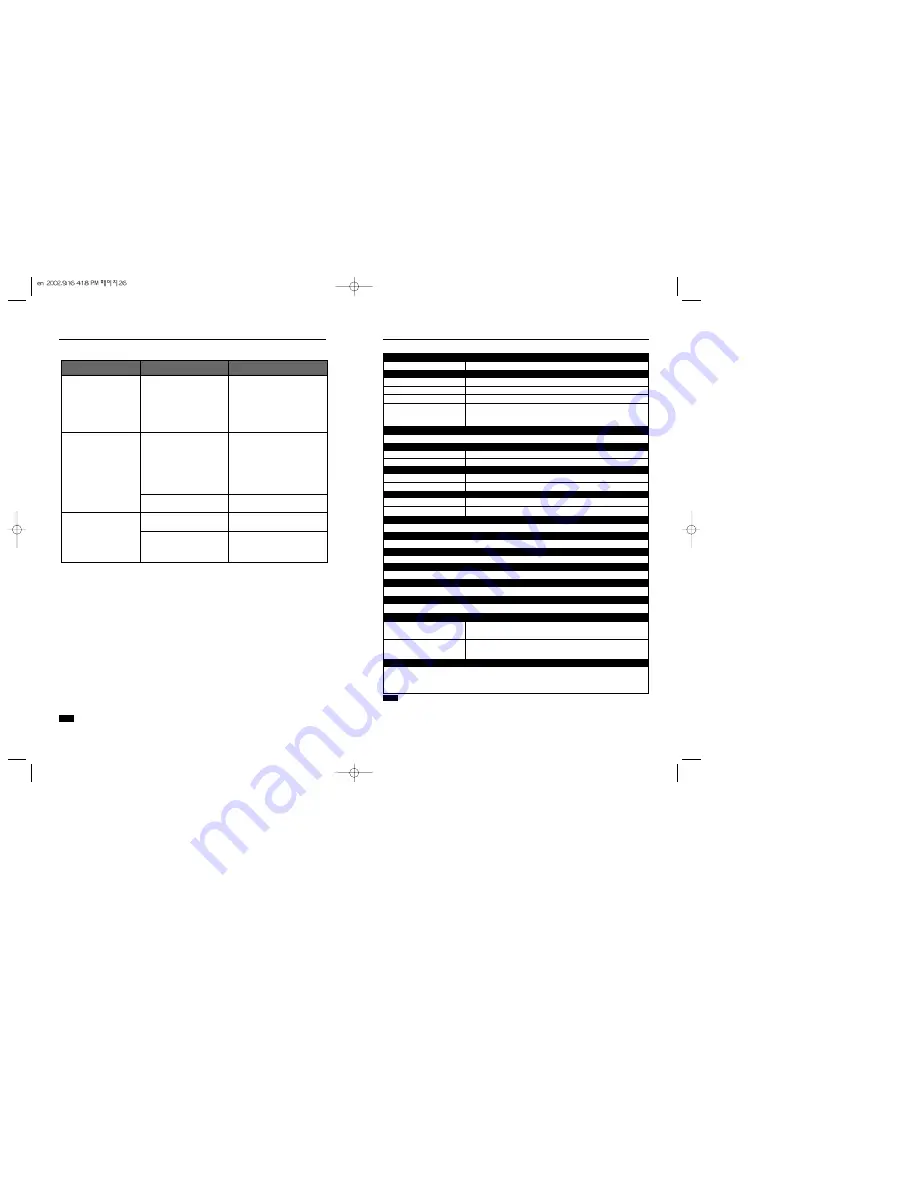
General
Picture Tube
Maximum Flicker-Free Resolution
Model Name
SAMTRON 76DF
Type
Deflection angle
Dot Pitch
Screen type
17"(43cm) DynaFlat X (40.6cm viewable)
90°
0.20mm (Horizontal)
Aluminized tri-color phosphor dot trio with black matrix.
Anti-doming invar shadow mask.
Multi-layer coated with anti-static.
1280 Dots, 1024 Lines
30 ~ 70 kHz
50 ~ 160 Hz
312 ± 4 mm
234 ± 4 mm
Active Display
Horizontal
Verti cal
Synchronization
Horizontal
Vertical
Input Signal Definition
Video Signal
Sync Signal
RGB, Analog 0.7 Vpp positive at 75 ohms
Separate H/V sync, TTL level, positive or negative
Display Color
Unlimited
Maximum Pixel Clock
110 MHz
Power Supply
90 ~ 264 VAC rms, 60/50 Hz ± 3 Hz
Power Consumption
90W (Maximum), 80W (Nominal)
Dimensions (WxDxH)
398 x 412 x 400mm (with Stand)
Weight
15.7 kg
Operating
Storage
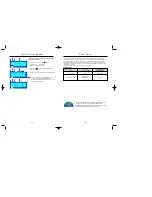
This monitor can be installed on any Plug & Play compatible system. Interaction of the monitor and
computer systems will provide the best operating conditions and monitor settings. In most cases,
monitor installation will proceed automatically, unless the user wishes to select alternate settings.
Temperature 32°F ~ 104°F(0°C ~ 40°C)
Humidity 10% ~ 80%, non-condensing
Temperature -4°F ~113°F (-20°C ~ 45°C)
Humidity 5% ~ 95%, non-condensing
Environmental considerations
Plug and Play Capability
Note
Design and specifications are subject to change without prior notice.
SAMTRON 76DF
Troubleshooting
26
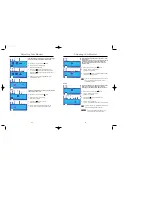
Check List
Symptom
Check List
Solution
LED is blinking but no images
on the screen.
Is the frequency properly
adjusted when checking the
Display Timing on the menu?
Adjust the frequency properly by
referring to the video card manual
and the Preset Timing Modes.
(The maximum frequency per
resolution may differ from product to
product.)
There are only 16 colors
shown on the screen.
The screen colors have
changed after changing the
video card.
Have the Windows colors been
set properly?
For Windows ME/XP/2000:
Set the colors properly at the
Control Panel, Display, Settings.
There is a message that reads
"Unrecognized monitor, Plug
& Play (VESA DDC) monitor
found".
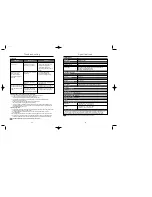
Check the following items if there is trouble with the monitor.
1. Check if the power cord and the cable are properly connected to the computer.
2. Check if the computer beeps more than 3 times when booting.
(If it does, request an after-service for the main board of the computer.)
3. If you installed a new video card or if you assembled the PC, check if the installed the adapter
(video) driver and the monitor driver.
4. Check if the scanning ratio of the video screen is set at 75Hz or 85Hz.
(Do not exceed 60Hz when using the maximum resolution.)
5. If you have problems in installing the adapter (video) driver, boot the computer in Safe Mode, remove
the Display Adapter at the "Control Panel, System, Device Administrator" and then reboot the computer
to reinstall the adapter (video) driver.
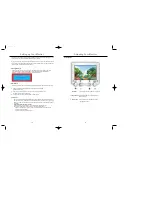
Tips for Highlight Zone
1. To protect CDT against the screen brightness, the Highlight Zone function persists for three hours and then
automatically stops. So please reset it to continue.
2. Once the Highlight Zone has been switched off, you can't select any of the other menus within
the Hightlight Zone.
3. When the Highlight Zone function is operated, the surrounding brightness of screen may become dark.
4. Depending on the video card you use, a color saturation phenomenon may occur in the Highlight Zone.
In this case, slightly lower the contrast of the Highlight Zone and the color saturation will be reduced.
Note
If problems repeatedly occur, contact an authorized service center.
Have you installed the monitor
driver?
Install the monitor driver according to
the Driver Installation Instructions.
See the video card manual to
see if the Plug & Play (VESA
DDC) function can be supported.
Install the monitor driver according to
the Driver Installation Instructions.
Has the video card been set
properly?
Set the video card by referring to the
video card manual.


