3-2
3-1
DIGITAL VIDEO RECORDER
1
Booting the System
Power On
There is a power switch on the upper right hand side behind the system. Pull the power
switch up to boot the system. Then, the POWER LED ( ) on front of the system is
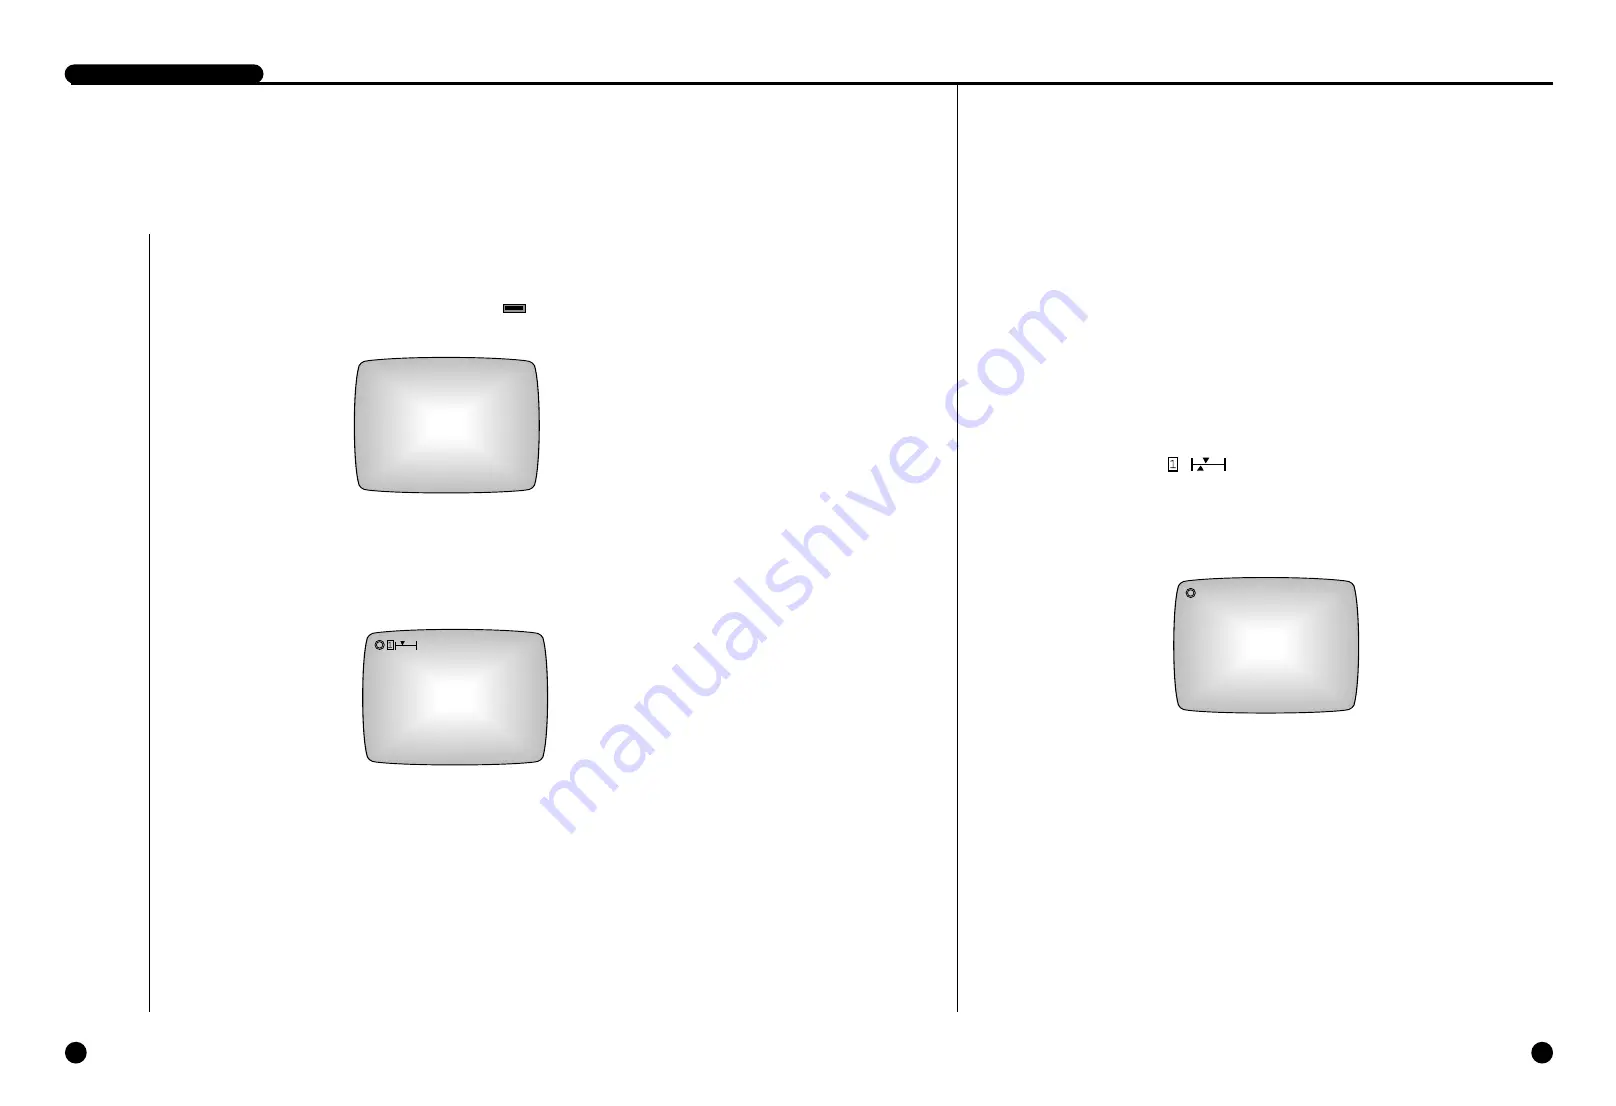
turned on, a blue screen with the following message will appear and the system is booted.
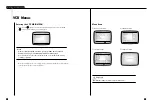
When booting is finished, the following Live screen will appear.
Recognizing incoming video signal
The SCR-3000N/SSC-Dual system only recognizes NTSC signal inputs only when booting. The
system will not recognize PAL signals, and a disrupted output would result in a PAL signal were
connected to the system’s input. When this occurs, power-down the system and connect an NTSC
signal to the input. The system then initializes to NTSC signals on power-up. On the other hand, the
SCR-3000P system only recognizes PAL signal inputs. Please connect the video signals appropriate
for each model.
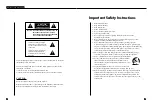
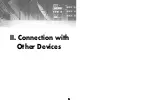
If no HDD is installed or if the system is turned on while the hard drive rack is unlocked, the system
will boot up and the Live screen will appear, but the system will not be able to find the HDD. As
shown below, the HDD icon ( ), will not appear.
LOAD CONFIGURATION...
2003-06-01 12:00:00
Power Off
Push the power switch down in order to turn off the system.
When the system power is turned off during recording, recording will be resumed next time the
system power is turned on and booting is complete.
2003-06-01 12:00:00
POWER
Summary of Contents for SCR-3000N
Page 4: ...1 I Zusammenfassung D ...
Page 10: ...II Anschluss anderer Geräte 2 D ...
Page 14: ...III Grundlagen der Bedienung 3 D ...
Page 19: ...IV DVR Menüs 4 D ...
Page 36: ...VI Aufnahme 6 D ...
Page 40: ...VII Daten suchen und wiedergeben 7 D ...
Page 49: ...VIII Sonstiges 8 D ...
Page 51: ...Anhänge 9 D ...
Page 57: ...1 I Sommaire ...
Page 63: ...II Brancher d autres appareils 2 ...
Page 67: ...III Méthode de base à suivre 3 ...
Page 72: ...IV DVR Menu 4 ...
Page 89: ...VI Enregistrer 6 ...
Page 101: ...VIII Autre 8 ...
Page 103: ...Appendices 9 ...
Page 109: ...1 I Sommario ...
Page 115: ...II Collegamento con altri dispositivi 2 ...
Page 119: ...III Operazioni principali 3 ...
Page 124: ...IV Menu DVR 4 ...
Page 141: ...VI Registrazione 6 ...
Page 153: ...VIII Miscellanea 8 ...
Page 155: ...Appendice 9 ...
Page 161: ...1 I Summary ...
Page 167: ...II Connection with Other Devices 2 ...
Page 171: ...III Basic Method to use 3 ...
Page 176: ...IV DVR Menus 4 ...
Page 193: ...VI Record 6 ...
Page 205: ...VIII Others 8 ...
Page 207: ...Appendix 9 ...
Page 213: ...1 I Resumen ...
Page 219: ...II Conexión con otros dis positivos 2 ...
Page 223: ...III Método básico de utilización 3 ...
Page 228: ...IV DVR Menús 4 ...
Page 245: ...VI GRABACIÓN 6 ...
Page 257: ...VIII Otros 8 ...
Page 259: ...Los apéndices 9 ...


