Run CLEAN CAR. to clean the printheads.
A test line prints so that you can see if the cleaning process was
successful.
Clean the printheads:
●
When you suspect the printheads are clogged.
●
When characters are not printing completely.
1)
Press the Setup button until
CARTRIDGE appears in the display.
2)
Press
ˆ
or
¤
until CLEAN CAR.
appears in the second row of the
display.
3)
Press the Enter/Select button.
The printer prints the printheads
cleaning test page.
4)
If the printheads cleaning test
page still contains broken lines,
see ‘To Wipe the
printheads’ on page 9-5.
Troubleshooting
9-4
Chapter
9
Maintaining Your Printer
9-5
C
leaning Your Printer
Chapter 9
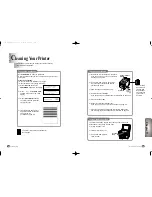
The following sections take you through the process of cleaning
the print cartridge printheads.
The printer returns to Ready Mode after
the test page.
To wipe the printheads
1)
Remove the print cartridge from the printer.
If you need help, see ‘To Remove the Print
Cartridge’ on page 9-2.
2)
Use a clean, damp cloth to gently wipe
the entire copper contact area and the
printheads as shown.
3)
Allow the copper contact area to dry.
4)
Reinstall the print cartridges.
If you need help, see ‘Installing the Print Cartridges’ on page 2-10.
5)
Close the Scanner Bed.
6)
Repeat the cleaning printheads test.
If you need help, see ‘To clean the printheads’ on page 9-4.
7)
If the cleaning printheads test page still contains broken lines,
see ‘Cleaning the Print Cartridge Carrier Contacts’ on page 9-6.
To clean the Scanner Bed
The printer slows down copying and scanning performance if the
Scanner Bed is dirty. Keep the bed clean.
1)
Unplug the power cord.
2)
Lift the Printer Top Cover.
3)
Use a clean, damp cloth to
clean the bed.
Scanner
Bed
When cleaning
the colour print
cartridge wipe
the printheads
in one direction
so the colours
do not mix.
Printhead
Copper Contact
Area
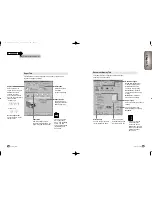
To clean the printheads
cleaning
direction
[ C A R T R I D G E ]
¤ C H A N G E C A R .
[ C A R T R I D G E ]
¤ C L E A N C A R .
P R I N T I N G
■■■
09-M30UK(9-2 to 10-3) 5/22/00 3:30 PM Page 4

