46_
main menu
main menu
•
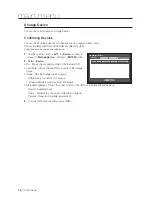
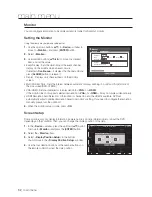
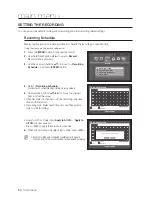
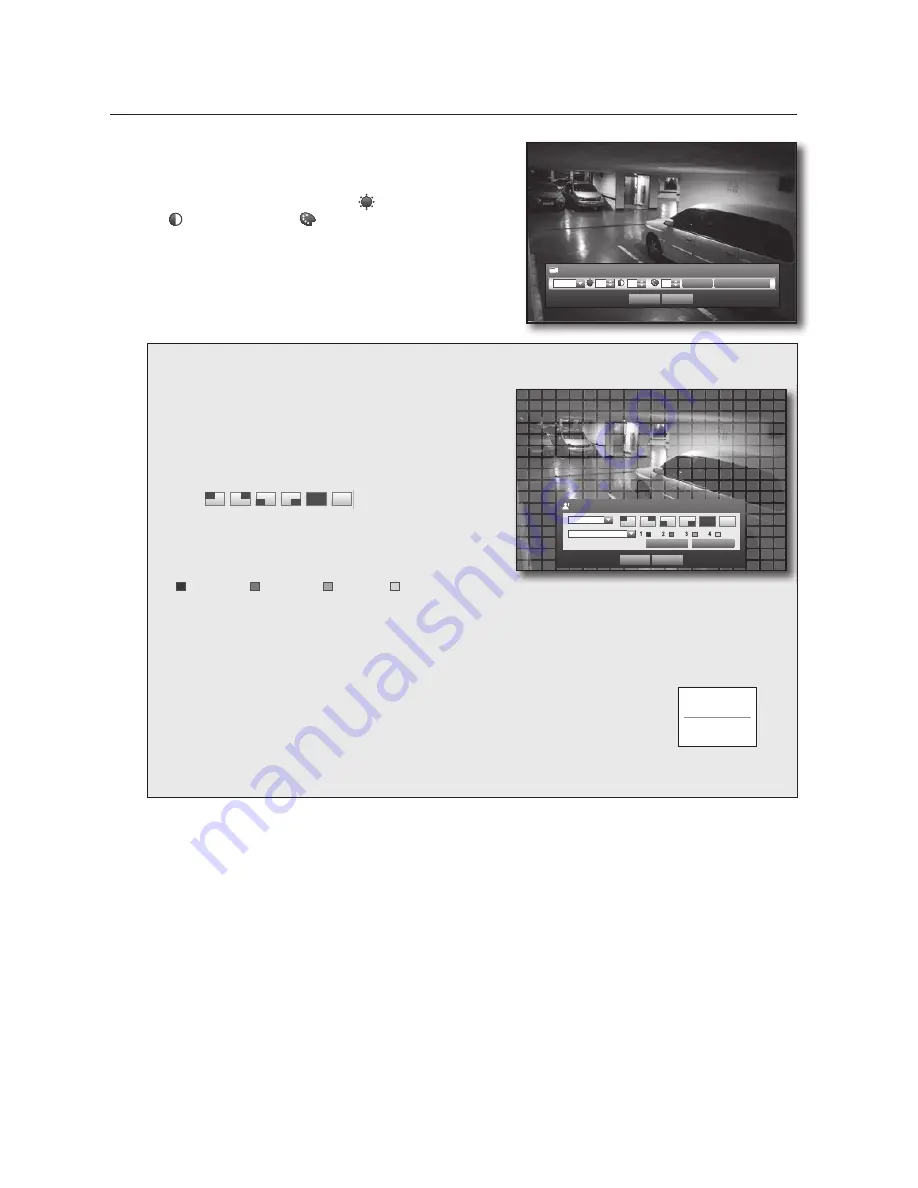
Screen Setup : The video appeared on the screen may vary
depending on the channel’s camera, configure the DVR
display to your preferences.
Select a channel and adjust the <
(Brightness)
>,
<
(Contrast)
>, and <
(Color)
> of the selected channel.
Press the <
Init
> to initialize settings back to the default.
•
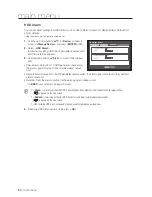
Privacy Region : You can specify a certain area of the
camera video to be protected for your privacy.
6.
When the camera setup is done, press <
OK
>.
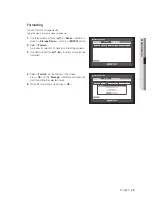
To set the privacy region
Select <
Privacy Region
>.
When “
Privacy Region
” window appears, select a
channel and set the area of privacy zone.
•
To set the area in “
Privacy Region
” window
In the “
Privacy Region
” window, select desired region
from <
>.
•
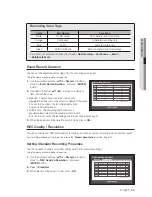
Privacy Region
You can specify up to 4 privacy zones for each channel,
which can be identified by the color.
1 Purple 2 Green 3 Blue 4 Yellow
•
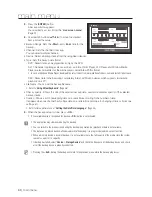
To set the area using <
Individual
> selection
Privacy Region
OK
Cancel
Apply to All CH
CH1
Privacy Region1
Individual
When selected <
Individual
>, “
Privacy Region
” window disappears and you can select cells one by one.
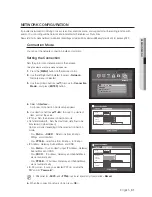
When the privacy area setup is done, Right-click to select <
Menu
> in the context menu or the [
MENU
]
button on the remote control to display the “
Privacy Region
” window again.
- Clear All : Selected cell is removed from the Privacy Region.
- Menu : After selecting individual privacy areas, move to the “
Privacy Region
”
window.
If selected <
Apply to All CH
>, selected privacy area is applied to all channels.
When completing the privacy zone settings, click <
OK
>.
Clear All
Menu
Screen Setup
Init
Apply to All CH
CH1
53 53 50
OK
Cancel

