84_
web viewer
web viewer
CONNECTING WEB VIEWER
(Windows)
1.
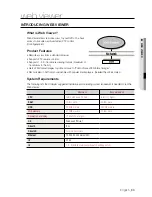
Open your web browser and type the IP address or URL of
DVR into the URL address box.
M
`
“
192.168.1.200
” is set to IP by default.
`
Set to an available IP address in IP Installer or "
Network
>
Connection Mode
”.
`
The URL connection will be enabled only when the DDNS connection settings have been completed.
2.
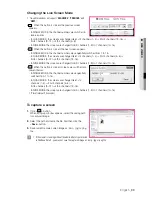
A user with the admin permissions should provide the
admin ID and password. A registered user should provide
the user ID and password.
J
`
The default password can be exposed to a hacking thread so
it is recommended to change the password after installing the
product.
`
Set password for your wireless network if you use the product with a wireless router. Being not protected with
password or using the default wireless router password may expose your video data to potential threat.
`
Note that the security and other related issues caused by the unchanged password shall be responsible for the user.
M
`
It allows up to 10 simultaneous access including the Admin and general users.
`
It does not allow multiple login of the Admin user.
`
Initial password of the Admin user is set to “
4321
”.
`
Password of the Admin and general users can be changed in <
Permission Management
> menu of the DVR.
`
Normal users should have set <
Viewer
> under <
Permission Management
> to “
Use
” before connecting to the
Web Viewer. (Page 45)
`
All settings are applied by the DVR’s settings.
`
If you change such as the permission settings with logged in to the Web Viewer, you may go back to the log in
screen.
3.
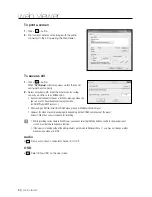
Click <
Install ActiveX Control...
>.
4.
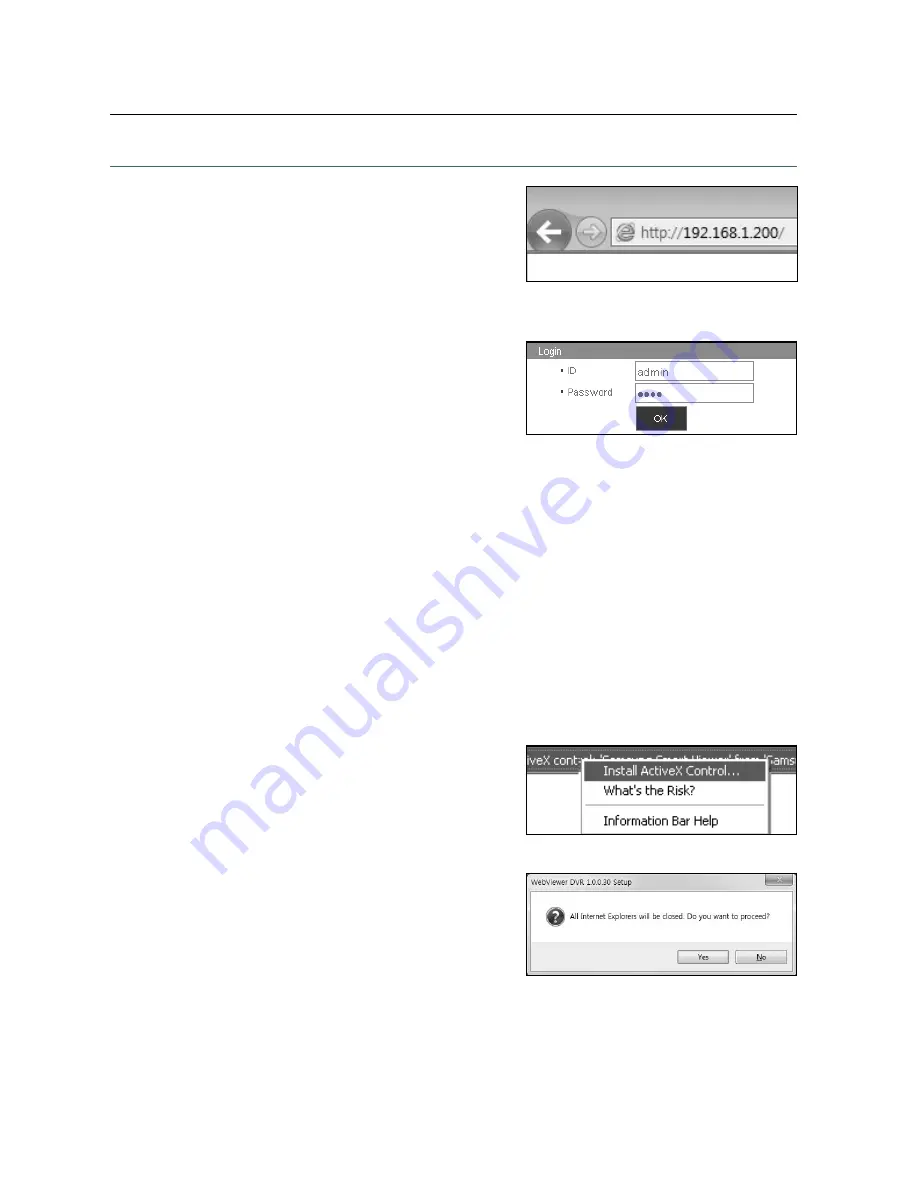
When the installation confirm message appear, click [
Yes
]
button.


