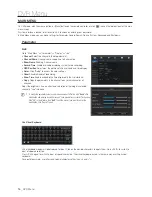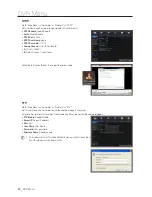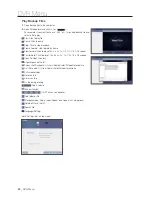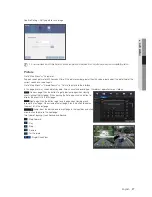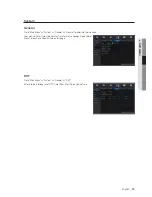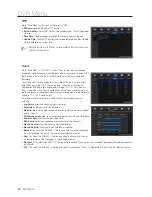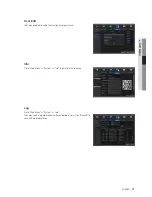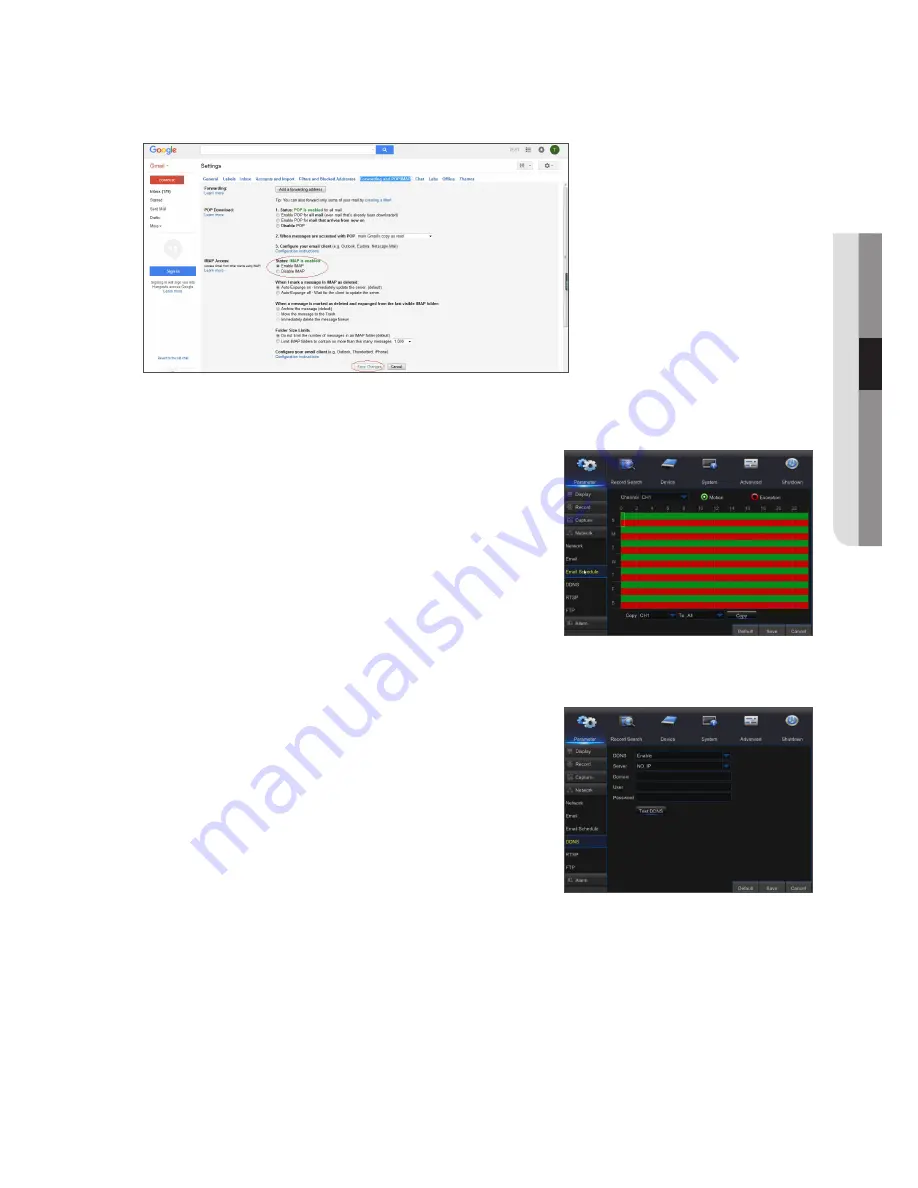
Click on "settings--Forwarding and POP/IMAP"
Click on "Enable IMAP--Save Changes"
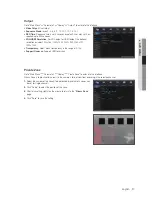
e-mail schedule
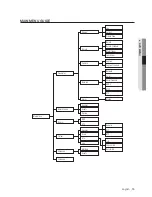
Go to "Main Menu"
;
"Parameter"
;
"Network"
;
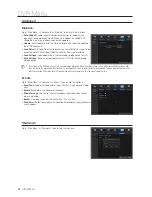
"E-mail Schedule" to make
Email schedule.
Select the channel and the date to be set.
One week's schedule can be set.
The record schedule of the current channel can be copied to any other channel
or all channels.
M
`
Green stands for Motion: Email will be sent in case of object motion;
`
Red stands for Exception: Email will be sent in case of exception, e.g. No Space on
Disk, Disk Error, Video loss, etc.
DDns
Go to "Main Menu"
;
"Parameter"
;
"Network"
;
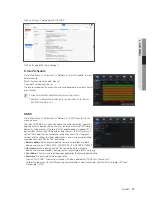
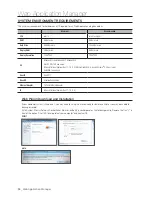
"DDNS" to enter into the
menu interface.
User may set DDNS in any one of the above 3 network connection types after
applying dynamic domain service. User may remotely access the DVR through
domain by using browser in the form of http://applied domain: mapped HTTP
port number. When using DDNS domain name to access the DVR, user must
confirm that the port can be normally connected to current IP on the public
network and the settings for server address/host name/user/password/setting
should be consistent with the DVR local setting.
•
server address
: Select dynamic domain name server provider. Available
domain name servers (DDNS_3322, DYNDNS, NO_IP, CHANGEIP, DNSEXIT)
•
Host name
: dynamic domain name of the host obtained from dynamic
domain name service provider upon registration, for example, dvr2016.no-ip.org
•
user name
: The user name registered upon application for dynamic domain name.
•
password
: The password set upon registration.
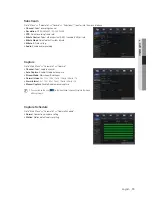
Click on "Test DDNS". If connection succeeds, it will be indicated that "DDNS Test is Successful!"
Perform remote access to the DVR by using dynamic domain name, for example, http://dvr2016.no-ip.org: HTTP port
number (e.g. 19010)
English
_
21
●
Dvr
Menu


