SENS Q40 < 4 - 7 >
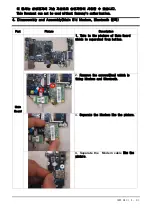
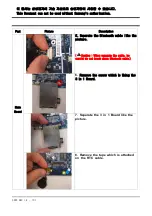
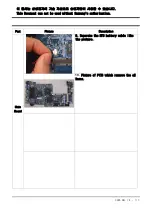
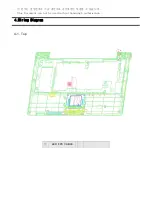
4. Disassembly and Assembly
Part
Picture
Description
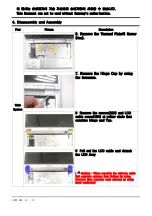
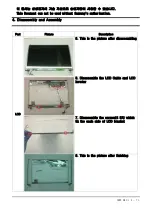
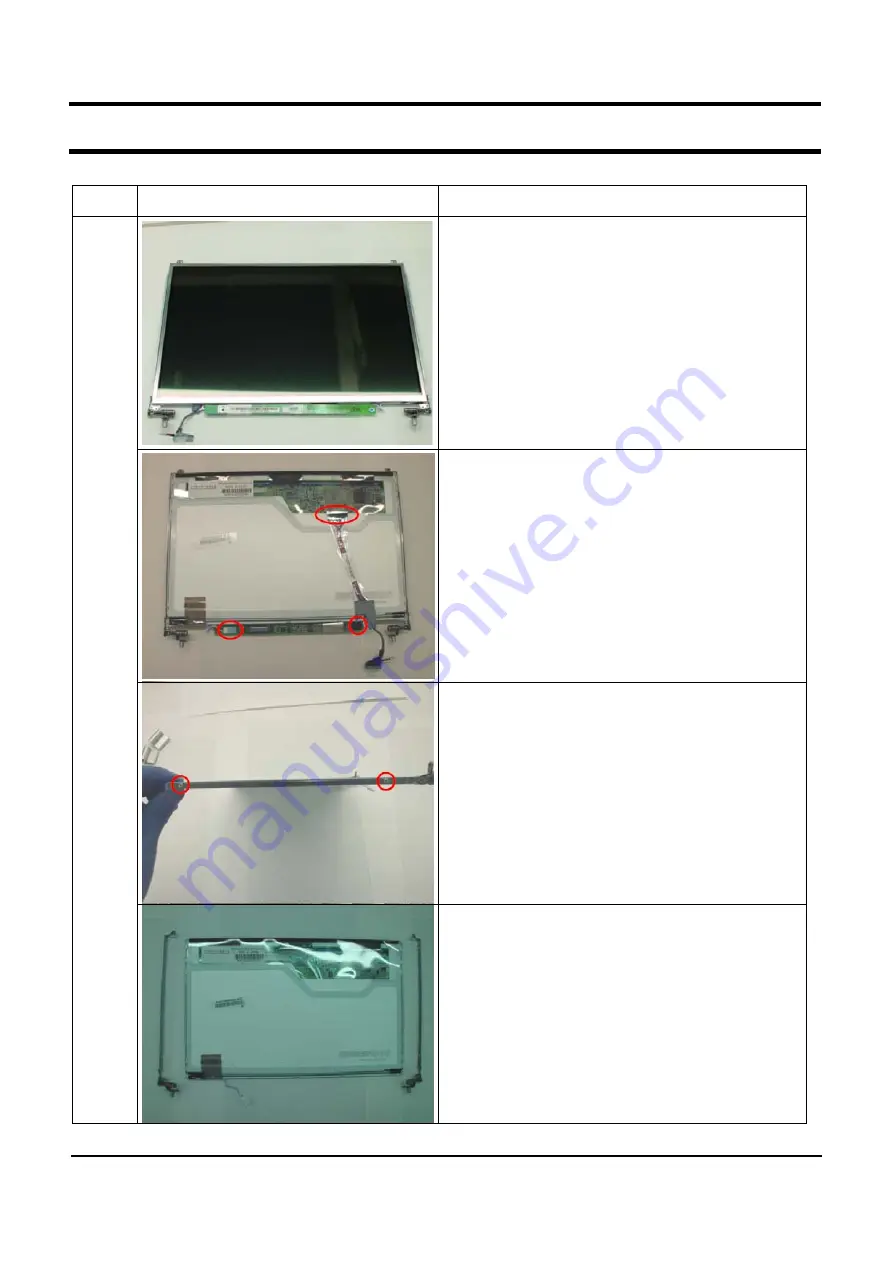
LCD
5. This is the picture after disassembling
6. Disassemble the LCD Cable and LCD
Invertor
7. Disassemble the screws(4 EA) which
fix the each side of LCD bracket
8. This is the picture after finishing
이 문서는 삼성전자의 기술 자산으로 승인자만이 사용할 수 있습니다.
This Document can not be used without Samsung's authorization.
Summary of Contents for SENS Q40
Page 4: ...SAMSUNG Q40 1 1 1 Caution This Document can not be used without Samsung s authorization ...
Page 5: ...SENS Q40 11 1 11 References ...
Page 6: ...SENS Q40 11 2 11 References ...
Page 7: ...SENS Q40 11 3 11 References ...
Page 8: ...SENS Q40 11 4 11 References ...
Page 9: ...SENS Q40 11 5 11 References 3 ...
Page 10: ...SENS Q40 11 6 11 References ...
Page 11: ...SENS Q40 11 7 11 References ...
Page 12: ...SENS Q40 11 8 11 References ...
Page 13: ...SENS Q40 11 9 11 References ...
Page 14: ...SENS Q40 11 10 11 References ...
Page 15: ...SENS Q40 11 11 11 References ...

