2
.4
Getting started
2. When the letter you want appears on the display, press another num-
ber key labeled with the next letter you want.
If the next letter is printed on the same number button, move the
cursor by pressing
❿
, then press the button.
The blinking cursor moves right and the next letter appears on the
display.
3. Select additional letters in the same way. When you have finished
entering the letters, press
Start/Enter
.
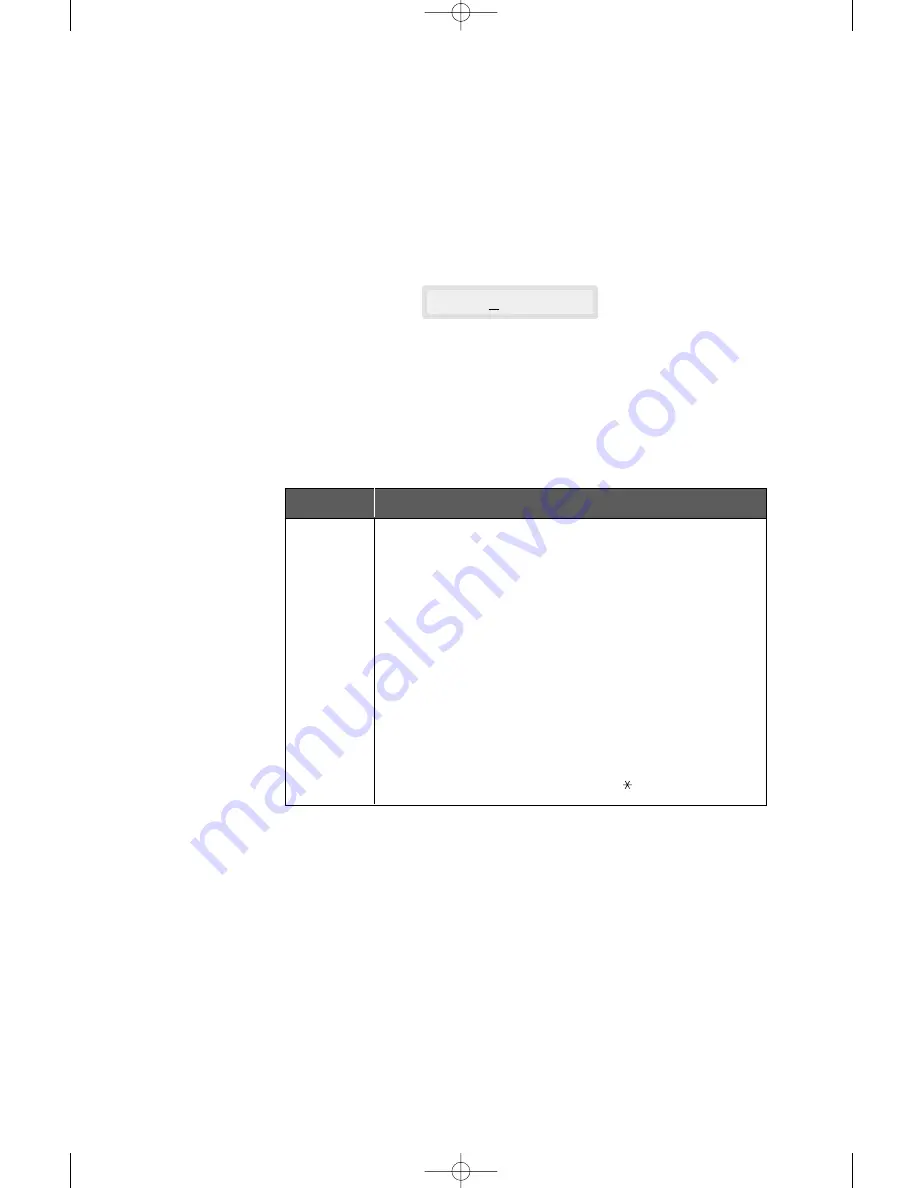
KEYPAD CHARACTER ASSIGNMENTS
NAME:OP
1
2
3
4
5
6
7
8
9
0
Space
➝
1
A
➝
B
➝
C
➝
2
D
➝
E
➝
F
➝
3
G
➝
H
➝
I
➝
4
J
➝
K
➝
L
➝
5
M
➝
N
➝
O
➝
6
P
➝
Q
➝
R
➝
S
➝
7
T
➝
U
➝
V
➝
8
W
➝
X
➝
Y
➝
Z
➝
9
+
➝
-
➝
,
➝
.
➝
‘
➝
/
➝
➝
#
➝
&
➝
0
A
s
03-Getting Started 12/10/99 6:19 AM Page 5
Summary of Contents for SF 5100
Page 1: ...Laser Facsimile User s Guide SF 5100 SF 5100P 00 Cover 12 10 99 5 16 AM Page 1 ...
Page 9: ...Installation 1 02 Installation 12 10 99 6 27 AM Page 2 ...
Page 24: ...Getting started 2 03 Getting Started 12 10 99 6 19 AM Page 1 ...
Page 33: ...Basic operation 3 04 Basic 12 10 99 6 09 AM Page 2 ...
Page 55: ...Advanced fax 4 05 Advanced 12 10 99 5 59 AM Page 2 ...
Page 63: ...Additional features 5 06 Additional 12 10 99 5 51 AM Page 2 ...
Page 73: ...Troubleshooting 6 07 Troubleshooting 12 10 99 5 41 AM Page 2 ...
Page 90: ...6 17 Troubleshooting MEMO 08 Maintenance 12 10 99 5 32 AM Page 9 ...
Page 91: ...Appendix 09 Appendix 12 10 99 5 24 AM Page 2 ...


