SHR-4160N/P USER’S MANUAL
2-7
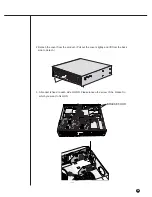
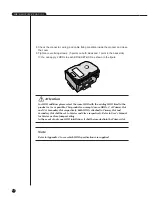
8. Check the connector, wiring, and cable fixing condition inside the product and close
the cover.
9. Tighten cover-fixing screws. (5 points on both sides and 1 point in the back side)
✻
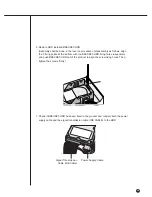
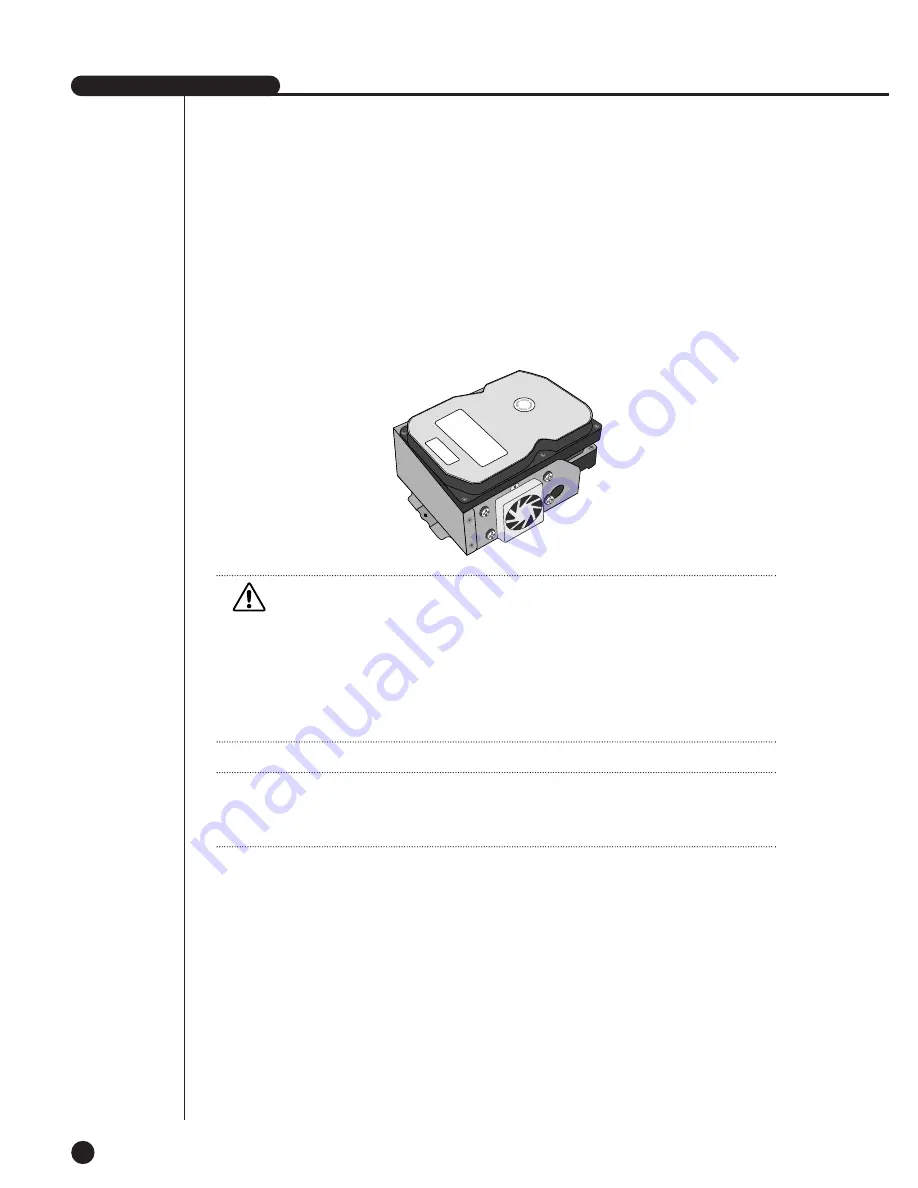
You can apply 2 HDDs to each BRACKET-HDD as shown in the figure.
Attention
Attention
For HDD addition, please select the same HDD with the existing HDD fixed to the
product as far as possible. This product can accept 4 more HDDs, 2 at Primary Slot
and 2 at Secondary Slot respectively. Both HDDs attached to Primary Slot and
Secondary Slot shall be set to Master and Slave respectively. Refer to User’s Manual
for Master or Slave Jumper Setting.
In the event of only one HDD installation, it shall be inserted into the Primary slot.
Note
Note
Refer to Appendix 2 to see which HDD specifications are supplied.
Summary of Contents for SHR-4160N/P
Page 1: ...16 Channel DVR SHR 4160N P User s Manual ...
Page 7: ......
Page 8: ...Chapter 1 Overview 1 ...
Page 14: ......
Page 15: ...Chapter 2 Installation 2 ...
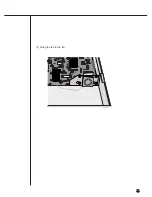
Page 25: ...2 10 Fixing the fan to the left ...
Page 26: ...Chapter 3 Connecting with Other Equipment 3 ...
Page 27: ...1Connecting Video Audio Monitor 3 1 SHR 4160N P USER S MANUAL ...
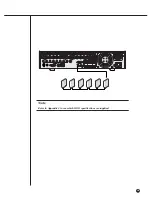
Page 30: ...3 4 Note Note Refer to Appendix 2 to see which HDD specifications are supplied ...
Page 33: ...SHR 4160N P USER S MANUAL 3 7 ALARM IN OUT Connection ...
Page 35: ...Chapter 4 Live 4 ...
Page 44: ...Chapter 5 Menu Setup 5 ...
Page 77: ...Chapter 6 PTZ device Control 6 ...
Page 86: ...Chapter 7 Recording 7 ...
Page 91: ...Chapter 8 Search Play 8 ...
Page 101: ...Chapter 9 Backup and Backup Search 9 ...
Page 107: ...Chapter 10 Smart Viewer 10 ...
Page 166: ...Chapter 11 Backup Viewer 11 ...
Page 182: ......
Page 183: ...Appendix 12 ...
Page 188: ...SHR 4160N P USER S MANUAL 3Outline Drawing 12 5 ...


