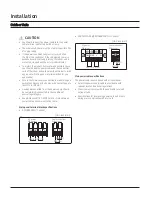
Installation
2)1&U-,0&1&,+
Power supply wiring with accessory electric heat kit
1. Before wiring work, you must turn off all power source.
2. Only copper power cables should be used.
3. Remove the blower and control box access panel (door).
4. Install the cable connectors on the 7/8” diameter holes on
the left side of the control box.
5. Connect the included power pigtail leads with ring
connectors (included with heat kit) to 1(L) and 2(N)
terminals located on the right side of the control box.
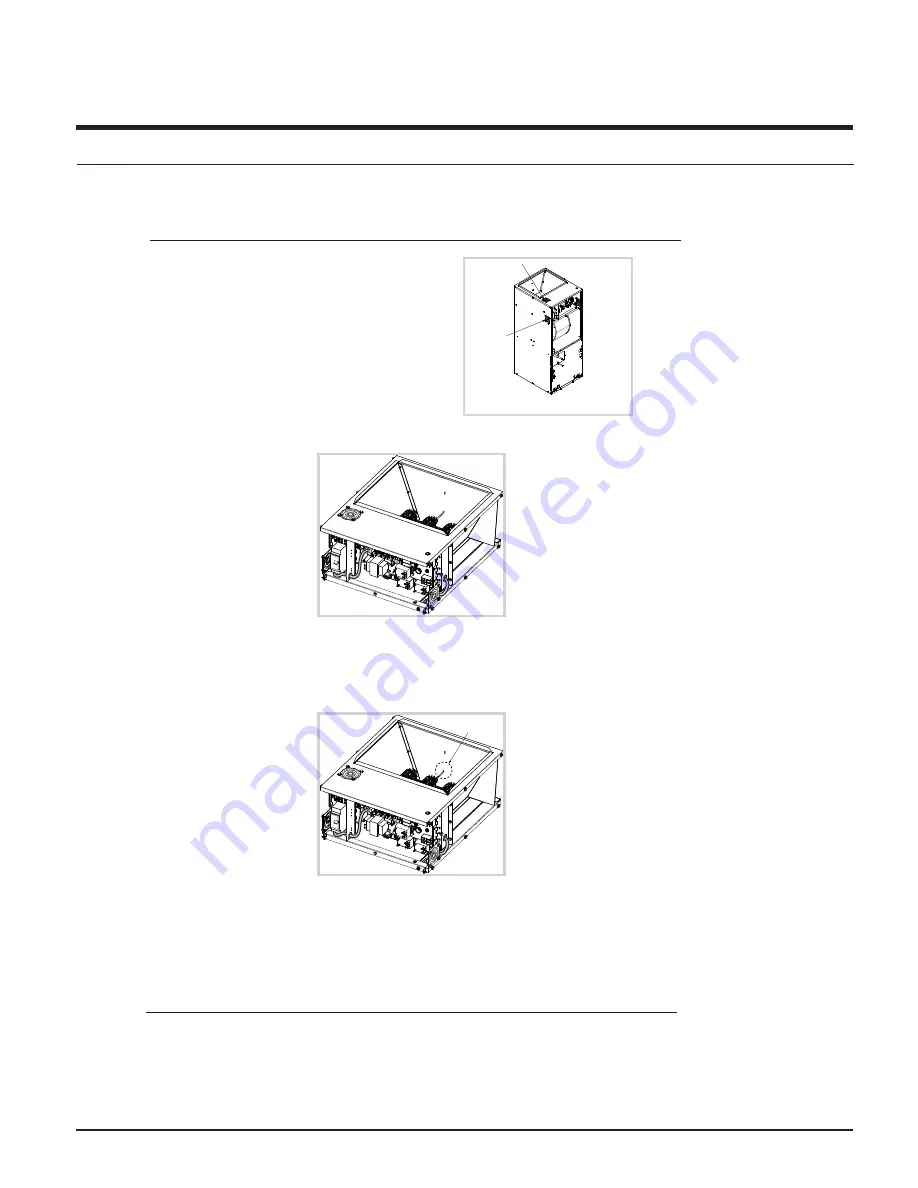
6. Route the power pigtail leads through the control box
opening pictured below and route to the left side of the
control box for connection to the heat breakers in a later
step.
Power conduit connection openings
7. Swing the hinged control plate outward exposing the back side of the control box. Remove the screws holding the electric
heat kit block off plate. Save the screws.
8. Carefully pass the accessory heating element through the rectangular opening in the discharge of the air handler and secure
the heating element with the screws from step 8. Heating element support rod must be seated in the hole on the opposite
side of the discharge.
9. Install the breakers at the front-left of the control box.
10. Connect the power pigtail leads that are connected to 1(L) and 2(N) to the bottom of the breakers.
11. Insert the power wires through the holes in the casing and through the cable connectors.
12. In order to use heating function, you need change the installation option code. Set SEG10 to 1. For more information on
changing the option code, refer to “Setting an indoor unit installation option”.
Power supply wiring with accessory electric heat kit
13. Strip ½” of the insulation on the end of each power wire.
14. Connect the black supply wire to the high voltage connection lug on the accessory heat kit breaker.
15. Connect the white supply wire to the other high voltage connection lug on the accessory heat kit breaker.
Summary of Contents for SINGLE CNH ZDK Series
Page 1: ...SINGLE Technical Data Book 2 1 U 0 1 S 98 E T Model BB S BBB M T ...
Page 8: ...Contents 2 1 U 0 1 98 Outdoor Units 01 1 ...
Page 9: ... 2 1 U 0 1 99 9 9H 1 H 2 6 H 16 H 0 4 H 1 H 2 1 H 1 01 0 S U 2 3 T ...
Page 29: ... H 1 01 0 S U 2 3 T 2 1 U 0 1 9 B S 89 B M T B S 8 B M T ...
Page 30: ... H 1 01 0 S U 2 3 T 2 1 U 0 1 8 B S 8 8B M T B S 8 B M T ...
Page 31: ... H 1 01 0 S U 2 3 T 2 1 U 0 1 B S 8 B M T B S 8 B M T ...
Page 38: ...3 Centerof Gravity Ƹ ϩϑ ࡤ ࣈ ʀ ʪϑࣉ OutdoorUnits S 8 M TE S 8 M TE S 8 M T ...


