4. Troubleshooting
Scan Area Adjustment
•
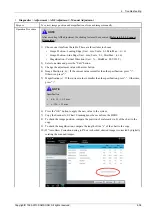
Diagnostics > Adjustment > Scan Area Adjustment > Automatic Adjustment
Purpose
To correct image position and magnification of scanned images automatically.
Operation Procedure
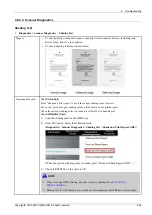
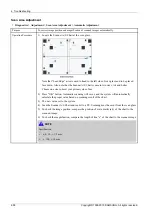
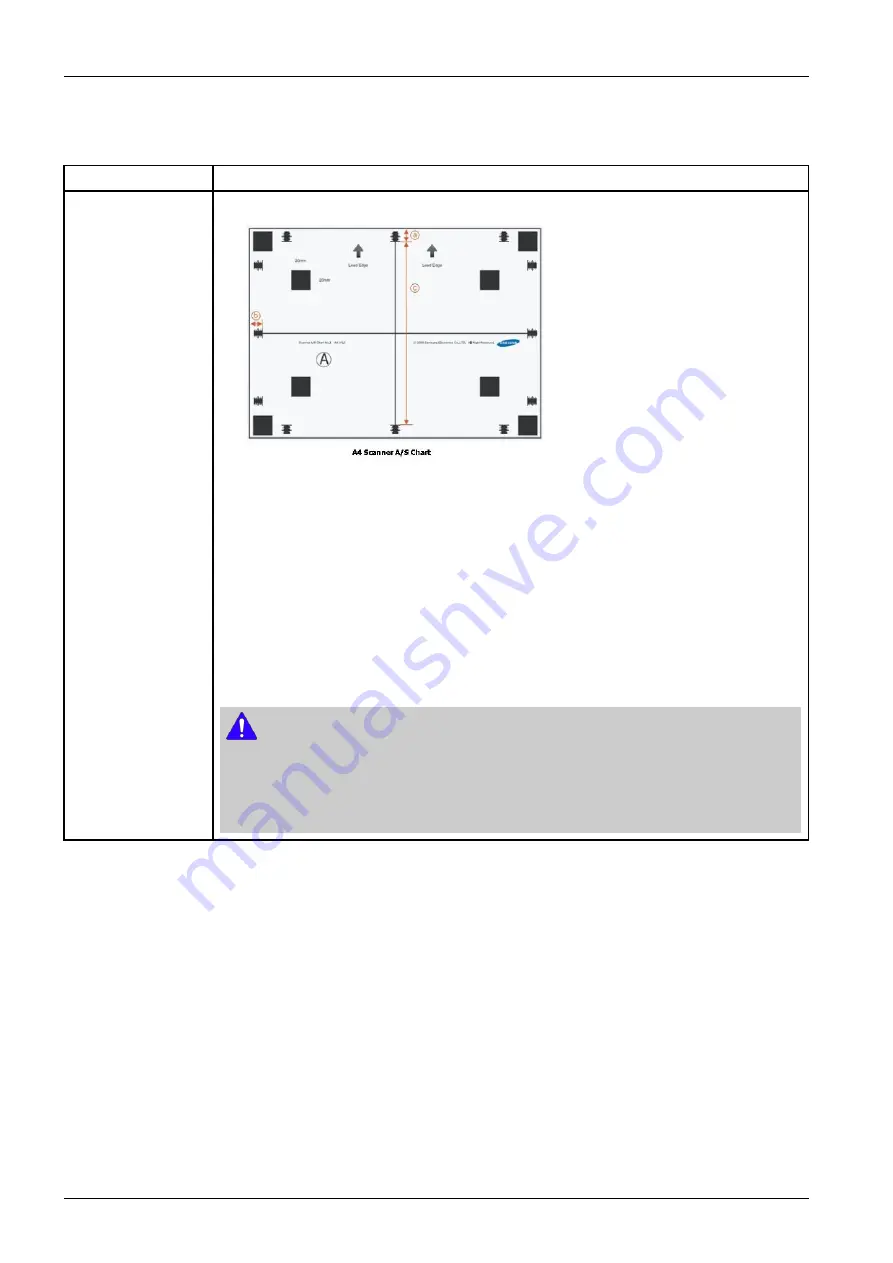
1) Locate the Scanner A/S Chart at the scan glass.
Note that “Lead Edge” arrows need to head to the left side of scan glass and to be placed
face down. Also note that the Scanner A/S Charts come in two sizes, A4 and Letter.
Choose one size to meet your primary size of use.
2) Press “OK” button. Automatic scanning will occur, and the system will automatically
calculate the proper value based on scanning result of the chart .
3) The new value set to the system.
4) Scan the Scanner A/S Chart and send it to a PC. Scanning must be occur from the scan glass.
5) To check the image position, compare the position of scale marks (a,b) of the chart to the
scanned image.
6) To check the magnification, compare the length of line “c” of the chart to the scanned image.
NOTE
Specification
•
a,b : 10, ± 1.5 mm
•
c: 190, ± 1.5 mm
4-55
Copyright© 1995-2013 SAMSUNG. All rights reserved.

