4. Troubleshooting
•
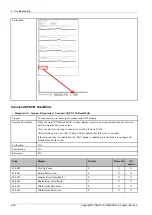
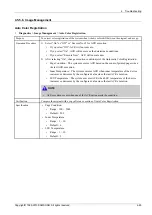
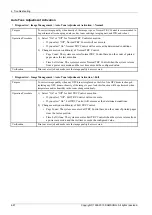
Diagnostics > Adjustment > ADF Adjustment > Manual Adjustment
Purpose
To correct image position and magnification of scanned images manually.
Operation Procedure
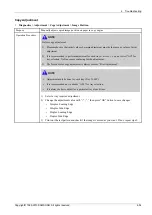
NOTE
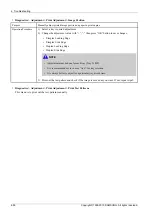
After executing ADF adjustment, the shading test must be executed. (
Refer to 4.5.5.3. Scanner
Diagnostics.
)
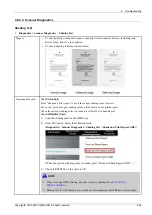
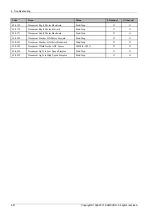
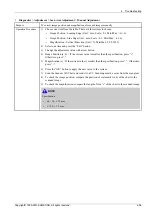
1) Choose one item from the table. There are three items to choose.
•
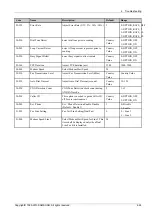
Image Position - Leading Edge (Unit : mm, Scale : 0.1, Min/Max : -6/+6)
•
Image Position - Side Edge (Unit : mm, Scale : 0.1, Min/Max : -6/+6)
•
Magnification - Vertical Direction (Unit : %, , Min/Max: 98.5/101.5)
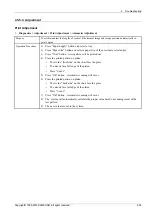
2) Select one item and press the “Edit” button.
3) Change the adjustment value with arrow button.
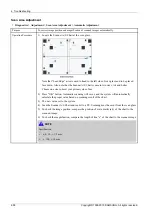
4) Image Position (a, b) : If the current value is smaller than the specification, press “+”.
Otherwise, press “-”.
5) Magnification (c) : If the current value is smaller than the specification, press “-”. Otherwise,
press “+”.
NOTE
Specification
•
a,b : 10, ± 1.5 mm
•
c: 190, ± 1.5 mm
6) Press the “OK” button to apply the new value to the system.
7) Copy the Scanner A/S Chart. Scanning must be occur from the DSDF.
8) To check the image position, compare the position of scale marks (a,b) of the chart to the
copy.
9) To check the magnification, compare the length of line “c” of the chart to the copy.
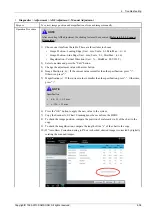
10) If "Auto Skew Correction during job" box is checked, skewed image is corrected by digitally
rotating the scanned images.
Copyright© 1995-2013 SAMSUNG. All rights reserved.
4-58

