Applications
82
Auto mode
Auto mode allows the camera to evaluate the surroundings and determine the ideal mode
for the photo.
On the preview screen, tap
MODE
→
Auto
.
Pro mode
Take photos while manually adjusting various shooting options, such as exposure value and
ISO value.
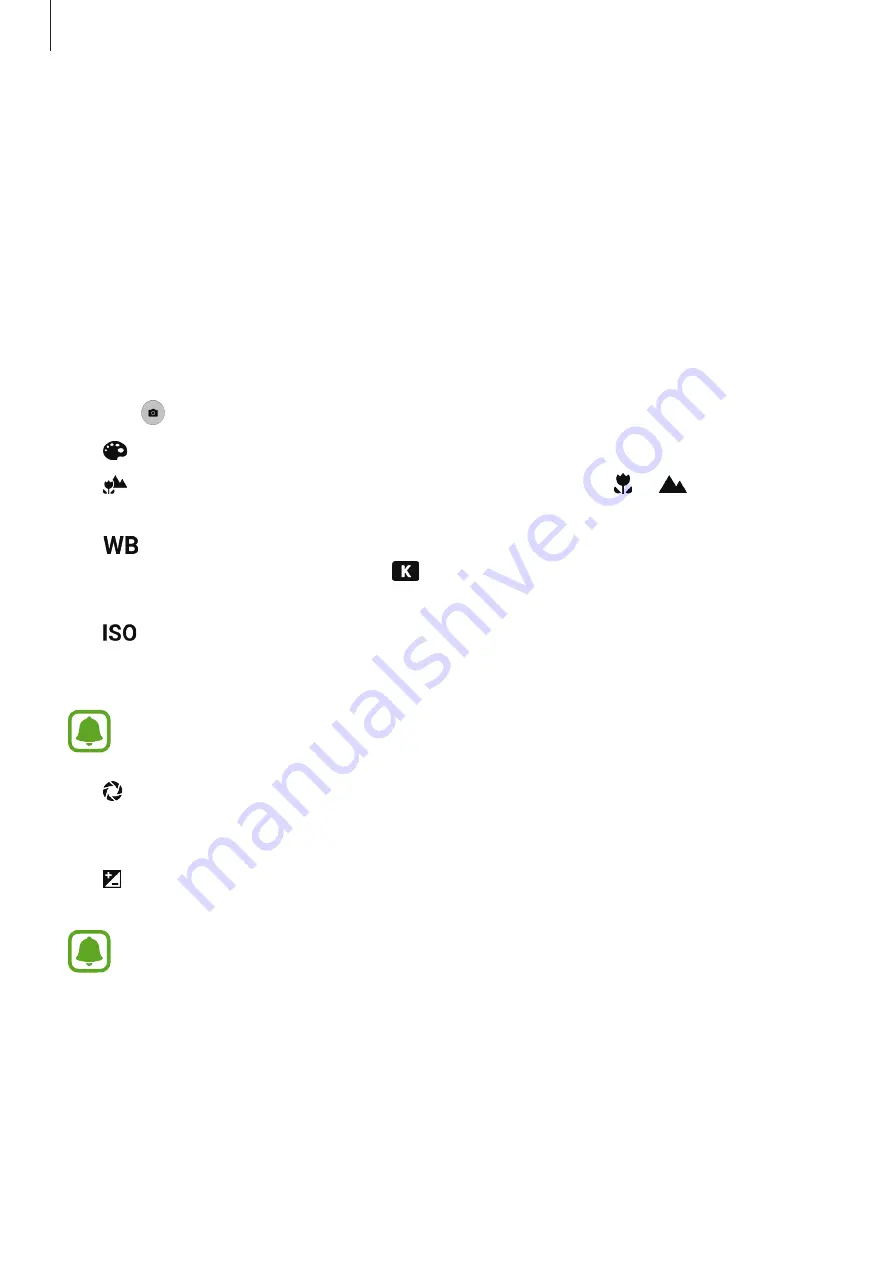
On the preview screen, tap
MODE
→
Pro
. Select options and customise the settings, and
then tap to take a photo.
•
: Select a colour tone. To create your own colour tone, tap
Tone 1
or
Tone 2
.
•
: Change the focus mode. Drag the adjustment bar towards or
to manually
adjust the focus. To switch to auto focus mode, drag the adjustment bar towards
AUTO
.
•
: Select an appropriate white balance, so images have a true-to-life colour range. You
can set the colour temperature. Tap
and drag your finger on the colour temperature
bar.
•
: Select an ISO value. This controls camera light sensitivity. Low values are for
stationary or brightly lit objects. Higher values are for fast-moving or poorly lit objects.
However, higher ISO settings can result in noise in photos.
If the shutter speed is set manually, you cannot set the ISO setting to
AUTO
.
•
: Adjust the shutter speed. A slow shutter speed allows more light in, so the photo
becomes brighter. This is ideal for photos of scenery or pictures taken at night. A fast
shutter speed allows less light in. This is ideal for taking photos of fast-moving subjects.
•
: Change the exposure value. This determines how much light the camera’s sensor
receives. For low-light situations, use a higher exposure.
If the shutter speed is set manually, you cannot change the exposure value. The
exposure value will change and be displayed based on the shutter speed setting.


