

Applications
74
•
Shooting methods (front)
: Select shooting options to use.
•
Review pictures
: Set the device to show photos after capturing them.
•
Storage location
: Select the memory location for storage.
•
Volume keys function
: Set the device to use the Volume key to control the shutter or
zoom function.
•
Reset settings
: Reset the camera settings.
Gallery
Introduction
View and manage photos and videos stored in the device.
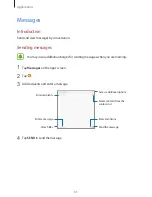
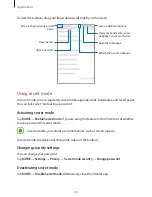
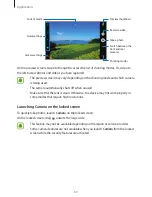
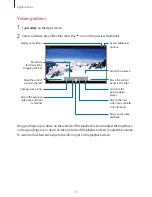
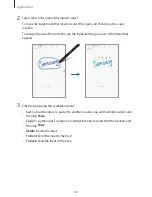
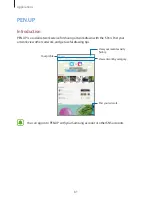
Viewing images
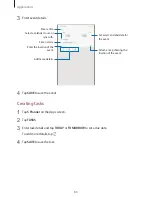
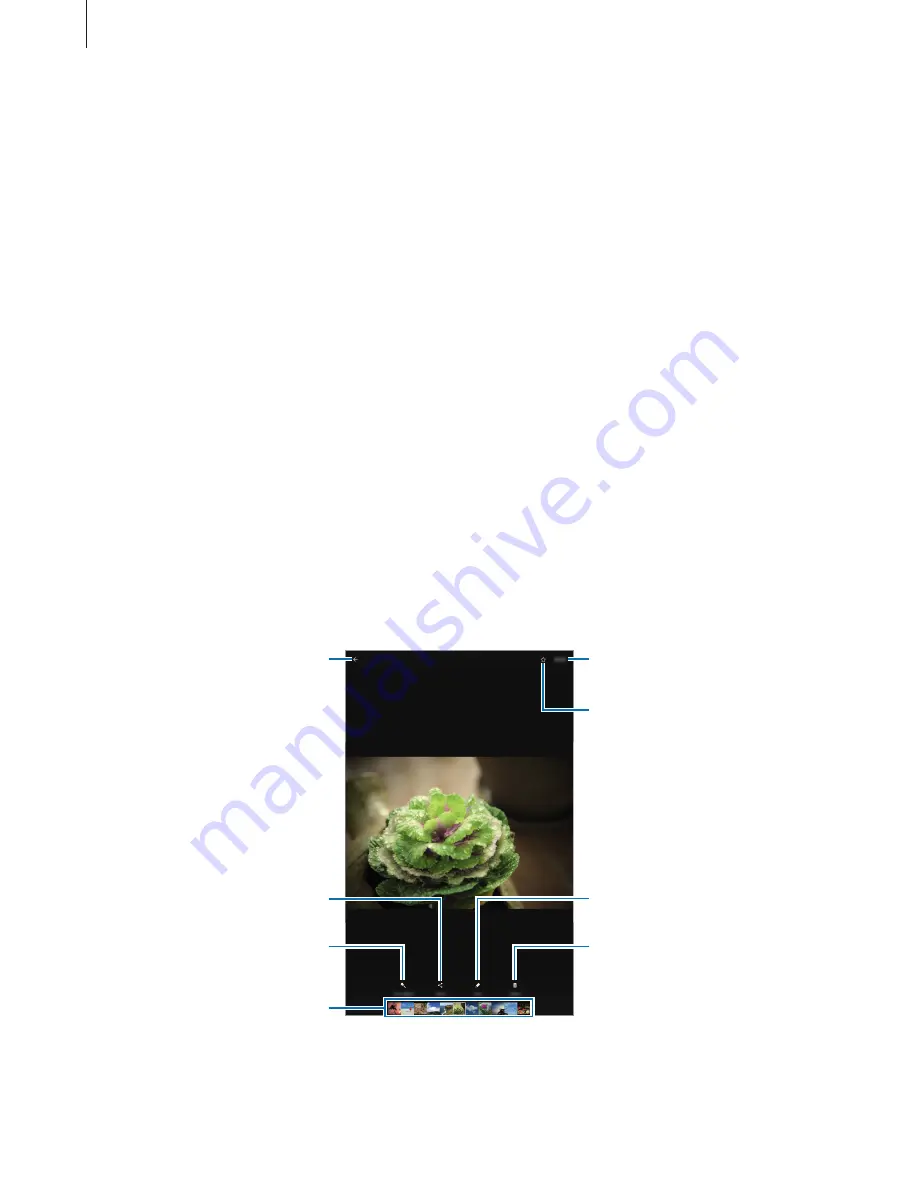
1
Tap
Gallery
on the Apps screen.
2
Select an image or a video.
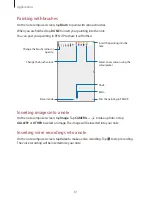
Access additional options.
Add the image to favourites.
Move to the previous screen.
Automatically adjust the
image.
Image and video preview
thumbnails
Share the image with others.
Delete the image.
Modify the image.
To hide or show the menus, tap the screen.