•
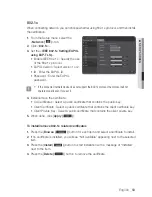
Enable SNMP v3 : SNMP version 3 will be active.
- Password : Specify the default password for SNMP version 3. The default
password is “admin4321”.
The default password can be exposed to a hacking thread so it is recommended to change the
password after installing the product.
Note that the security and other related issues caused by the unchanged password shall be
responsible for the user.
4.
When done, click [
Apply (
)
].
J
SNMP v3 is only able to be set when the secure connection mode is HTTPS.
Refer to “
SSL
”. (page 52)
EVENT SETUP
FTP / E-mail
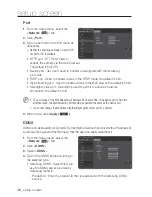
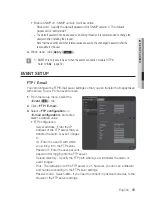
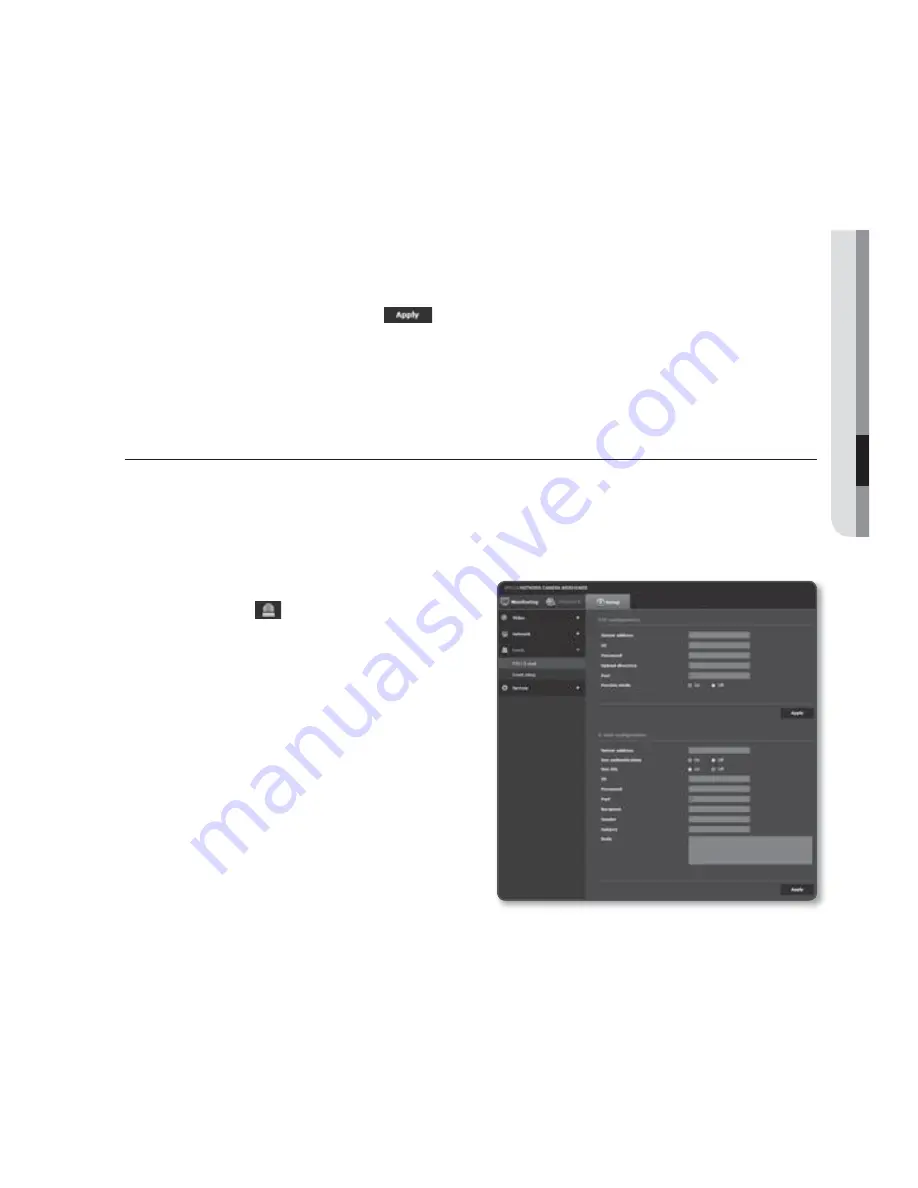
You can configure the FTP/E-mail server settings so that you can transfer the images taken
with camera to your PC if an event occurs.
1.
From the Setup menu, select the
<
Event (
)
> tab.
2.
Click <
FTP / E-mail
>.
3.
Select <
FTP configuration
> or
<
E-mail configuration
> and enter /
select a desired value.
•
FTP configuration
- Server address : Enter the IP
address of the FTP server that you
transfer the alarm or event images
to.
- ID : Enter the user ID with which
you will log in to the FTP server.
- Password : Enter the user account
password for logging into the FTP server.
- Upload directory : Specify the FTP path where you will transfer the alarm or
event images.
- Port : The default port of the FTP server is 21; however, you can use a different
port number according to the FTP server settings.
- Passive mode : Select <
On
> if you need to connect in passive mode due to the
firewall or the FTP server settings.
English
_55
●
SETUP SCREEN

