Disassembly and Reassembly
Samsung Electronics
4-1
4. Disassembly and Reassembly
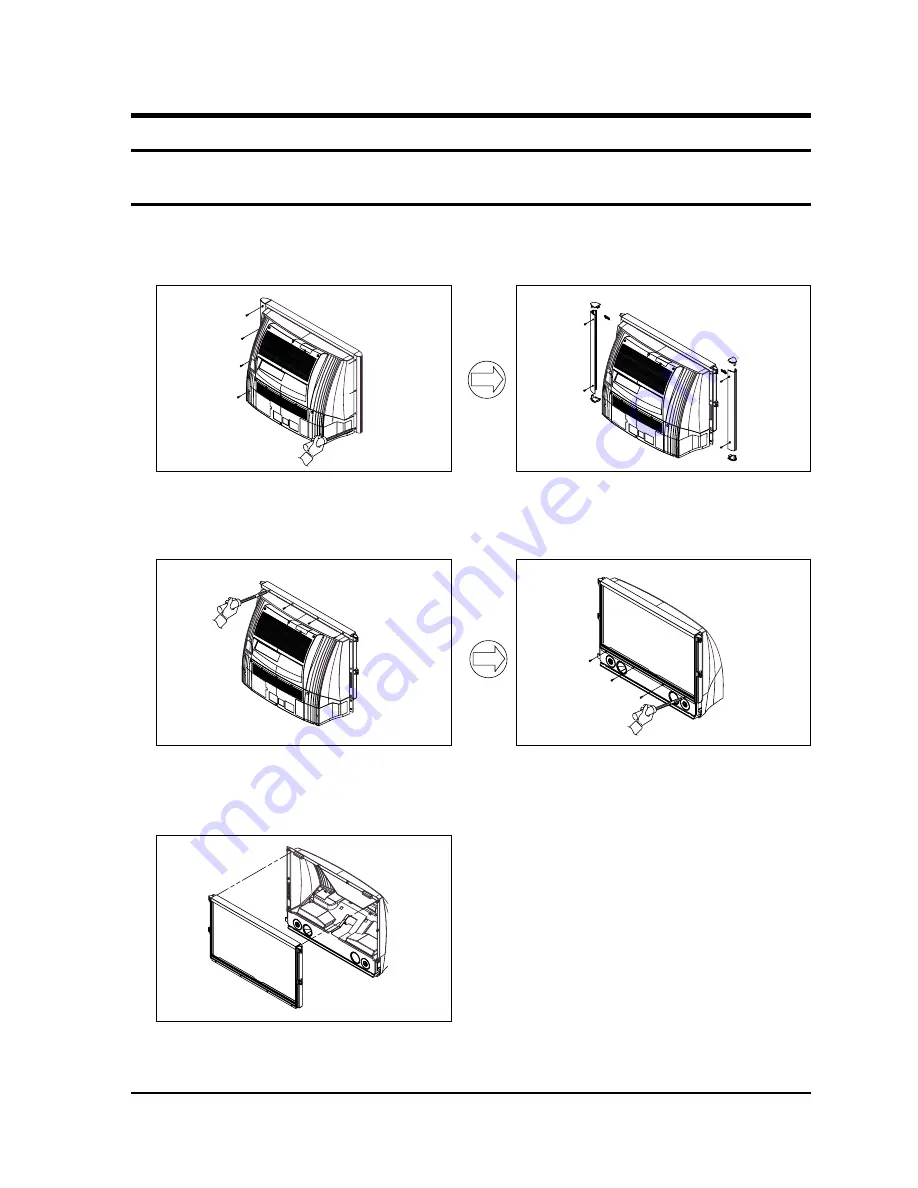
4-1 Back Cover Removal
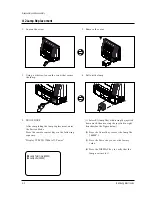
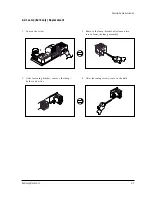
1. After removing the screws, pull the bottom and side holder part of the cabinet back wards.
2. Loosen the screws and remove the supporter.
4. Loosen the screws. Remove the front mask.
3. After loosening the screws, remove the lens
cover and fan duct.
Summary of Contents for SP43J6HDX/XEN
Page 2: ...ELECTRONICS Samsung Electronics Co Ltd MAY 2000 Printed in Korea 3M51A 4308 ...
Page 10: ...2 4 Samsung Electronics MEMO ...
Page 12: ...3 2 Samsung Electronics MEMO ...
Page 54: ...Schematic Diagrams 10 3 Samsung Electronics 10 3 MAIN POWER Power Line Signal Line ...
Page 55: ...Schematic Diagrams 10 4 Samsung Electronics 10 4 PROSCAN 1 Power Line Signal Line ...
Page 56: ...Schematic Diagrams 10 5 Samsung Electronics 10 5 PROSCAN 2 Power Line Signal Line ...
Page 57: ...Schematic Diagrams 10 6 Samsung Electronics 10 6 PROSCAN 3 Power Line Signal Line ...
Page 58: ...Schematic Diagrams 10 7 Samsung Electronics 10 7 PROSCAN 4 ...
Page 59: ...Schematic Diagrams 10 8 Samsung Electronics 10 8 MAIN u COM Power Line Signal Line ...
Page 61: ...Schematic Diagrams 10 10 Samsung Electronics 10 10 MAIN A V TERMINAL Power Line Signal Line ...
Page 66: ...Schematic Diagrams 10 15 Samsung Electronics 10 15 MAIN SUB LEDKEY LEVER SUB ...


