21
English
Mini Monitor
*
Connecting to a PC
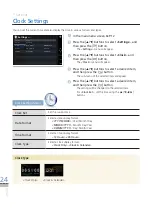
1
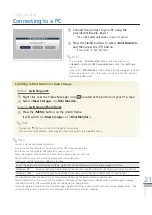
Connect the product to your PC using the
provided USB cable.
➥
p.11
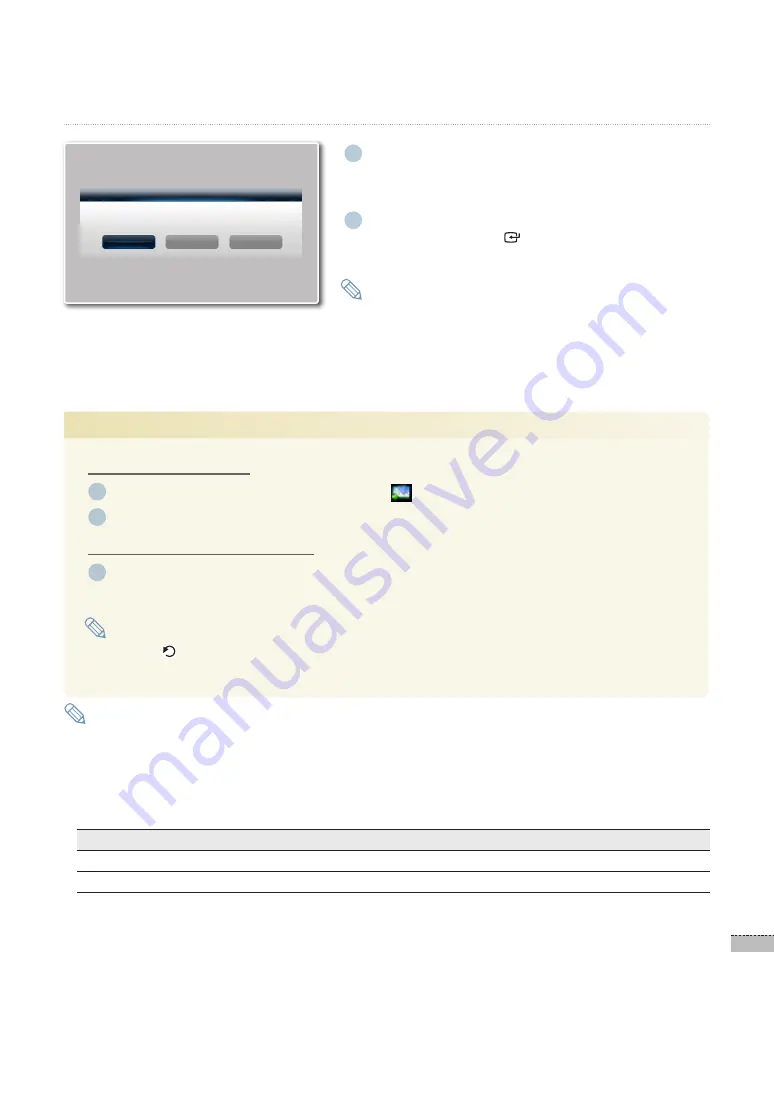
The <
·
USB Communication
> screen will appear.
2
Press the [
◀
/
▶
] buttons to select <Mini Monitor>,
and then press the [ ] button.
It will switch to Mini Monitor.
·
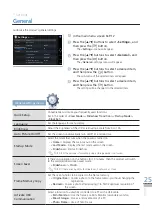
You can select <
·
Mini Monitor
> either in the main menu or in
<
General
>-<
Activate USB Communication
> under the <
Settings
>
menu.
If you select <
·
Mini Monitor
> with no Frame Manager program installed,
after a short while (10 sec.), the screen will switch to the Mini Monitor
installation guide screen.
Note
Option 1.
Switching on PC
1
Right click over the Frame Manager icon (
) located at the bottom of your PC screen.
2
Select <Mass Storage> or <Mini Monitor>.
Option 2.
Switching on Photo Frame
1
Press the [MENU] button on the photo frame.
It will switch to <Mass Storage> or < Mini Monitor>
Pressing the [
·
] button will switch to the photo frame mode.
You can adjust the brightness while using Mini Monitor by pressing the [
·
▲
/
▼
] buttons.
Note
You can only use one secondary monitor.
·
Do not use the Mini Monitor as a primary monitor. The screen may go blank.
·
Ensure you use the provided USB cable to connect to your PC.
·
Move the program used with the Mini Monitor to a primary monitor after use.
·
The Mini Monitor may not function properly with some video cards.
·
In this case, set the hardware acceleration to None.
To set the hardware acceleration to None, right-click on the Windows Desktop and proceed as follows;
Windows XP
Properties
➡
Display Properties
➡
Settings
➡
Advanced
➡
Troubleshoot
➡
Hardware Acceleration
➡
None
Windows Vista
Personal Settings
➡
Display Properties
➡
Advanced Settings
➡
Troubleshoot
➡
Change Settings
The Aero effect under Windows Vista is not applicable while using the photo frame as a Mini Monitor.
·
The Mini Monitor functions may not work properly if the driver of the video card is updated when Frame Manager is already
·
installed. In this case, after uninstalling, reinstall the Frame Manager program.
If you use the rotate function of the Frame Manager, the location of the currently set Mini Monitor can be changed. Even if the
·
rotate function is used, the monitor will not appear to be rotated on ‘Display Properties.’
Note
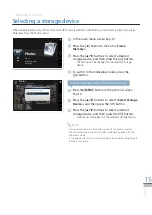
USB Communication
PC Connected via USB cable.
Select a function to use.
Mass Storage
Mini Monitor
Photo Frame
Switching to Mini Monitor or Mass Storage


