26
English
1
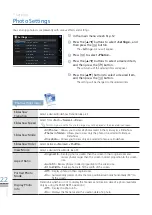
In the main menu screen
➥
P.12
2
Press the [
▲
/
▼
] buttons to select <Settings>, and
then press the [ ] button.
The <
·
Settings
> menu will appear.
3
Press the [
▲
/
▼
] buttons to select <Support>, and
then press the [ ] button.
The <
·
Support
> menu will appear.
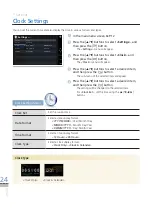
4
Press the [
▲
/
▼
] buttons to select a desired item,
and then press the [ ] button.
The sub-menu of the selected item will appear.
·
5
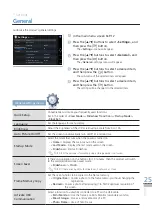
Press the [
▲
/
▼
] buttons to select desired item,
and then press the [ ] button.
The setting will be changed to the selected item.
·
Settings
*
Support
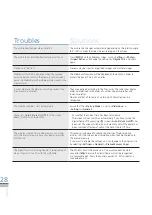
You can check contents related to the usage of the product and/ or reset menus, etc. that the user has set to the
default settings.
Upgrade Software
Upgrade software.
➥
p. 29
Reset
Set the menu options configured by the user to the default settings
(except for the time and language settings).
Product Guide
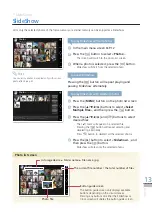
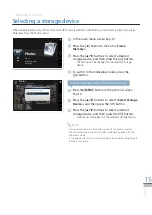
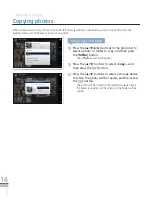
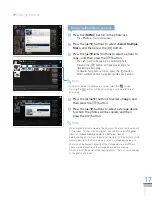
View information on the buttons, selecting storage device and <
Slideshow
>-
<
View Mode
>
Product Information
Verify the model, firmware version, frame memory and copyright.
Support Menu
<
Reset
> doesn’t influence saved files.
Note
Photos
Clock
General
Support
Upgrade Software
Reset
Product Guide
Product Information
Option
Category
Settings
-Support
SELECT
BACK
SLIDE
-SHOW
.
When the screen turned off by the Auto Picture On/Off function, pressing any button other than the [
·
] button will turn on the
screen.
When used as Mass Storage (mass storage device) or Mini Monitor by connecting to a PC with a USB cable, the screen doesn’t
·
turn off even at Off time (<
Auto picture On/ Off
>).
Note
General
¨


