


quick start guide
SR8875
English
Code No. DJ68-00674N REV(0.0)
▶
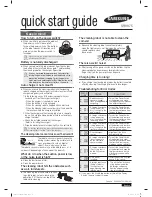
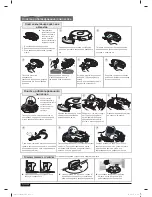
After turning off the power switch on the bottom, flip the
cleaning robot and remove any foreign substances
(Paper, vinyl) on the power brush or air pump.
There is a weird noise!
▶
If you charge the cleaning robot when the battery is heated
after the cleaning, the charging time could take longer.
Charging time is too long!
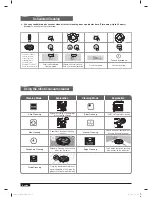
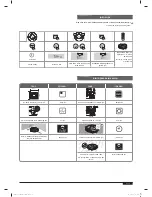
Troubleshoting for Error Codes
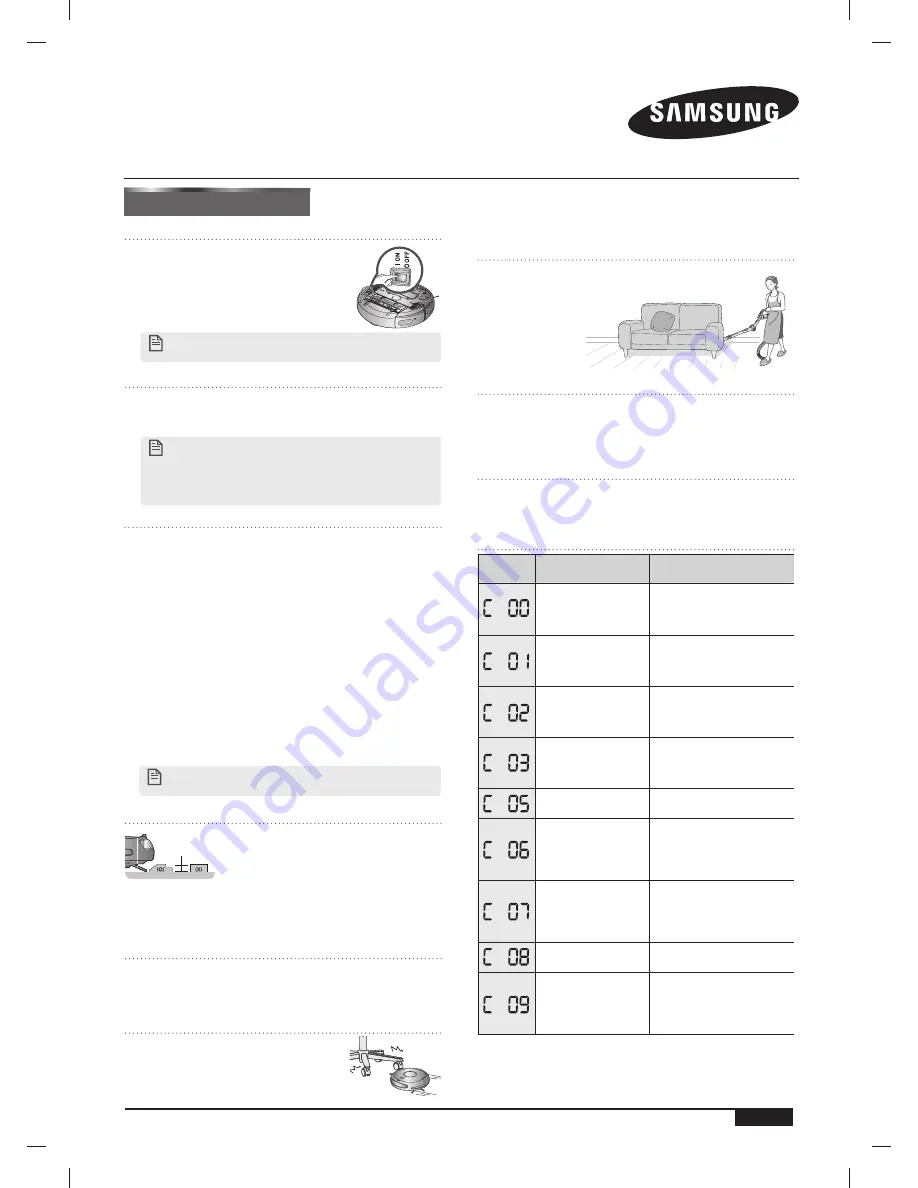
▶
Because the cleaning robot cannot completely
clean the tight corners, wall between the sofas you
should regularly clean
those areas.
The cleaning robot is not able to clean the
corners!
ERROR
CODE
CAUSE
SOLUTION
•
Robotic vacuum
cleaner is caught,
stuck or trapped while
navigating.
•
Turn off the Power Switch
at the bottom and move
the robotic vacuum cleaner
to a different location.
•
A foreign substance
(string, paper, toy
etc.) is caught in the
power brush.
•
Turn off the Power Switch
at the bottom and remove
the foreign substance from
the power brush.
•
A foreign substance
(string, paper, toy
etc.) is caught in the
left driving wheel.
•
Turn off the Power Switch
at the bottom and remove
the foreign substance from
the left driving wheel.
•
A foreign substance
(string, paper, toy
etc.) is caught in the
right driving wheel.
•
Turn off the Power Switch
at the bottom and remove
the foreign substance from
the right driving wheel.
•
Check bumper
sensor.
•
Slightly pull the stuck
bumper outward.
•
A foreign substance
(dust, stain etc.) is
on the Obstacle
sensor window.
•
Turn off the Power Switch
at the bottom and wipe
the foreign substance from
the front and rear sensor
windows using a soft cloth.
•
A foreign substance
(Dust, stain etc.) is
on the Cliff sensor
window.
•
Turn off the Power Switch
at the bottom and wipe the
foreign substance on the
cilff sensor window with a
soft cloth.
•
Dust bin not
inserted.
•
Insert the dust bin until you
hear a “Click” sound.
•
A foreign substance
(String, cloth etc.)
is caught on the
edge-cleaning side
rotating brush.
•
Turn off the Power Switch
at the bottom and wipe
the foreign substance
from the edge-cleaning
side rotating brush.
✽
If you press the Start/Stop button or turn off the Power
Switch, the error code is cleared.
▶
The cleaning robot can bump into chair
legs, table legs, sofa etc. during the
operation. Put the chair on top of the
table while cleaning.
The cleaning robot hits the obstacles such
as wall, furniture etc.
NOTE
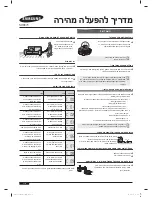
When you turn the power switch off and then on,
all settings will be reset.
How to turn on the power switch?
▶
When you initially purchase the product,
the power switch will be kept off.
Turn on the power switch at the bottom
of the robot cleaner. All functions will
work only when the power switch is
turned on.
▶
Clean the dust bin and filter.
▶
Clean the power brush.
What do I do when the suction power is low
or the noise level is high?
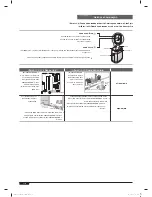
The cleaning robot cannot cross over the doorsill!
▶
When you separate the robot cleaner from the charger,
the battery will naturally be discharged. Therefore keep
the cleaning robot on the charger, if possible.
Battery is naturally discharged!
▶
When you execute the cleaning mode while the cleaning
robot is charged on the charger, it will return to automatically
charge more quickly and accurately.
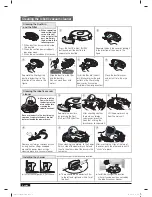
1. In the following cases, lift the cleaning robot with your
hand and put it on the charger to charge it.
- When the charger is installed in a corner
- When the battery is fully discharged
- When the cleaning robot is trapped with an obstacle
-
When the cleaning robot cannot pass over the doorsill to
the location where the charger is installed
2. When the charger and the cleaning robot are in separate
rooms, it could take a long period of time to automatically
charge the robot.
3. Check the installed condition of the charger.
(Refer to Installing the charger)
4. Wipe the obstacle sensor window lightly with a soft cloth.
Auto charge is not smooth!
NOTE
To test the auto Homing, press the Charge button when the
cleaning robot is within 1.5M of the charger.
NOTE
If no key is pressed for approximately 5 minutes after
turning the power on, the power is automatically cut to
prevent the battery discharging.To turn the power on
again, press and hold the power (Run/Stop) button on the
main body or on the remote control for a short while.
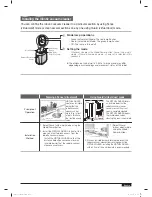
The robotic vacuum cleaner’s innovative
driving system makes it possible for it to
cross over doorsills with a height of
about 1.5 cm and clean all rooms.
The robotic vacuum cleaner may not be able to pass a 1.5
cm doorsill depending on the shape of the doorsill.
About 1.5 cm
About 1.5 cm
Stair type
Stair type
Vertical type
Vertical type
Keep in mind!
DJ68-00674N-1 EN.indd 1
DJ68-00674N-1 EN.indd 1
13. 01. 09 오후 8:14
13. 01. 09 오후 8:14


