78_
main menu
main menu
Using the PTZ camera
You can use one camera to perform all functions of PAN, TILT and ZOOM for monitoring multiple places and
set the preset to your preference in a desired mode.
1.
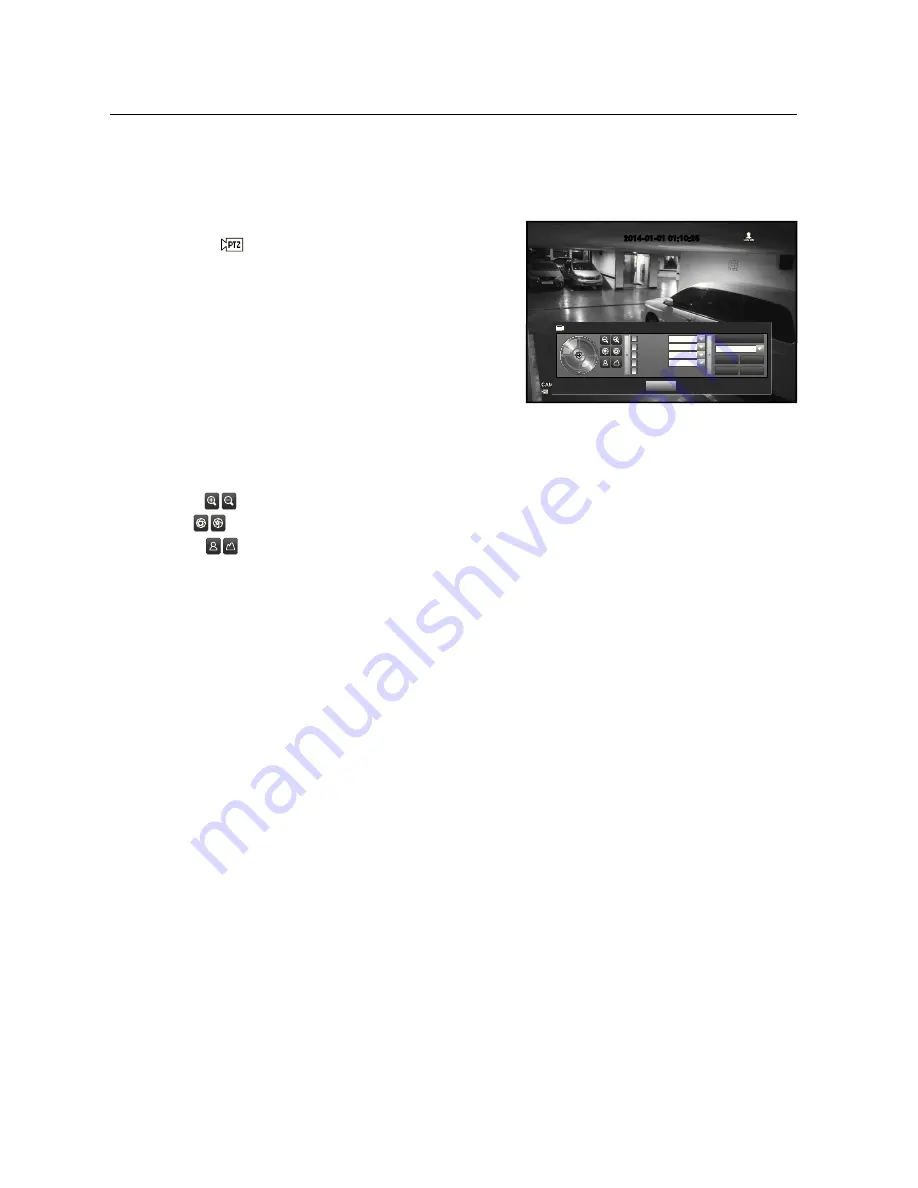
Launch the <
PTZ Control
> menu.
As the <
> icon on the bottom right corner turns
yellow, you access the “
PTZ Control
” mode to display the
“
PTZ Control
” menu.
M
`
Be sure to configure PTZ working environments before operation,
since the PTZ Working(Active) mark can be appeared to be
activated even when PTZ is not operative.
2.
Use the PTZ wheel in the launcher menu to adjust the
monitoring area, or use the direction buttons (
▲▼_ +
) on
the remote control to move the camera to a desired place.
•
PTZ Wheel : Clicking a nearer point to the center will move in that direction slowly; clicking a farther point
from the center will move fast.
`
Keep clicking left to rotate the lens counter clockwise; keep clicking right to rotate the lens clockwise.
•
Zoom (
) : You can use the Zoom function of the PTZ camera.
•
IRIS (
) : Adjusts the intensity of radiation incoming to the iris.
•
Focus (
) : Enables you to adjust the focus manually.
•
Swing : Moves between the preset start point and end point.
•
Group : Moves in the path specified by combining the preset, pattern and auto pan.
•
Trace : Moves camera’s framing in the predefined path.
•
Preset : Sets the preset position for camera framing and moves to designated preset position when
selecting a desired preset.
•
Tour : Moves in the path specified by combining multiple groups.
`
For the coaxial communications, the operation may differ depending on the protocol.
M
`
Before entering the PTZ device control mode, set the values of the PTZ device in the <
Setting the PTZ
> menu.
(Page 48)
`
For camera specifications that supports PTZ comtrol depending on communication method, refer to our web site.
2014-01-01 01:10:25
PTZ Control
CAM01
Select Preset
Save
Rename
Camera Setup
Exit
Swing
Select
Group
Select
Trace
Select
Preset
Select
Tour
Delete Delete All


