88_
web viewer
web viewer
CONNECTING WEB VIEWER (Windows)
1.
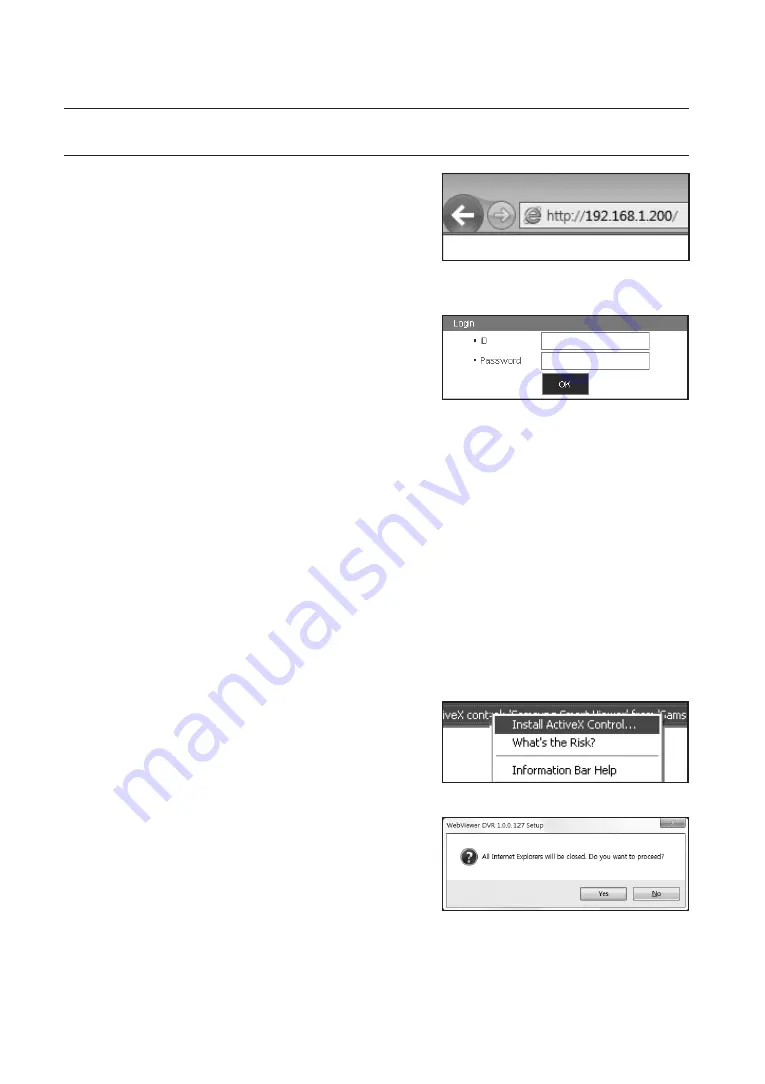
Open your web browser and type the IP address or URL of
DVR into the URL address box.
M
“
192.168.1.200
” is set to IP by default.
Set to an available IP address in IP Installer or "
Network
>
Connection Mode
”.
The URL connection will be enabled only when the DDNS connection settings have been completed.
2.
A user with the admin permissions should provide the
admin ID and password. A registered user should provide
the user ID and password.
J
The default administrator ID is “admin”, and the password must
be set when the user log in at the first time.
Set password for your wireless network if you use the product with a wireless router. Being not protected with password or
using the default wireless router password may expose your video data to potential threat.
To prevent from your personal information being exposed, please change your password every 3 months. Note that the
security and other related issues caused by careless management of password shall be be in the charge of the user.
If there are more than one LAN cards for the PC, you can use a LAN card with a smaller interface matrix value in order to
receive video.
M
It allows up to 10 simultaneous access including the Admin and general users.
It does not allow multiple login of the Admin user.
Password of the Admin and general users can be changed in <
Permission Management
> menu of the DVR.
Normal users should have set <
Viewer
> under <
Permission Management
> to “
Use
” before connecting to the
Web Viewer. (Page 43)
All settings are applied by the DVR’s settings.
If you change such as the permission settings with logged in to the Web Viewer, you may go back to the log in
screen.
3.
Click <
Install ActiveX Control...
>.
4.
When the installation confirm message appear, click [
Yes
]
button.
All windows will be closed(IE).


