English
_23
● LIVE
GETTING STARTED
Starting the system
1.
Connect the power cable of the NVR to the wall outlet.
2.
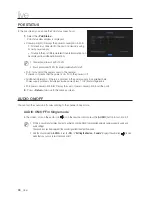
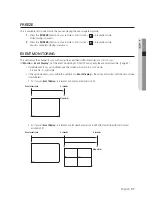
You will see the initialization screen.
The initialization process will last about 2 minute.
If a new HDD is installed, the initialization process may take
longer.
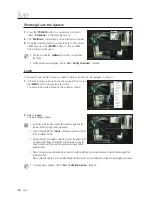
Easy Setup
This setting makes it easy to set language, ID/password, networks, and date/time.
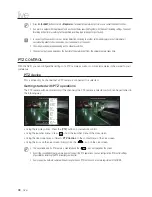
1.
When you start the product, the initialization screen will
appear. Then the <
Easy Setup
> screen will appear.
Select language to use and then click the <
Next
> button to
proceed to the next step.
2.
After entering and confirming <
Password
>, press the
<
Next
> button to move onto the next step.
3.
After setting the network access environment, press the
<
Next
> button to move onto the next step.
4.
After setting the date/time, press the <
Next
> button to
launch the camera registration popup window.
Press the <
OK
> button to launch the camera registration screen and press the <
Cancel
> button to launch
the live screen.
`
For more on how to register a camera, refer to “
To register a camera
”. (Page 52)
M
`
The camera registration window only appears when there is no camera registered in a channel.
`
If one or more channel is registered, the recording setting popup screen will appear.
`
After all the steps are finished using the IPv4 information of the network set in step 4, the DHCP server will automatically
start operating again.
Camera may be searched within 1 minute after DHCP Server started.
live


