CONNECTING WEB VIEWER
1.
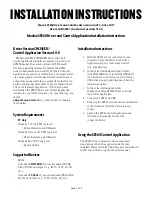
Open your web browser and type the IP address or URL of
NVR into the URL address box.
M
`
You need to connect network 2 before you can access the web
viewer.
`
"
192.168.2.200
" is set to IP by default.
`
You must have specified the IP address in "
Network
>
Interface
".
`
The URL connection will be enabled only when the DDNS connection settings have been completed.
For more information, refer to "
Network Configuration
>
DDNS
". (Page 80)
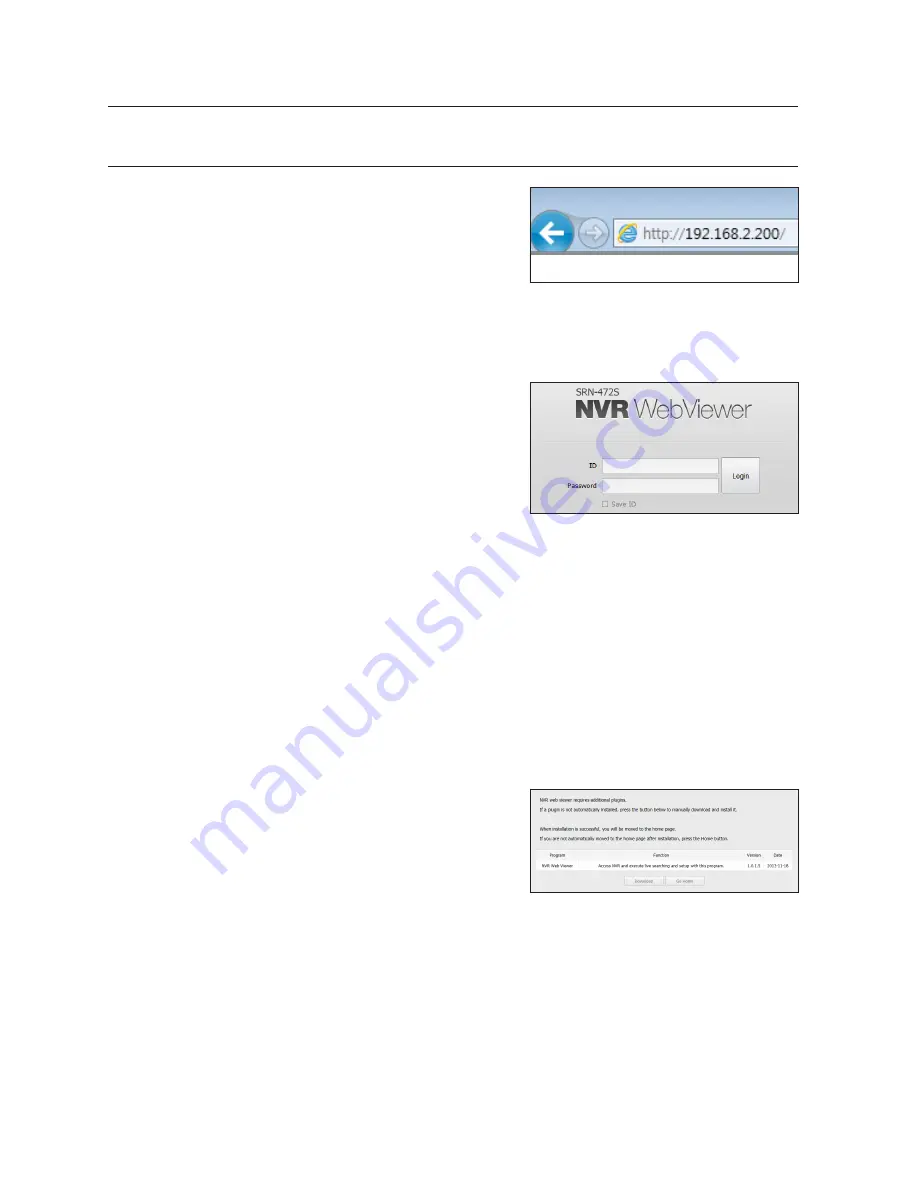
2.
A user with the admin permissions should provide the admin
ID and password. A registered user should provide the user
ID and password.
J
`
The initial admin ID/password for your web viewer are "
admin
" and
"
4321
" and you need to reset them in the easy setup phase.
Easy setup can be used only in the initial setup of the product.
`
Set password for your wireless network if you use the product with
a wireless router. Being not protected with password or using the default wireless router password may expose your video
data to potential threat.
`
Please change your password every three months to safely protect personal information and to prevent the damage of the
information theft.
Please, take note that it's a user's responsibility for the security and any other problems caused by mismanaging a
password.
M
`
It allow s up to 10 simultaneous access including the Admin and general users.
`
Password of the Admin and general users can be changed in <
Permission Setup
> menu of the NVR.
`
Normal users should have set <
Webviewer
> under <
Restriction on Network Access
> to Use before connecting to the
Web Viewer. (Page 45)
`
All settings are applied by the NVR's settings.
3.
The plugin installation confirmation pop-up window will
appear.
94_
starting web viewer
starting web viewer