

GB
23
Playing a Cassette in Slow Motion
Picture Search, Fast Forward/Rewind
Searching for a Specific Sequence
Playing a Sequence Frame by Frame
You can play a cassette in slow motion.
➢
No sound is heard when playing back a
cassette in slow motion.
1 Press:
◆
❿
II to start playing the cassette
◆
SLOW (
) as many times as required to
decrease or increase the speed respectively
◆
To return to the normal speed, press the
❿
II
button twice.
2 When playing back in slow motion, picture
interference may occur.
Press the PROG/TRK (
"
or
❷
) / TRK (
or
)
buttons to minimize this effect.
☛
When you have been using the Slow Motion
function for more than about five minutes,
the VCR will automatically play to protect
the:
◆
Cassette
◆
Video heads
Picture Search enables you to Fast Forward or
Rewind and look for a particular part of a tape.
1 Press PLAY, the VCR will enter normal play mode.
While in play, press and release the
❿❿
(or
➛➛
)
button. The VCR will search at 5 times the normal
playback speed.
2 To return to normal playback mode, press the
❿
II
button.
3 If you press and HOLD down the
❿❿
(or
➛➛
) button
the VCR will search at 9 times the normal speed.
Releasing the
❿❿
button will return the VCR to
search at 5 times the normal speed. To return to
normal playback mode, press the
❿
II button.
4 Whilst in Picture Search mode, if you press the
❿❿
button again, the VCR will enter normal Fast
Forward mode.
5 Likewise, whilst in Picture Search
➛➛
mode, if you
press the
➛➛
button again, the VCR will enter normal
Rewind mode.
6 If, when Redwing (
➛➛
) or Fast Forwarding (
❿❿
), you
press the
➛➛
(or
❿❿
) button, the VCR will enter the
Picture Search mode.
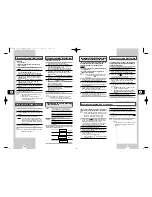
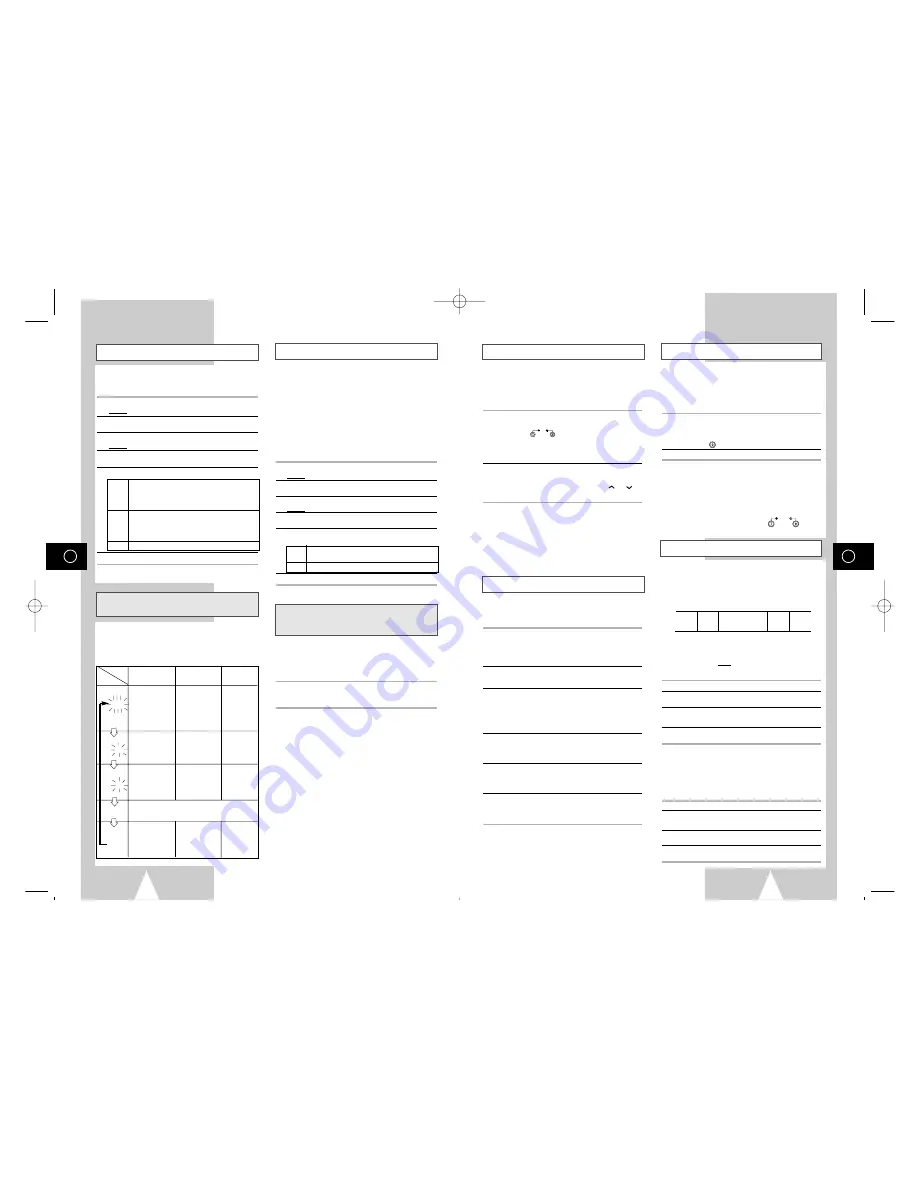
Each time you record a cassette on this VCR, an “index” is
automatically marked on the tape when recording starts.
The Search function allows you to fast-forward or rewind to
a specific index and start playback from that point.
Depending on the direction selected, the indexes are
numbered as follows:
➢
This VCR uses a standard indexing system (VISS). As a
result, it will recognize any indexes marked by other
VCRs using the same system and vice versa.
INTRO SCAN
1 To search for a specific index, press INDEX.
2 Press the
➛➛
or
❿❿
buttons depending on the
direction where your desired programme is located.
3 When an Index mark is found the VCR will playback the
tape for 5 seconds, after which it will continue
searching for the next Index mark.
4 If you want to watch the tape from a particular Index,
simply press
❿
II.
Index Skip Search:
This feature will enable you to fast forward/rewind to
a specific point on a tape: E.g. if you have recorded 3
different programmes on a tape and you have
rewound the tape to the beginning, by using this
feature you can go directly to the start of programme
2 simply by pressing the INDEX button.
1 Press the INDEX to start the Index search.
2 Press the
➛➛
or
❿❿
buttons twice more. This will take
you directly to the start of the desired programme is
located.
3 These Index searches can be made forwards:
(press
❿❿
) or backwards: (press
➛➛
).
4 To cancel an Index search simply press the
❿
II or
■
button.
You can:
◆
Stop the cassette at a given frame (image)
◆
Advance one frame at a time
➢
No sound is heard when playing back frame
by frame.
1 Press:
◆
❿
II to start playing the cassette
◆
❿
II to stop the tape at a given frame
◆
F.ADV ( ) to advance frame by frame
2 To return to normal playback, press
❿
II.
☛
When you have been using the Frame-by-
Frame function for more than about five
minutes, the VCR will automatically play to
protect the cassette and video heads.
➢
Vertical stability: When playing back frame
by frame, interference may be seen on the
screen. Press the V-LOCK (
)
buttons to minimize this effect.
SLOW
V-LOCK
F.ADV
2
1
1
2
etc.
etc.
Prev
Seq.
Seq. being
played
Next
Seq.
➞
GB
22
Format 16:9 (WIDE SCREEN)
Selecting the Audio Mute Mode
★
(SV-455GX/SV-451GX/SV-255GX/
SV-251GX Only)
Selecting the Audio Output Mode
★
(SV-657GX/SV-655GX/SV-651GX Only)
Selecting the Colour Mode
Your VCR can automatically read a 16:9 signal from
the AV2 input or a prerecorded 16:9 tape. It can
broadcast a 16:9 signal through a 21 pin scart cable.
1 Press MENU on the remote control.
Result: The programming menu is displayed.
2 Press the corresponding
"
,
❷!
or
➛
,
❿
buttons to
select the
USER SET
option.
3 Press the OK button to select this option.
Result: The
USER SET
menu is displayed.
4 Press the corresponding
"
or
❷
buttons, until the
FORMAT 16:9
option is selected.
5 Press the
❿
button to select
AUTO
➝
ON
➝
OFF
.
AUTO Set when you use a wide TV. The VCR
detects wide TV programmes and normal TV
programmes automatically when playing
back and recording.
ON
The VCR always plays back and records in
the mode compatible with 16:9 wide screen.
Set if the VCR cannot detect wide TV
programmes with “AUTO” set.
OFF
Set if you do not use a wide TV.
6 On completion, press MENU twice to exit the menu.
You can select the mode in which the sound is
mute.
To select the audio mute mode on and off, simply press
the AUDIO button on the remote control.
When monitoring a TV programme or playing back a
Hi-Fi recorded video tape, press the AUDIO button to
select a desired sound output. As the AUDIO button is
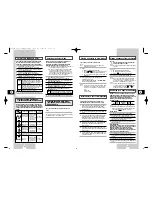
pressed, the sound output and the indicator change as
below:
Before recording or playing back a cassette, you
can select the required system standard.
Otherwise, the system automatically selects the
reception standard when you select AUTO.
➢
◆
When playing back a cassette, the standard is
automatically selected by the VCR.
◆
When you playback an NTSC-recorded tape
on this VCR make a setting on the colour
system according to your TV. If your TV is a
PAL system only TV, set NTPB. If your TV is
Multi System TV (NTSC 4.43 compatible), set
NT4.43 and you can record NT4.43.
1 Press MENU on the remote control.
Result: The programming menu is displayed.
2 Press the corresponding
"
,
❷!
or
➛
,
❿
buttons to
select the
USER SET
option.
3 Press the OK button to select this option.
Result: The
USER SET
menu is displayed.
4 Press the corresponding
"
or
❷
buttons, until the
COLOUR SYSTEM
option is selected.
5 Press the
❿
button to select
AUTO
➝
PAL
➝
MESECAM
➝
B/W
.
AUTO When playing back a cassette, the system
standard is automatically selected by the VCR.
B/W
Black and White
6 On completion, press MENU twice to exit the menu.
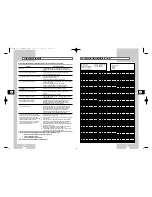
L R
MIX
MONO
L
R
Heard in stereo.
(left channel and
right channel)
Left channel
heard from both
the left and right
speakers.
Right channel
heard from both
the left and right
speakers.
Heard in
monaural.
Channel
I
(MAIN)
heard from the
left speaker,
channel
II
(SUB)
heard from the
right speaker.
Channel
I
(MAIN)
heard from both
the left and the
right speakers.
Channel
II
-(SUB)
heard from both
the left and the
right speakers.
Channel
I
(MAIN)
heard from both
the left and the
right speakers.
Heard in
monaural.
Heard in
monaural.
Heard in
monaural.
Heard in
monaural.
Sound mixed the left and right channels, and the
normal audio track.
OSD
display
Sound
type
Stereo sound Bilingual sound
Standard
sound
broadcast
01823H SV-657GX/EUR-GB2 4/19/02 5:02 PM Page 22


