29
28
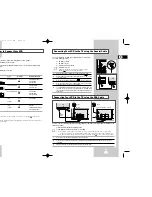
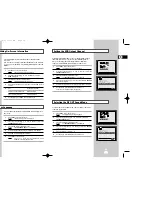
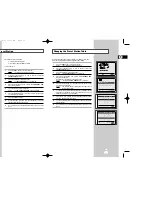
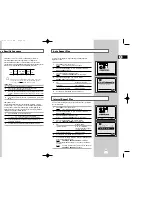
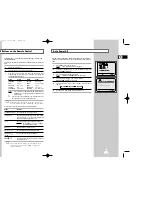
The Intelligent Picture Control Feature allows you to adjust the
sharpness of the image automatically, according to your own
preferences.
1
During playback, press the MENU button on the remote control.
Result:
The programming menu is displayed.
2
Press the corresponding
,
❷
or
➛
,
❿
buttons to select the
USER SET
option.
3
Press the OK button to select this option.
Result:
The
USER SET
menu is displayed.
4
Press the corresponding
or
❷
buttons, until the
IPC
option is
selected.
5
Press the
❿
button to select the IPC (intelligent picture control)
option.
➢
When intelligent picture control mode is
ON
, the sharpness
of the image is adjusted automatically.
6
To adjust the sharpness manually, press the
❷
button to turn the
IPC mode
OFF
.
7
Press the
➛
or
❿
buttons until the picture is displayed according to
your preferences.
➢
If you do not press a button within ten seconds, the
PICTURE
menu disappears automatically.
8
On completion, press the MENU button again.
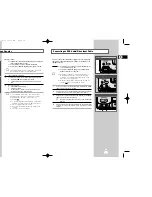
Intelligent Picture Control
OPTIONS
OSD
:ON
TAPE SELECT
:E180
COLOUR SYSTEM :AUTO
NICAM
:ON
IPC :ON
❷
❿
END:
MENU
USER SET
PROG OPTIONS INSTALL
CLOCK BONUS LANG
OPTIONS
❷
➛❿
OK
END:
MENU
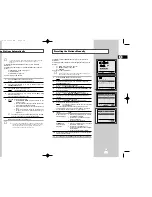
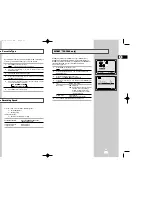
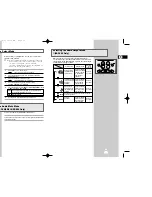
This function allows you to play back any pre-recorded cassette.
1
Switch on both the television and your VCR.
2
Insert the video cassette to be played. If the safety tab on the
cassette is intact, press
❿
ll.
Otherwise, the cassette is played automatically.
➢
When a cassette is loaded, the tape position is optimized
automatically to reduce disturbance (Digital Auto Tracking).
When playing a cassette, if the end of the tape is reached,
the cassette is rewound automatically.
NTSC tapes can be played back but cannot be recorded
with this VCR.
3
To...
Then press...
Stop the playback
■
(STOP).
Eject the cassette
(EJECT).
Playing a Cassette
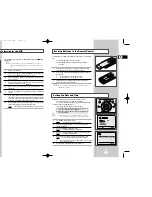
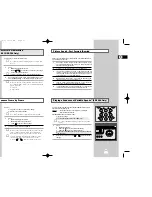
Adjusting Picture Alignment Manually
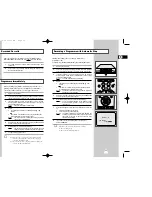
The Picture Alignment feature allows you to adjust the alignment
manually to obtain the best possible picture.
When noise bars or streaks appear during playback, adjust alignment
manually by pressing the PROG/TRK (
or
❷
) buttons until the picture is
clear and stable.
Result:
◆
The tracking bar appears.
◆
The image is adjusted.
◆
The tracking bar disappears when you release the button.
OK
VOL PROG/TRK
REC
MENU
3
2
REPEAT
VOL PROG/TRK
AUDIO
REC
MENU
DISP./
GB
GB
01993A SV-3000_HACO-GB3 6/19/03 10:13 AM Page 28
Summary of Contents for SV-3000
Page 1: ......


