background image

GB

41

40

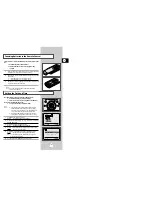
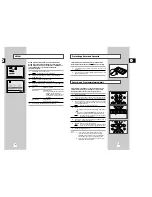
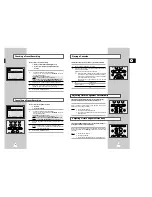
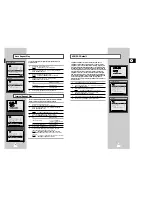
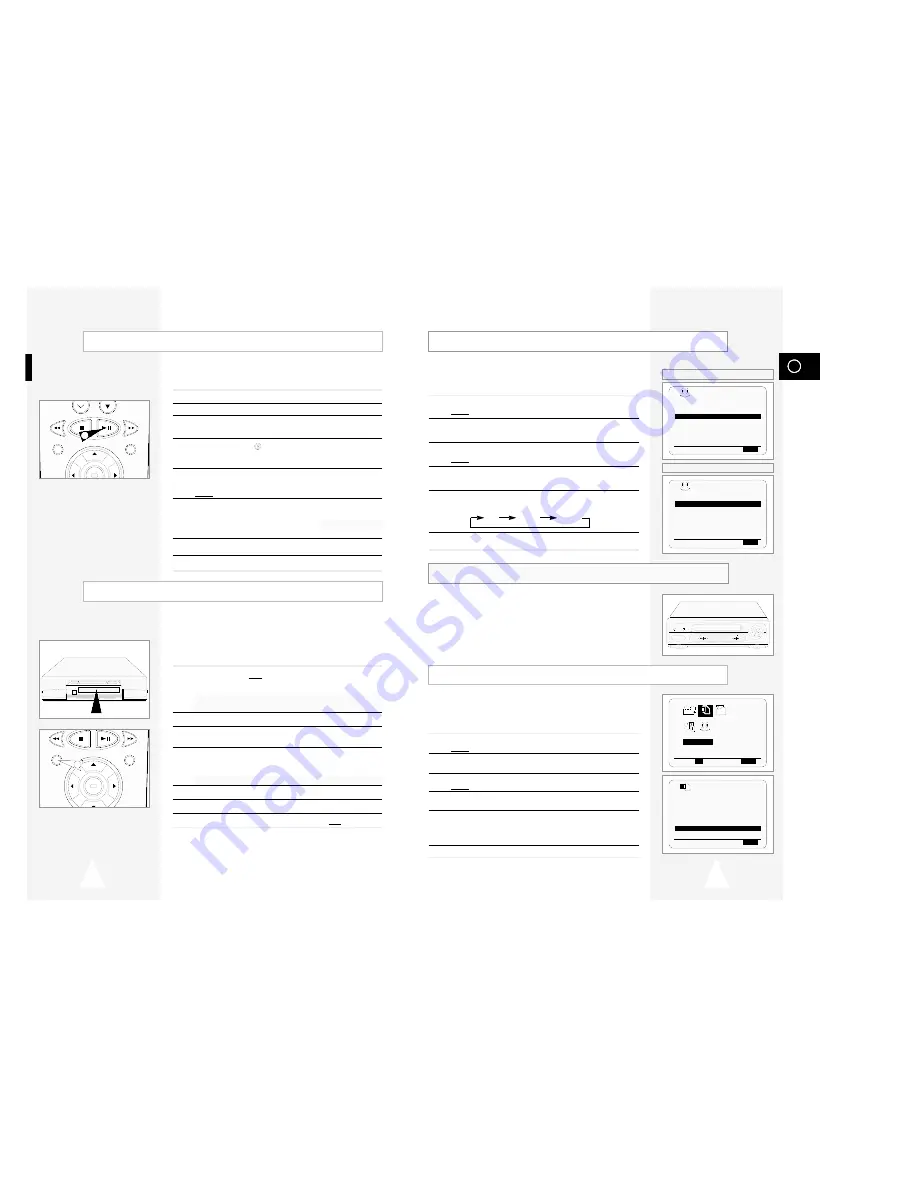
Low Power Mode reduces the Standby power consumption of the
VCR when in Standby mode. 
Useful, for example, when you are away from the house on holiday.
It saves actually turning the VCR off. 

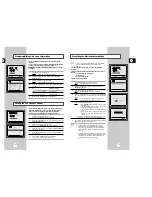
1

Press MENU on the remote control.
Result:

The programming menu is displayed.

2

Press the corresponding 

$

,

or 

buttons to select the    

USER SET

option.

3

Press the OK button to select this option.
Result:

The 

USER SET

menu is displayed.

4

Press the corresponding 

$

or

buttons, until the 

ECO. MODE 

is selected.

5

Press the 

❿!

button to turn LOW(3Watts) mode on. Now, when the 

VCR is standby mode the front display panel will shut off. 
Even the clock disappears. By pressing the STANDBY/ON button
again the display panel will reappear. 

6

On completion, press MENU twice to exit the menu.

ECO Mode-Reducing Standby power consumption

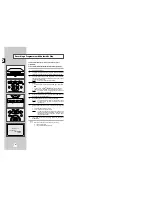
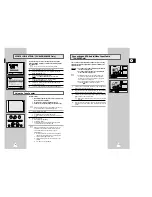
Child Door Lock System 

(SV-643B/SV-640B Only)

With this mechanism you can prevent children from harming
themselves or the VCR. It stops fingers and small articles from
entering your VCR.

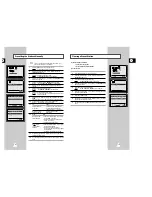
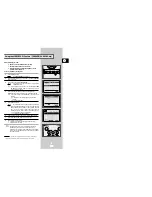
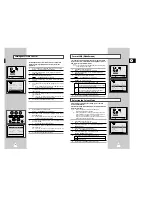
The Auto Power Off feature automatically turns off your VCR if no
signal is received and you do not press any button for the selected
time.  

1

Press MENU on the remote control.
Result:

The programming menu is displayed.

2

Press the corresponding 

$

,

or 

buttons to select the

EASY OPERATION

option.

3

Press the OK button to select this option.
Result:

The 

EASY OPERATION

menu is displayed.

4

Press the corresponding 

$

or

buttons, until the 

AUTO POWER OFF

option is selected.

5

Press the 

button, until you select the time of Auto Power off

interval. 

OFF           2HOUR           3HOUR

6

On completion, press MENU twice to exit the menu.

Auto Power Off

REC      STOP

PROG

EJECT

STANDBY/ON

REW                          F.F

PLAY

OPTIONS  

USER SET

PROG        OPTIONS     INSTALL

CLOCK       BONUS         LANG

$

❷!!

➛❿!!

OK

END:

MENU

  OPTIONS   

OSD

:ON

TAPE SELECT

:E180

COLOUR SYSTEM   :AUTO
FORMAT 16:9     :AUTO
NICAM           :ON

ECO. MODE       :OFF

IPC             :ON

$

END:

MENU

PDC/VPS DEFAULT

:OFF

VIDEOPLUS EXTEND  :OFF

AUTO POWER OFF  

:OFF

REPEAT PLAY

:OFF

NO. OF

INTERVAL REPEAT : 5

$

END:

MENU

BONUS    

(SV-645B/SV-643B)

PDC/VPS DEFAULT

:OFF

AUTO POWER OFF  

:OFF

REPEAT PLAY

:OFF

NO. OF

INTERVAL REPEAT : 5

$

END:

MENU

BONUS    

(SV-640B)

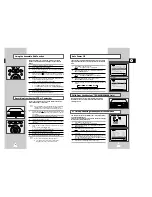
Using the Assemble Edit Function

Recording from Another VCR or Camcorder

F.ADV

OK

REC

      MENU

OK

REC

      MENU

2

6

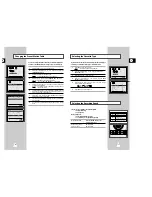
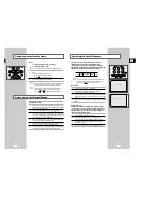
This function allows you to start a new recording at a specific
position on the cassette while maintaining a very smooth scene
change.

1

Insert the cassette to be edited in your VCR.

2

Press the 

ll button to start playback.

3

When you reach the position from which you wish to start the new

recording, press the 

ll button.

4

Press the F.ADV  (

) button again as often as necessary to

advance frame by frame, until the exact recording position is
located.

5

While the VCR is in still mode, hold the REC button down for a
while to activate the Assemble Edit function.
Result:

Record symbol flashes in the display.

6

Select the source from which you wish to record by pressing:

The  PROG (

$

or 

) buttons for television channels

The INPUT button for the AV1, AV2  or AUX

★ 

(SV-645Bonly)

input sources

7

Press the 

ll button to start recording.

8

When you have finished recording, press 

.

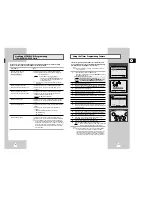
You can copy a cassette to your VCR from another video source,
such as another VCR or a camcorder.

It is an infringement of copyright laws to copy prerecorded
cassettes or to re-record them in any form without the
permission of the owners of the corresponding copyright.

1

Connect the VCR, from which the cassette is to be copied, to the
appropriate SCART audio and video input connectors on the rear
of your VCR. 
You can also use a RCA audio and video cable to connect the
AUX input on the front of your VCR. 

(SV-645B only)

2

Insert a blank cassette in your VCR.

3

Insert the pre-recorded cassette in the other video source (VCR or
camcorder).

4

Press the INPUT button to select the appropriate input on your
VCR: 

AV1 or AV2 for the SCART input

AUX for the RCA input 

(SV-645B only)

5

Start playing back the cassette to be copied.

6

Hold REC down for a while to start recording on your VCR.

7

When you have finished recording, press 

on both VCRs.

If you wish to view the cassette being copied:

Your VCR must be connected as usual to the
television (see page 11 for further details)

Summary of Contents for SV-643B

Page 1: ...VIDEO CASSETTE RECORDER SV 645B SV 643B SV 640B Instruction Manual PAL www samsungvcr com ...

Page 2: ...or the cable is not long enough to reach a power point you should obtain a suitable safety approved extension lead or consult your dealer for assistance However if there is no alternative to cutting off the plug remove the fuse and then safely dispose of the plug Do not connect the plug to a mains socket as there is a risk of shock hazard from the bared flexible cord IMPORTANT The wires in the mai...

Page 3: ...ur VCR 10 Connecting Your VCR to the TV using the Coaxial Cable and SCART cable 11 Connecting Your VCR to the Satellite receiver or Other Equipment 12 Connecting the Audio Output Cable 13 Plug Auto Set Up 13 Tuning Your Television for the VCR 14 SETTING UP YOUR VIDEO CASSETTE RECORDER Inserting Batteries in the Remote Control 15 Setting the Date and Time 15 Displaying Hiding On Screen Information ...

Page 4: ...the mains socket and aerial If the remote control is not used for a long period of time remove the batteries and store it in a cool dry place TV AV2 SATELLITE IN AV1 EURO AV R D L G AUDIO OUT SORTIE AV2 SATELLITE IN SCART EURO 21 SOCKET AV1 EURO AV IN OUT SCART EURO 21 SOCKET AERIAL IN CONNECTOR OUT TO TV CONNECTOR RCA AUDIO L R OUTPUT SOCKETS VIDEO CASSETTE COMPARTMENT PLAY BUTTON RECORD BUTTON E...

Page 5: ...TON AUTO TRACKING BUTTON IPC BUTTON TRACKING BUTTONS AUDIO MODE SELECTION BUTTON STOP BUTTON REWIND REVERSE PICTURE SEARCH BUTTON RECORD BUTTON MENU SELECTION BUTTON MENU SELECTION DOWN BUTTON RECORDING SPEED SELECTION BUTTON EJECT BUTTON INDEX BUTTON FRAME ADVANCE BUTTON TUNER AV1 AV2 AUX SV 645B ONLY SELECTION REPEAT SELECTION BUTTON PROGRAMME SELECTION BUTTON DISPLAY BUTTON PLAY PAUSE STILL BUT...

Page 6: ... OUT SORTIE 5 TV AV2 SATELLITE IN AV1 EURO AV R D L G AUDIO OUT SORTIE 4 2 TV TV AV2 SATELLITE IN AV1 EURO AV R D L G AUDIO OUT SORTIE 3 You must take into account various factors when connecting audio or video systems Types of connectors available on your systems Systems connected permanently to the VCR satellite receiver for example or temporarily camcorder for example Your VCR is equipped with ...

Page 7: ...ear of the VCR After making this connection select the source by pressing the INPUT button for the AV2 input sources 2 By means of RF Coaxial Cable After making this connection you must preset the station received through the satellite tuner RF output channel of the satellite receiver should be adjusted away from channel 60 which is used by the VCR e g re adjust to channel 65 Connecting the Audio ...

Page 8: ...k that the VCR starts reading the cassette if not press II button 5 Start a scan on your television or set the television to UHF channel 60 6 Fine tune the television until the pictures and sound are obtained clearly 7 If you cannot find the pictures and sound or there is interference from nearby channels it may be necessary to change the setting of the VCR output channel see Setting the VCR Outpu...

Page 9: ... and time when You purchase the video cassette recorder The time and date are set automatically from the broadcast signal If the signal is weak or ghosting occurs the time and date may not be set automati cally In this case they should be set manually Do not forget to reset the time when you change clocks from winter to summer time and vice versa 1 Press MENU on the remote control Result The progr...

Page 10: ... You must preset the stations received through the tuner This can be done Plug Auto Set up see page 13 Automatically Manually see page 18 You can store up to 80 stations 1 Press the MENU button on the remote control Result The programming menu is displayed 2 Press the corresponding or buttons to select the INSTALLATION option 3 Press the OK button to select this option Result The INSTALLATION menu...

Page 11: ...t The MANUAL TUNING menu is displayed 8 Press the or buttons to start scanning Result The frequency band is scanned and the first station found is displayed 9 Press the or buttons until the cursor is placed in front of the NAME The station name is set automatically from the broadcast signal 10 To change the programme s name press the button Result The first letter of the name flashes 11 To Then Se...

Page 12: ...ess the MENU button on the remote control 2 Press the corresponding or buttons to select the INSTALLATION option 3 Press the OK button to select this option Result The INSTALLATION menu is displayed 4 Press the or buttons to select MANUAL SET UP option And then press the button to select this option Result The TV STATION TABLE menu is displayed 5 Press the corresponding or buttons until the requir...

Page 13: ...ELECT E180 COLOUR SYSTEM AUTO FORMAT 16 9 AUTO NICAM ON ECO MODE OFF IPC ON END MENU 1 REPEAT TRK PROG AUDIO DISPLAY SPEED DUB TV VCR TIMER TRK PROG REC MENU 6 4 4 5 7 Before recording a programme you must have preset the corres ponding station unless you are recording via an external video source If you have not done so refer to pages 17 and 18 1 Switch on the television 2 To monitor the programm...

Page 14: ...5B only source using the INPUT button for a satellite tuner or external video source Result The channel number is displayed and the programme can be seen on the television 5 Select the recording speed by pressing the SPEED button as many times as required see page 21 6 Hold the REC button down for a while to start recording Result The record indicator appears on the television screen and VCR displ...

Page 15: ...lt The information concerning the programme is displayed When using the VIDEOPLUS function for the first time with stored stations the programme number flashes This one time you must enter the station number manually by pressing the or buttons Refer to the following page if The programme number or times flash You wish to modify the programme 6 If the programme and times are correct press the MENU ...

Page 16: ... time remaining on the tape loaded If there is insufficient tape to complete a timer recording in AUTO mode the VCR automatically switches to LP mode to record the whole programme TIMER METHOD STANDARD VIDEOPLUS END MENU PROG 1 JAN MON 21 28 PR DAY START STOP V P 1 MO 1 12 00 12 50SP ON DELETE CLR RST MENU STANDBY ON EJECT SLOW SHUTTLE 17 SV 645B SV 643B If you wish to correct the programme displa...

Page 17: ...lly to obtain the best possible picture When noise bars or streaks appear during playback adjust picture alignment by pressing the A TRK button Result The tracking bar appears The picture is automatically adjusted The tracking bar disappears when digital auto tracking has been completed A TRK IPC INPUT REPEAT TRK PROG AUDIO DISPLAY A TRK IPC INPUT REPEAT TRK PROG AUDIO DISPLAY OK REC MENU 3 2 You ...

Page 18: ...the menu Selecting the Colour Mode Intelligent Picture Control The Intelligent Picture Control Feature allows you to adjust the sharpness of the image automatically according to your own preferences 1 During playback press the MENU button on the remote control Result The programming menu is displayed 2 Press the corresponding or buttons to select the USER SET option 3 Press the OK button to select...

Page 19: ...put As the AUDIO button is pressed the sound output and the indicator change as below Selecting the Audio Output Mode REPEAT TRK PROG AUDIO REC MENU DISPLAY SLOW SHUTTLE V LOCK A TRK IPC INPUT REPEAT TRK PROG AUDIO DISPLAY 1 1 2 2 L R MIX MONO L R Heard in stereo left channel and right channel Left channel heard from both the left and right speakers Right channel heard from both the left and right...

Page 20: ... Index search simply press the II or button You can Stop the cassette at a given frame image Advance one frame at a time No sound is heard when playing back frame by frame 1 Press ll to start playing the cassette ll to stop the tape at a given frame F ADV to advance frame by frame 2 To return to normal playback press ll When you have been using the Frame by Frame function for more than about five ...

Page 21: ... 5 10 15 is displayed choose an interval repeat of 5 10 or 15 times Cancel Interval Repeat Play OFF is displayed 6 On completion press MENU twice to exit the menu 7 To select Interval Repeat Play during playback press the INPUT REPEAT button at the desired start point Result INTERVAL REPEAT SETTING is displayed Press the INPUT REPEAT button one more time at the desired end point Result The tape is...

Page 22: ...ion programme number recording speed date time and counter Twice to display the counter only Three times to display the time remaining on the cassette Four times to clear the display Using the Tape Counter EASY OPERATION PROG OPTIONS INSTALL CLOCK BONUS LANG OK END MENU PDC VPS DEFAULT OFF VIDEOPLUS EXTEND OFF AUTO POWER OFF OFF REPEAT PLAY OFF NO OF INTERVAL REPEAT 5 END MENU BONUS BONUS 0 00 00 ...

Page 23: ...5B SV 643B PDC VPS DEFAULT OFF AUTO POWER OFF OFF REPEAT PLAY OFF NO OF INTERVAL REPEAT 5 END MENU BONUS SV 640B Using the Assemble Edit Function Recording from Another VCR or Camcorder F ADV OK REC MENU OK REC MENU 2 6 This function allows you to start a new recording at a specific position on the cassette while maintaining a very smooth scene change 1 Insert the cassette to be edited in your VCR...

Page 24: ...ffers from 2 Carry out the instructions Tuning Your Television for the VCR interference it may be due to the VCR output see page 14 channel clashing with the normal TV 3 Carry out the instructions Setting the VCR output Channel transmissions in your area To prevent this see page 16 move the channel number several channels you will need to change the VCR output down from the original setting exampl...

Page 25: ...N BROWN TEL 01768 864829 DEVON HOLSWORTHY H B H WOOLACOTTS TEL 01409 253280 NEWTON ABBOT TELLI SCOPE ELECTRONICS TEL 01626 63907 PLYMOUTH ARGYLE TV VIDEO TEL 01752 779933 CTV ELECTRONICS TEL 01752 350950 DORSET BOURNEMOUTH M G ELECTRONICS TEL 01202 523771 DURHAM DURHAM LEE TECH SVCS TEL 0191 371 1300 DARLINGTON GAZE ELECTRONICS TEL 01325 482344 DYFED CARMARTHEN ADVANCE CONSUMER TEL 01267 236143 ST...

Page 26: ... by such repair work will not be covered by this warranty 4 This product is not considered to be defective in materials nor workmanship by reason that it requires adaptation in order to conform to national or local technical or safety standards in force in any Country other than the one for which the product was originally designed and manufactured This warranty will not cover and no re imbursemen...

Reviews: