background image

Schematic Diagrams

Samsung Electronics

5-9

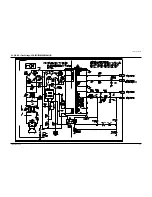
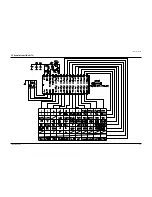
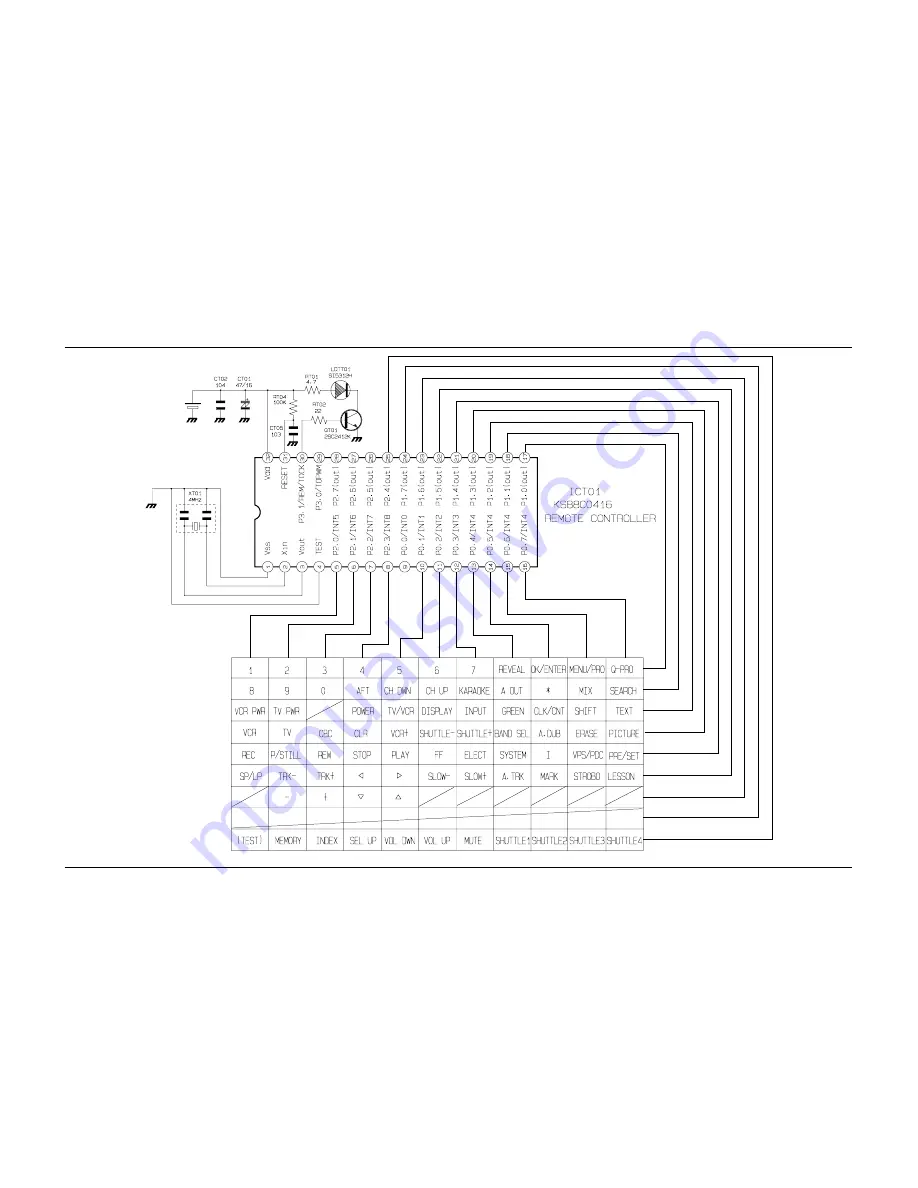
5-7  Remote-Control (Multi-TV)

Summary of Contents for SVR-433

Page 1: ...nical disassembly and adjustment refer to the Mechanical Manual DX 9R AC68 00001A SERVICE MANUAL SVR 433 233 230B 230W 2301 131 ELECTRONICS Samsung Electronics Co Ltd APR 2000 Printed in Korea AC68 00906A SVR 433 233 SVR 230B 230W SVR 2301 SVR 131 REC STOP PLAY PROG EJECT STANDBY ON LINE IN 2 REW F F VIDEO AUDIO EJECT STANDBY ON REW F F PLAY PROG REC STOP EJECT PROG REC STOP REW F F PLAY STANDB Y ...

Page 2: ...ot exceed 0 5 milliamp Reverse the power plug prongs in the AC outlet and repeat the test 6 X ray Limits The picture tube is designed to prohibit X ray emissions To ensure continued X ray protection replace the picture tube only with one that is the same type as the original Fig 1 1 AC Leakage Test 7 Antenna Cold Check With the unit s AC plug disconnected from the AC source connect an electrical j...

Page 3: ... instrument s ground lead to the instrument chassis ground before connecting the positive lead always remove the instrument s ground lead last 17 Observe the original lead dress especially near the following areas Antenna wiring sharp edges and especially the AC and high voltage power supplies Always inspect for pinched out of place or frayed wiring Do not change the spacing between components and...

Page 4: ...river See Fig 2 3 When Slider S T are approached in the position of unloading rotate holder Clutch counterclockwise after inserting screw driver in the hole of frame s bottom in order to wind the unwounded tape Refer to Fig 3 If you rotate Gear Worm Wheel continuously when tape is in state of unwinding you may cause a tape contamination by grease and tape damage Be sure to wind the unwounded tape ...

Page 5: ...egardless of chassis 5 How to adjustment Press the SW718 TEST button on Main PCB to set the adjustment mode If the corresponding adjustment button is pressed the adjustment is performed automatically If the adjustment is completed be sure to turn the power off 2 1 1 Location of adjustment button of remote control Fig 2 1 Q PRO IPC DISPLAY SHUTTLE V LOCK CLR RST F ADV INPUT INDEX TRK PROG REC MENU ...

Page 6: ...2 2 Samsung Electronics Alignment and Adjustment 2 1 2 SW718 TEST location for adjustment mode setting Fig 2 2 Main PCB Top View PRESS ...

Page 7: ...SWITCHING ENVELOPE 2 2 2 ACE Head Position X Point Adjustment See the 2 2 1 d ACE Head Position X Point Adjustment on page 2 2 of the Mechanical Manual 1 Playback the alignment tape Color bar 2 Press the SW718 TEST button on Main PCB to set the adjustment mode See Fig 2 2 3 Press the 5 button of remote control then adjustment is operated automatically See Fig 2 1 4 Connect the CH 1 probe to TP301 ...

Page 8: ...econd as shown Fig 2 6 2 7 and this setting is completed 6 Turn the Power off 1 NVRAM Option is adjusted at production line basically 2 In case Micom IC601 and NVRAM IC605 EEPROM is replaced be sure to set the corresponding option number of the repaired model If the option is not set the unit is not operated 01 02 03 04 05 06 07 08 09 10 11 12 13 14 15 16 17 18 19 20 21 22 23 24 25 26 27 28 29 30 ...

Page 9: ... 22 25 30 31 32 35 41 42 45 50 54 SVR 233 6 8 11 17 18 22 25 30 31 32 34 41 42 45 50 54 SVR 230B 8 11 17 18 22 25 30 31 32 34 37 38 41 42 50 54 SVR 230W 8 11 17 18 22 25 30 31 32 34 37 38 41 42 50 54 SVR 2301 8 11 17 18 22 25 30 31 32 34 37 38 42 50 54 SVR 131 8 9 10 11 17 18 22 30 31 32 34 39 42 45 Table 2 1 ...

Page 10: ...2 6 Samsung Electronics Alignment and Adjustment MEMO ...

Page 11: ...Samsung Electronics 3 1 3 Exploded View and Parts List 3 1 Cabinet Assembly 3 2 Mechanical Parts Top Side 3 3 Mechanical Parts Bottom Side Page 3 2 3 4 3 6 ...

Page 12: ... LD601S S602A CN602S CN3A1S 101 155 F A V JACK PCB S N A 200 LED PCB S N A 157 SHUTTLE PCB S N A CN703S 21 22 1 SVR 131 51 SVR 230B 230W SVR 433 233 1 21 22 21 22 1 SVR 2301 21 22 1 55 UT01 Q PRO IPC DISPLAY SHUTTLE V LOCK CLR RST F ADV INPUT INDEX TRK PROG R E C M E N U A U D I O S P E E D T V V C R REPEAT OK R E P E A T STANDBY ON DISPLAY CNT RESET SPEED IIP S IPC TRK REC MENU STANDBY ON EJECT ...

Page 13: ...SSETTE ABS T2 5 189 28 GRAY 22 AC61 62032A SPRING MASK X 9 SUS 4 4 SV C130 51 Refer to table below KNOB SHUTTLE ABS GRAY HB SV 130G 101 Refer to table below CABINET TOP X 9 SECC PCM 0 5 360 208 41 153 AC60 12126A SCREW BH BH 4 12 FE FZY 155 AC60 12134A SCREW TAP BH BH 2 4X16 FE 157 AC60 10063A SCREW TAPTITE BH M3 L12 ZPC3 SWRCH18 200 AC39 10019A POWER CORD KKP 419C H03VVH2 F VDE KEMA K CN3A1S 3809...

Page 14: ...2 Mechanical Parts Top Side G001 K250 K248 K110 K502 K350 K330 K182 K140 K490 K530 K240 G532 G420 G450 K546 G510 B410 B440 B444 B446 B448 B452 G527 G520 G480 G680 S N A S N A S N A S N A S N A G530 K340 B473 K188 G555 G546 S N A Service Not Available S N A ...

Page 15: ... 6 L5 0 ZPC G520 AC66 30539A LEVER 9 GUIDE ASSY X 9 TS X 9 G527 AC61 60553A SPRING 9 GUIDE ES SUS304 WPB OD3 1 0 G530 AC33 00002A HEAD FE HVFHP0038A X 9 G532 AC60 10519A SCREW TAP TITE PH M2 6 L8 ZPC G546 AC66 30535A LEVER FL DOOR POM M90 44 BLK X 9 G555 AC59 90403A UNIT PINCH ASSY X 9 G680 AC66 30557A LEVER H CLEANER ASSY POM URETHANE OPTIONAL K110 AC66 10267A REEL DISK S POM M90 44 X 9 K140 AC66...

Page 16: ...d View and Parts List 3 6 Samsung Electronics 3 3 Mechanical Parts Bottom Side G542 B560 B484 B458 B500 B488 B462 OPTIONAL S N A S N A S N A S N A B456 K222 K200 K225 K221 B570 B238 S N A Service Not Available ...

Page 17: ...TAP TITE PH M2 6 L5 ZPC YE B484 AC66 20580A GEAR LOADING DRIVE POM SW 01 M1 0 Z32 B488 AC66 30543A LEVER S LOAD ASSY X 9 B500 AC66 30542A LEVER T LOAD ASSY X 9 B560 AC31 00005A MOTOR CAPSTAN F2QSB02 B570 AC60 10514A SCREW CAPSTAN PH M2 6 L6 G542 AC66 60051A BELT PULLEY 5CM 70 2 2 71 3 X 9 K200 AC61 21012A HOLDER CLUTCH ASSY X 9 K221 AC66 20581A GEAR CENTER ASSY POM M O 5 HIGHT T K222 AC60 30306A W...

Page 18: ...Exploded View and Parts List 3 8 Samsung Electronics MEMO ...

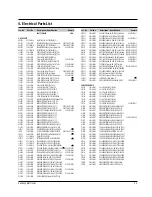
Page 19: ... 2301 ONLY R1SD15 2001 000076 R CARBON 47KOHM 5 1 4W AA TP 2 4X6 4MM R1SD15 2001 000305 R CARBON 110KOHM 5 1 8W AA TP 1 8X3 2MM SVR 2301 ONLY R1SD16 2003 000994 R METAL OXIDE S 33Kohm 5 2W AF TP 3 9x R1SD16 2006 000273 R CEMENT 27Kohm 5 2W CA BK 6 4x27x6 4m SVR 2301 ONLY R1SD31 2001 000780 R CARBON 470OHM 5 1 8W AA TP 1 8X3 2MM R1SD31 2001 000515 R CARBON 220OHM 5 1 8W AA TP 1 8X3 2MM SVR 2301 ONL...

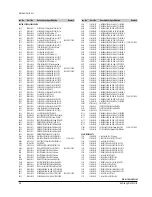
Page 20: ...4 R CARBON 56KOHM 5 1 8W AA TP 1 8X3 2MM R609 2001 000864 R CARBON 56KOHM 5 1 8W AA TP 1 8X3 2MM R613 2001 000429 R CARBON 1KOHM 5 1 8W AA TP 1 8X3 2MM SVR 131 NOT USER R614 2001 000429 R CARBON 1KOHM 5 1 8W AA TP 1 8X3 2MM R641 2001 000780 R CARBON 470OHM 5 1 8W AA TP 1 8X3 2MM R642 2001 000780 R CARBON 470OHM 5 1 8W AA TP 1 8X3 2MM R644 2001 000429 R CARBON 1KOHM 5 1 8W AA TP 1 8X3 2MM R650 2003...

Page 21: ...0P PLA L301 2701 000206 INDUCTOR AXIAL 56uH 5 2 4x3 4mm L302 2701 000002 INDUCTOR AXIAL 100uH 10 4 2x9 8mm L303 2701 000002 INDUCTOR AXIAL 100uH 10 4 2x9 8mm L304 2701 000002 INDUCTOR AXIAL 100uH 10 4 2x9 8mm L306 2701 000119 INDUCTOR AXIAL 120uH 5 2 4x3 4mm L307 2701 000122 INDUCTOR AXIAL 12uH 5 2 4x3 4mm L3A01 2702 000120 INDUCTOR RADIAL 15mH 5 6 2x7 4mm L3A02 2702 000106 INDUCTOR RADIAL 100uH 1...

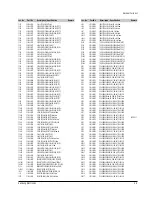
Page 22: ...20 50V GP TP 4x5 2 5mm C812 2202 000121 C CERAMIC MLC AXIAL 100pF 10 50V Y5P TP C813 2202 000173 C CERAMIC MLC AXIAL 1nF 10 50V Y5P TP 1 C814 2202 000121 C CERAMIC MLC AXIAL 100pF 10 50V Y5P TP JC801 AC37 20001H JACK RCA DPAM 4P MONO PI3 3 L801 2701 000181 INDUCTOR AXIAL 33uH 5 2 4x3 4mm L802 2701 000181 INDUCTOR AXIAL 33uH 5 2 4x3 4mm R801 2001 000449 R CARBON 2 2KOHM 5 1 8W AA TP 1 8X3 2M R802 2...

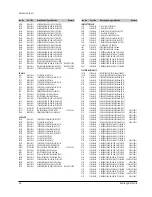
Page 23: ...0NF 30 16V Y5S TP C703 2202 000173 C CERAMIC MLC AXIAL 1nF 10 50V Y5P TP 1 CN705 3711 001198 CONNECTOR HEADER NOWALL 10P 1R 2mm ANGLE CN706 3711 001198 CONNECTOR HEADER NOWALL 10P 1R 2mm ANGLE DT701 0703 001096 LED DISPLAY AMB 6 10 50x22 5mm Q709 0501 000398 TR SMALL SIGNAL KSC945 NPN 250mW TO 92 T Q710 0501 000398 TR SMALL SIGNAL KSC945 NPN 250mW TO 92 T Q716 0501 000290 TR SMALL SIGNAL KSA643 Y ...

Page 24: ...4 6 Samsung Electronics Electrical Parts List MEMO ...

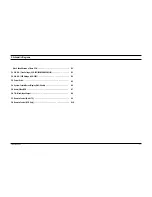
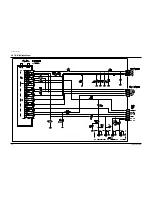
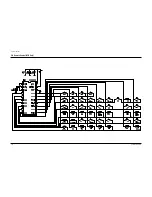
Page 25: ...0 Block Identification of Main PCB 5 1 S M P S Free Voltage SVR 433 233 230B 230W 131 5 2 S M P S 230 Voltage SVR 2301 5 3 Power Drive 5 4 System Control Servo Display F AV Shuttle 5 5 Audio Video OSD 5 6 TM Block Input Output 5 7 Remote Control Multi TV 5 8 Remote Control VCR Only ...

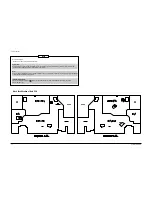
Page 26: ...r the electrostatically sensitive ES devices section of this service manual Note Do not use the part number shown on this drawing for ordering The correct part number is shown in the parts list may be slightly different or amended since this drawing was prepared Important safety notices Components identified with the mark have the special characteristics for safety When replacing any of these comp...

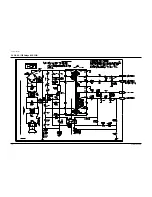
Page 27: ...Schematic Diagrams Samsung Electronics 5 3 5 1 S M P S Free Voltage SVR 433 233 230B 230W 131 ...

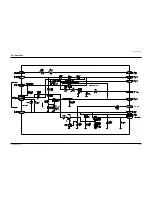
Page 28: ...Schematic Diagrams 5 4 Samsung Electronics 5 2 S M P S 230 Voltage SVR 2301 ...

Page 29: ...Schematic Diagrams Samsung Electronics 5 5 5 3 Power Drive ...

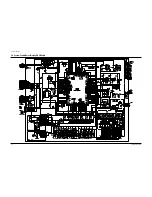
Page 30: ...Schematic Diagrams 5 6 Samsung Electronics FRONT A V ASS Y LED PCB 5 4 System Control Servo Display F AV Shuttle ...

Page 31: ...Schematic Diagrams Samsung Electronics 5 7 O S D 5 5 Audio Video OSD ...

Page 32: ...Schematic Diagrams 5 8 Samsung Electronics 5 6 TM Block Input Ouput ...

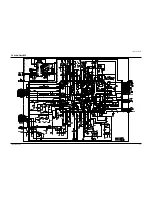
Page 33: ...Schematic Diagrams Samsung Electronics 5 9 5 7 Remote Control Multi TV ...

Page 34: ...Schematic Diagrams 5 10 Samsung Electronics 5 8 Remote Control VCR Only ...

Reviews: