ENGLISH
How to Use the Battery Pack
23
23
ENGLISH
How to Use the Battery Pack
22
22
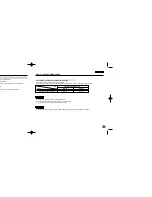
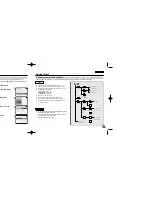
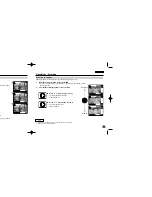
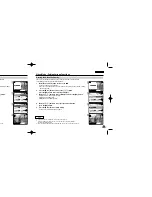
Battery Level Display
The Battery Level Display shows the amount of battery power remaining in the Battery Pack.
Tips for Battery Identification
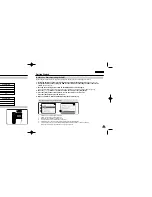
Charging time based on battery type
A charge mark is provided on the battery pack to help you remember whether it has been charged or not.
If the battery has been fully charged, the charge indicator is green. If you are charging the battery,
the colour of the charge indicator is orange. The charge indicator flickers if the battery is abnormal.
Battery Level Indicator
State
Fully charged
40~60% used
60~80% used
80~95% used
Exhausted(flickers)
The device will soon turn off.
Change the Battery Pack
as soon as possible.
(flickers)
The device will be forced to
turn off after 5 seconds.
Message
-
-
-
-
-
“Battery Low”
Video Play 100-0056
00:16 / 00:32
SB-P90A (900mAh)
SB-P180A (1800mAh) (option)
6 hr. 30 min
13 hr.
1 hr. 40 min
3 hr. 20 min
Capacity
Power On
Power Off
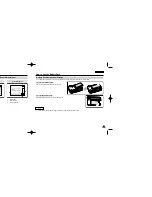
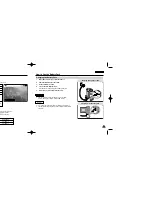
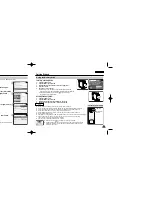
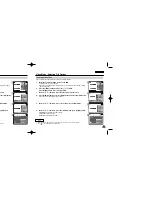
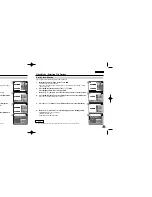
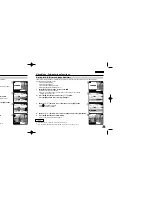
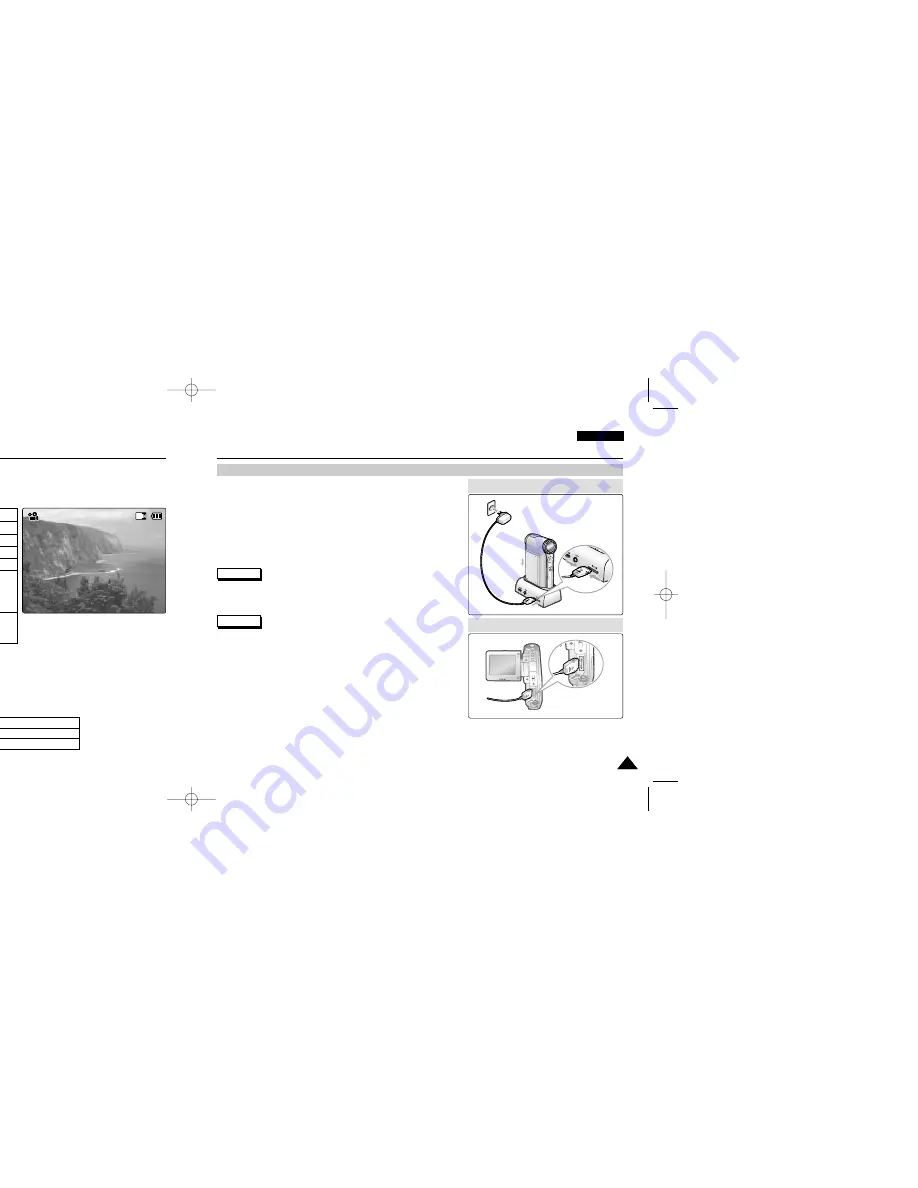
Charging the Battery Pack
1.
Move [Mode Selector] up to turn the CAM off.
2.
Attach the Battery Pack to the CAM.
3.
Fix the CAM into the cradle.
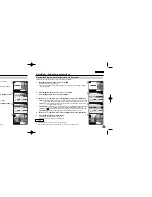
4.
Connect the jack with the cradle.
◆
Detach the jack by pressing the buttons of the jack.
5.
Insert the AC power adapter into the outlet.
✤
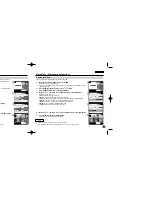
You can charge the battery pack when you use the CAM.
Connect the AC power adapter with the CAM directly.
✤
It is recommended you fully charge the battery pack before use.
✤
You should only charge the battery in an environment between 0
°
C
and 40
°
C.
Warning
Note
Charging through the cradle
Charging directly to the CAM
VP-M102 UK_0-Start 2004.12.20 11:35 AM Page 22


