English
_9
Component Name
Function
$
Preview Policy
Realtime: There is no delay of video, but it is not that smooth.
Smooth:There may be some delay of video, but it is smooth.
Balanced: Take both realtime and smooth into consideration at the same time.
%
Start SEQ
Press this button to switch the screen mode in sequence.
^
Playback
Replay video recorded
&
Information
System Information.
Network Settings
•
DNS
: DNS is usually provided by local ISP. Enter the IP address of your domain name server.
•
UPnP (Plug and Play)
: function of automatic upload from port. It is important that UPnP function be available on the router and
should be enabled before use. When UPnP is enabled, port does not need to be mapped on router.
•
Tips
: When settings are confirmed and saved, they will be applied after the "Exit" button is clicked.
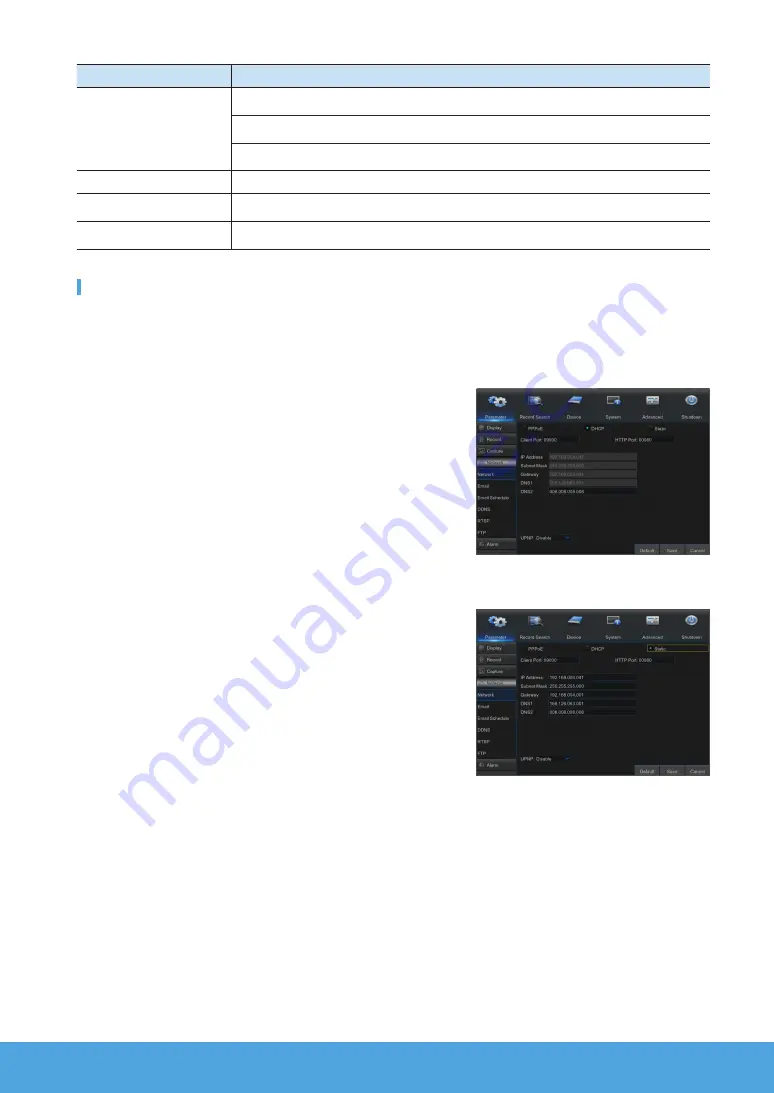
1.
When selecting DHCP, router will allocate IP address to the NVR auto-
matically, and the IP address allocated to NVR varies upon each start
of the NVR or DHCP server, so the corresponding IP address and port
number shall be confirmed and mapped prior to remote access to the
NVR each time. The operation procedure is as shown below:
1
Select DHCP and then click on Save.
Enter client port and HTTP port (they must be different from each
other).
2
Set the IP address obtained by NVR on router and the port set for
mapping, as detailed in router setting.
Use the IP address to perform remote access to NVR:
http://IP in public network: HTTP port (e.g. 80)
http://IP in intranet: HTTP port (e.g. 80) (available only in one LAN)
2.
When choosing Static, you have to set IP address, subnet mask, gate-
way and port number. The operation procedure is as shown below:
1
Select Static as network type.
2
Set port (client port), which shall be mapped on router.
3
Enter HTTP port (which must be different from client port), which shall
be mapped on router.
4
Enter the specified IP address to this bar, which will become
the unique NVR address code in regional network, for example,
192.168.2.128 as shown below.
5
Subnet mask: view the router to set a same mask as that in it, or
consult your network operator.
6
DNS: Enter DNS (domain name server) address. View the router to set the same gateway as that , or consult your net-
work operator.
7
Click on "Save" to save changes.
Summary of Contents for Wisenet SNK-B73040BW
Page 14: ...14_ English MEMO...
Page 16: ...16_ English MEMO...


