English - 21
You can select the type of picture which best corresponds to your
viewing requirements.
1
Press the
MENU
(
) button.
Result:
The main menu is displayed.
2
Press the
▲
or
▼
button to select
Picture
.
Result:
The options available in the
Picture
group are
displayed.
3
Press the
œ
or
√
button.
Result:
The
Mode
is selected.
4
Select the required picture mode by pressing the
œ
or
√
button
repeatedly.
Result:
The following picture mode are available:
Dynamic
-
Standard
-
Movie
-
Custom
➢
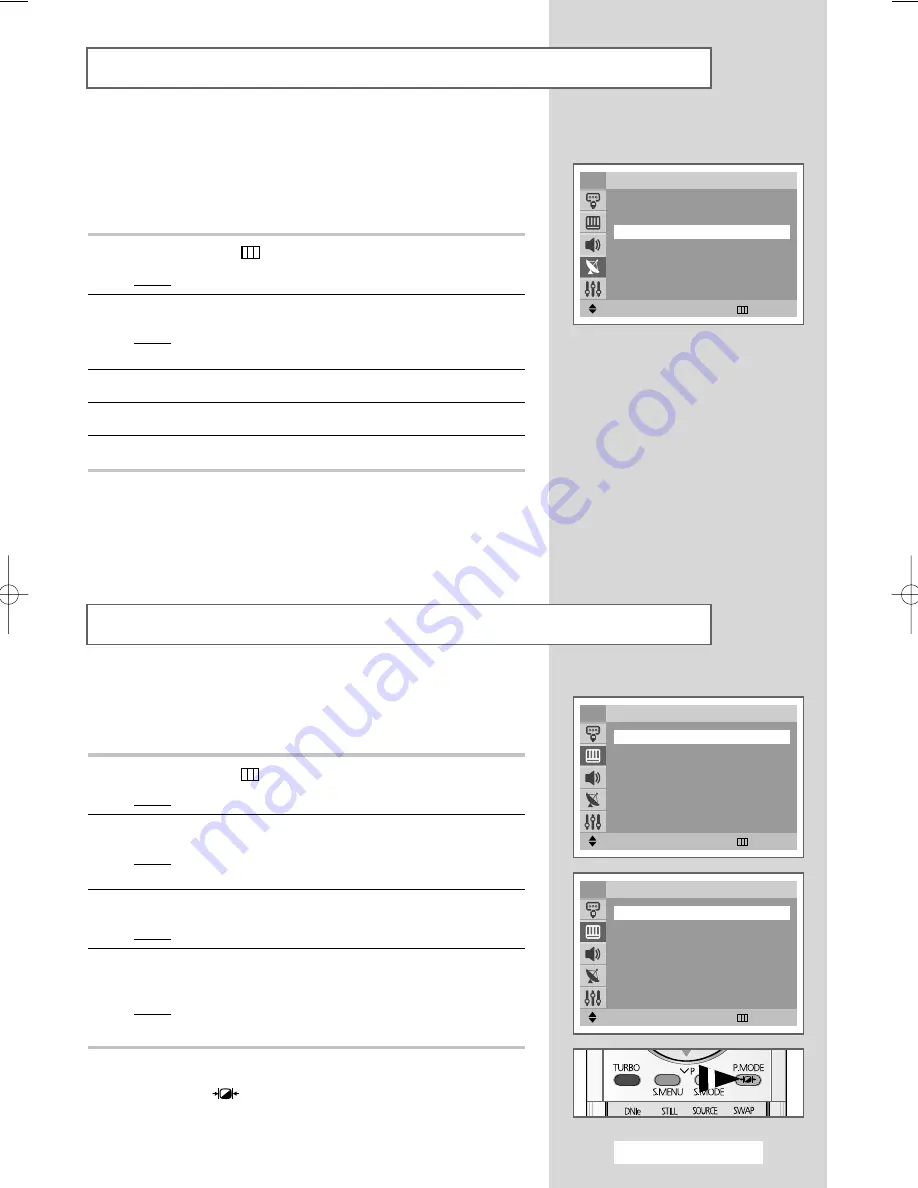
You can also set these options simply by pressing the
P.MODE
(
; Picture Mode) button.
Changing the Picture Standard
Move
œ
œ √
√
Adjust
Return
Picture
Mode
œ
œ
Dynamic
√
√
Size
: Auto Wide
Scan Mode
: Natural
Digital NR
: On
DNIe Demo
: Off
†
†
More
TV
Move
œ
œ √
√
Adjust
Return
Mode
Mode
œ
œ
Dynamic
√
√
Contrast
: 70
Brightness
: 50
Sharpness
: 50
Colour
: 50
†
†
More
TV
This function is very useful in the situation that the TV is used in
weak signal. LNA amplifies the TV signal in the weak signal area,
but not noise. This feature is working only weak signal condition,
and that is memorized on current channel, additional.
1
Press the
MENU
(
)
button.
Result:
The main menu is displayed.
2
Press the
▲
or
▼
button to select
Channel
.
Result:
The options available in the
Channel
group are
displayed.
3
Press the
œ
or
√
button.
4
Press the
▲
or
▼
button to select
LNA
.
5
To activate this feature, select
On
by pressing the
œ
or
√
button.
➢
Setting the LNA option to “
On
” may produce worse picture
quality due to the current channel’s signal condition.
Hence, apply LNA On/Off selectively according to the
picture quality that is currently displayed.
Using the LNA (Low Noise Amplifier) feature
(depending on the model)
Move
œ
œ √
√
Adjust
Return
Channel
…
…
More
Fine Tune
√
√
LNA
œ
œ
On
√
√
TV
AA68-03554A-00Eng 3/9/05 2:38 PM Page 21


