background image

12

11

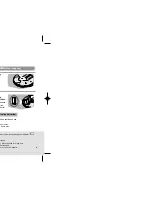
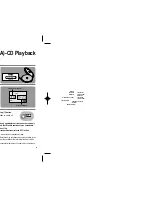
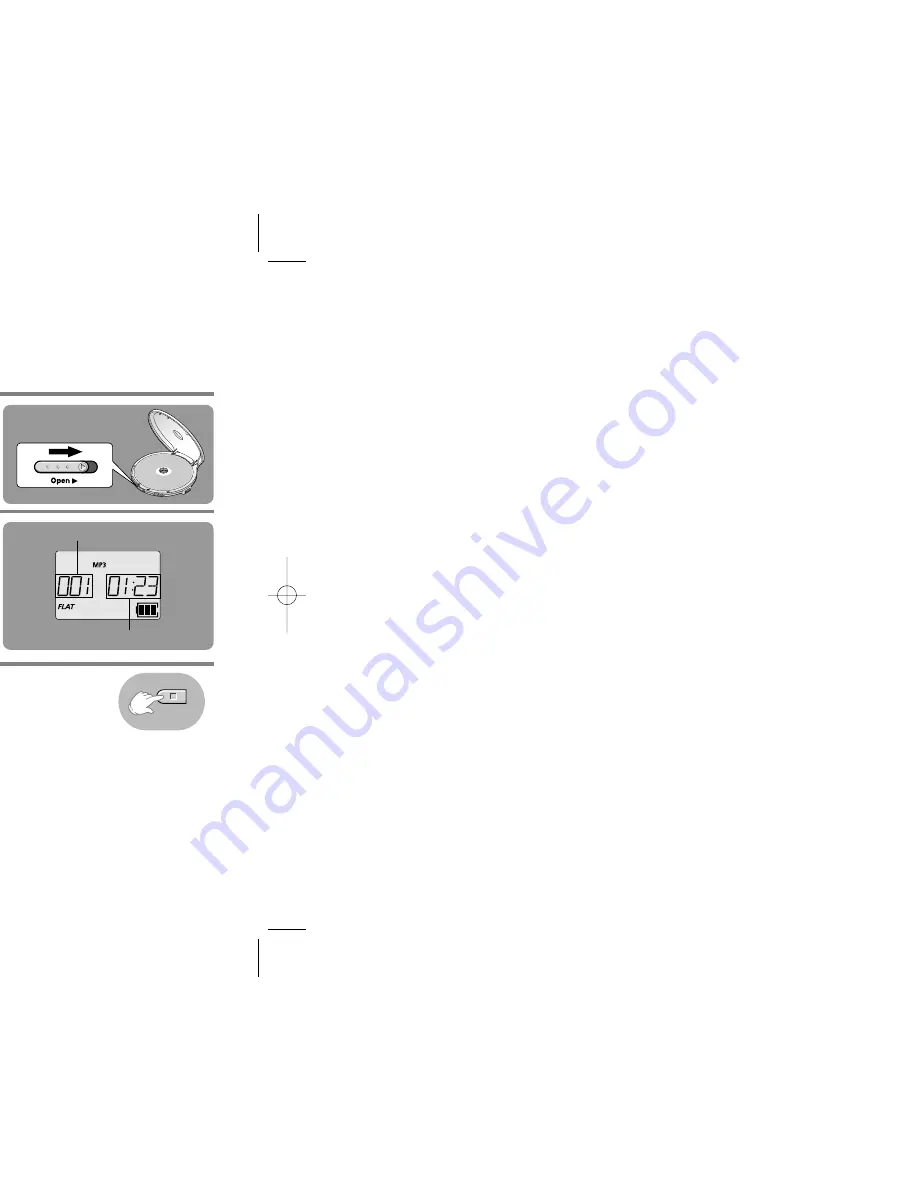
Slide the Open button to
open the door. 
Insert a CD.
• Push the door to close it.

1

Press the Play/Pause
(

√»

) button.

• Once the CD is 

recognized, playback 
commences.

2

To stop playback, press the Stop (

) button.

• Press and hold the Stop (

) button to switch off

the unit.

3

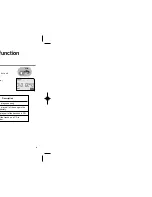
Press the Play/Pause (

√»

) button.

• 

Playback will be temporarily suspended.

• 

Press the Play/Pause (

√»

) button again to resume

playback.

To temporarily pause playback

Track Number Indicator 

Playtime Indicator

CD Playback

• The power will automatically switch off after 15

seconds, even if you do not press the Stop (

)

button.

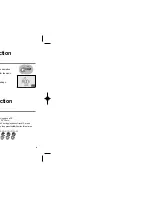
Slide the Open button to
open the door, and insert
an MP3(WMA)-CD.
• Push the door to close it.

1

Press the Play/Pause 
(

√»

) button.

• The inserted MP3(WMA)-CD

will be scanned for about
30~90 seconds. Playback will
then commence.

Your CD Player will take a 
few moments to scan through 
all the tracks and the sessions
recorded on an MP3(WMA)-CD.

2

To stop playback, press the Stop (

) button.

• Press and hold the Stop (

) button to switch off

the unit.

3

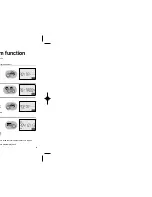
Album

Number

indicator

Track Number indicator

Album Name indicator

Title indicator

L/R Channel 
Level Indicator
Anti-Shock 
Time Buffer 
Level Indicator

Playtime indicator

• If a music file is corrupted and a particular section cannot be read, only

that section will be skipped. But if the file continues to be unreadable,
the player will skip to the next file.

• Files that do not conform to specifications (refer to P. 23) will be

skipped.

• 

When the Open switch is slid to open the door, playback will stop.

The quality of MP3(WMA)-CD playback may vary depending on the condition of the
disc containing the music files or the condition of the recorder with which the disc
was created.

If different types of files or unnecessary folders are on the same disc, you will have
problems with playback.

Note

MP3(WMA)-CD Playback

Bit rate indicator

Sampling Frequency
Indicator

MCD-CM150(GB)  9/17/04 15:43  Page 11

Summary of Contents for yePP MCD-CM150

Page 1: ...able MP3 CD Player CD WMA CD CD DA Playback D CM150 0 E D IR P R O G R A M ion Manual...

Page 2: ...2 3 ols 5 using your unit 8 eable batteries not supplied 9 tteries not supplied 10 11 ayback 12 n 13 14 15 16 16 17 17 18 gram 19 gram 19 ram mode 19 20 using compact discs 21 uide 22 23 ts...

Page 3: ...s reduce the volume or stop listening ich can be recycled if disassembled by a erve local regulations regarding the hausted batteries and old equipment mation 41 F 95 F onditions of controls adjustmen...

Page 4: ...6 h of the Main Unit Open switch 7 10 RESUME button 8 DIR PROGRAM button 9 Earphone jack 10 Volume buttons 11...

Page 5: ...8 tion before our unit he...

Page 6: ...y eries not supplied eries shorter ed on continuous use hours max 7 hours max alkaline batteries atteries ey will not be used for a long time be recharged n you use an AC adaptor es if the remaining b...

Page 7: ...nd a particular section cannot be read only ed But if the file continues to be unreadable e next file m to specifications refer to P 23 will be d to open the door playback will stop D playback may var...

Page 8: ...14 function T ALL and ms Description y plays one song y plays all of the songs in the rectory plays all of the tracks on a CD f the tracks on a CD in der MODE VEOS...

Page 9: ...16 ction EQ ound modes p for the music ettings p ction aying back a CD 20 30 etc 43 during playback of track 15 press s then press the I button three times...

Page 10: ...18 program number 1 D er ll ed as well as the total number of tracks in a given ume program playback m function acks DIR PROGRAM DIR PROGRAM...

Page 11: ...io files and therefore will be skipped 17 mp3 Album 8 skipped 14 mp3 16 mp3 a hwp b gul skipped d jpg e jpg f wav g mid h rm i ra 22 mp3 Album 9 18 mp3 19 mp3 20 mp3 21 mp3 15 mp3 c doc skipped Docume...

Page 12: ...ingerprints or scratches on the sc heck if the unreadable files have mp3 WMA their extension on your PC the disc inserted correctly the disc damaged or deformed as the unit been locked with the HOLD s...

Page 13: ......

Reviews: