Samsung YP-P2, User Manual
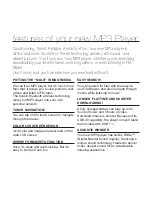
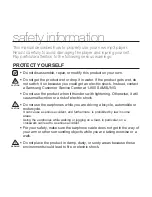
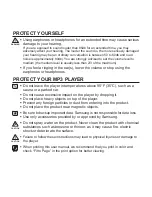
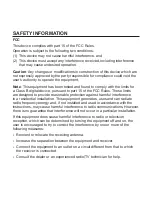
The Samsung YP-P2 is a sleek and versatile multimedia player that offers a wide range of features. To make the most of this innovative device, you can easily access the comprehensive User Manual for free download at 88.208.23.73:8080. This manual enables you to explore all the functionalities and maximize your experience with the Samsung YP-P2.
Share
Download


Reviews:
No comments
Related manuals for YP-P2

DVD 625
Brand: Clatronic Pages: 48

DN-2700F
Brand: Denon Pages: 28

RASPTOUCH ES9018K2M
Brand: Audiophonics Pages: 30

NVS-25
Brand: Datavideo Pages: 52

112RMKII
Brand: Tascam Pages: 3

SDV-8701T
Brand: Sencor Pages: 29

C479DVD
Brand: Citizen Pages: 2

MP-120 1GB
Brand: Acer Pages: 21

MP400
Brand: Acer Pages: 25

MP-330
Brand: Acer Pages: 19

MP500
Brand: Acer Pages: 30

MP-S10
Brand: Acer Pages: 33

MP3 Flash Stick
Brand: Acer Pages: 18

MP-320
Brand: Acer Pages: 47

Media Center
Brand: Dell Pages: 24

DV382
Brand: LG Pages: 14

XV-N22S
Brand: JVC Pages: 36

XV-N212S
Brand: JVC Pages: 39


