


Summary of Contents for YP-Z5
Page 1: ......
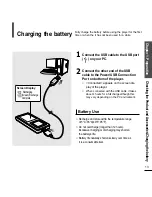
Page 17: ...Chapter 2 Connecting to a PC Connecting to a PC 18 Transferring Music to your Player 19...
Page 53: ...Memo...
Page 60: ......
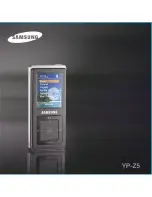
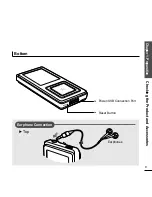
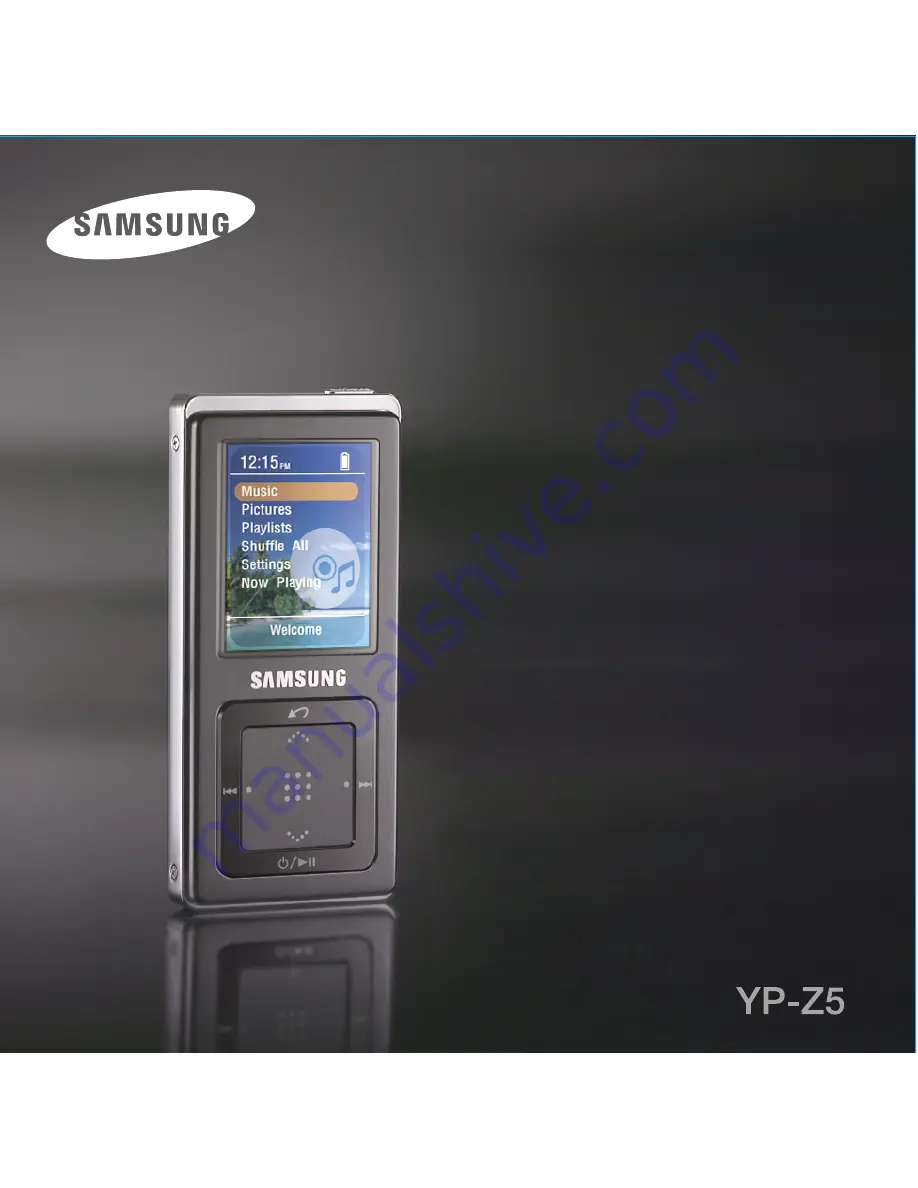
The Samsung YP-Z5 is a powerful portable media player designed to provide exceptional audio quality on-the-go. With a sleek design and user-friendly interface, it offers a wide range of features. Get the complete user manual for free download at 88.208.23.73:8080, ensuring you make the most of this remarkable device.
Page 1: ......
Page 17: ...Chapter 2 Connecting to a PC Connecting to a PC 18 Transferring Music to your Player 19...
Page 53: ...Memo...
Page 60: ......


