Page 3 of 11
LAST UPDATE: SEP-7-2018
COPYRIGHT © SAMUEL JACKSON, INCORPORATED 2006
ALL RIGHTS RESERVED
Apply 115 60/50 Hz AC power to the bottom of the circuit breaker in the bottom left
corner of the PLC box and turn on the circuit breaker in the PLC box. Refer to the
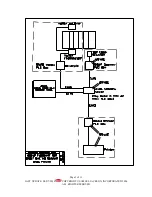
hookup flowchart in this guide for a basic view of the various connections.
It is recommended that you set the
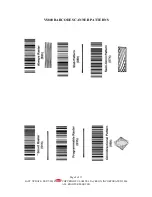
Scanner pattern to either “Smart Raster”
or “Omnidirectional Pattern” since these
two have shown to be the most reliable.
Most gins use Smart Raster, but if the
bale tags are not put on the same way
each time, you may want to switch to
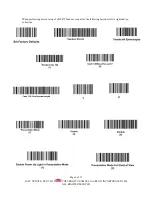
Omnidirectional. To do this, simply scan
the corresponding barcode on the last
page of this manual. Using either of
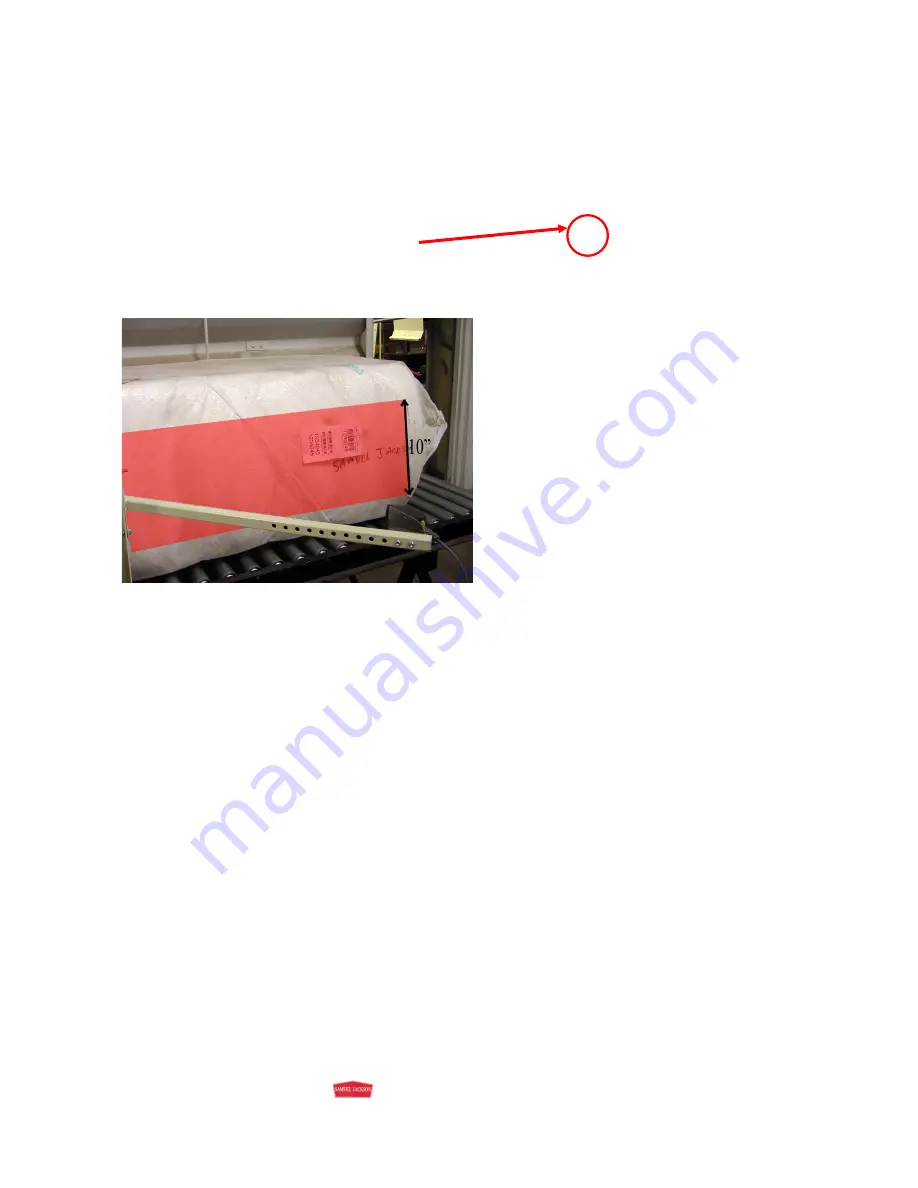
these patterns with the scanner at the
recommended 15 inches away from the
bale, there is a 10-inch wide area on the
bale where the bale tag can be placed.
81663 UNIVERSAL PRINTER
Mount the Printer PLC box near the printer location.
Locate the cable that comes out of the printer PLC box and connect it to the printer. It
should already be wired to the terminals inside the PLC box. In some cases, it is easier to
run the cable if you disconnect the cable inside the PLC box. When reconnecting the
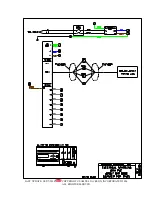
wiring, check to see that the wire colors match the numbers given on the printer wiring
diagram. Plug the cable into the printer.
Before loading the paper, take the top cover off of the printer and remove the plastic
piece that is restraining the print head. Load paper into the printer from the bottom or
back. Turn the knob on the side of the printer to feed paper through and check the paper’s
alignment. Be sure that the paper goes between the roller and the movable paper guide.
Apply 120 60/50 Hz to the bottom of the circuit breaker in the bottom left corner of the
printer PLC box the same way as the scanner PLC box.
Plug in and turn on the printer, then turn on the circuit breaker to the PLC. If done
correctly, the printer should print a header that looks like this:
115 60/50 Hz AC
Summary of Contents for 81667
Page 11: ...This page intentionally blank...


